Stories From Or Vault
Leave a Comment
You must be logged in to post a comment.
What struck me most about Havana, apart from its visual beauty, was the warmth and friendliness of its people. The locals were incredibly welcoming and open to having their pictures taken. Whether a musician playing on the street corner or a group of friends enjoying a lively conversation,
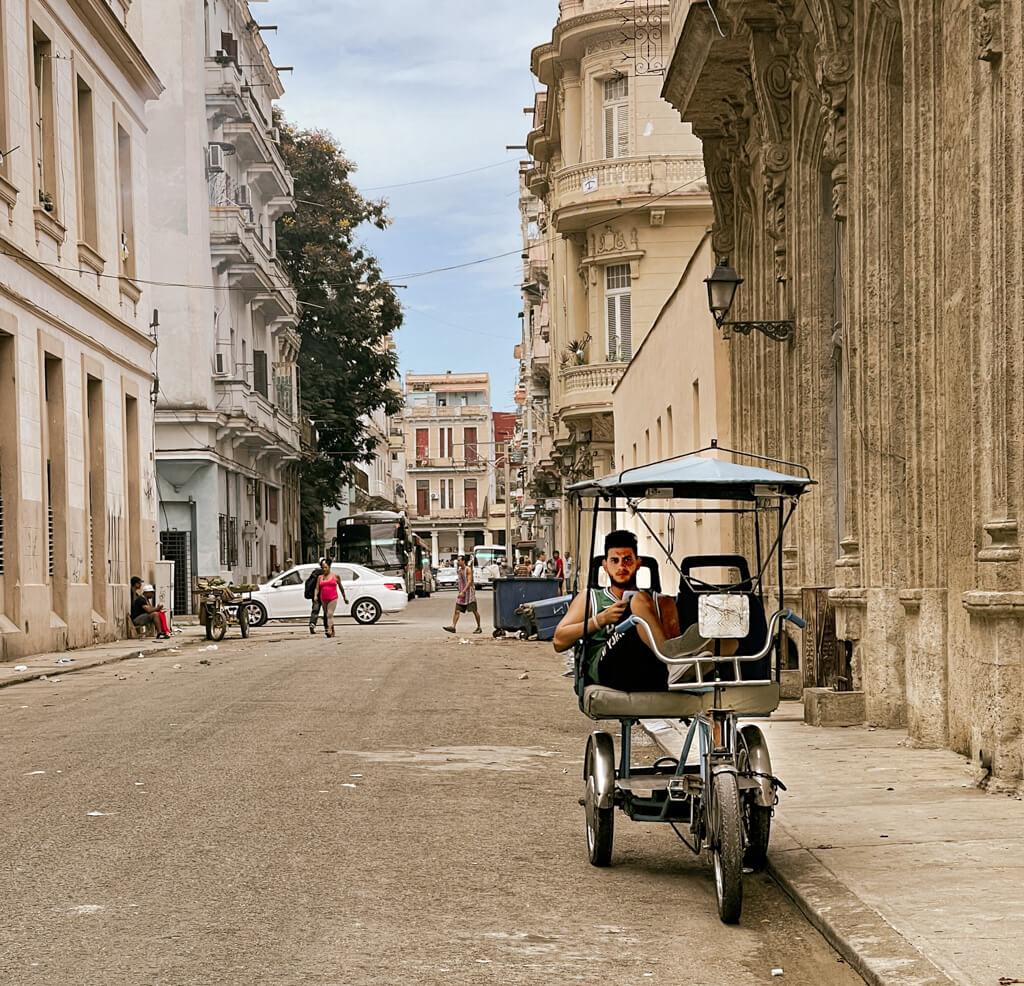
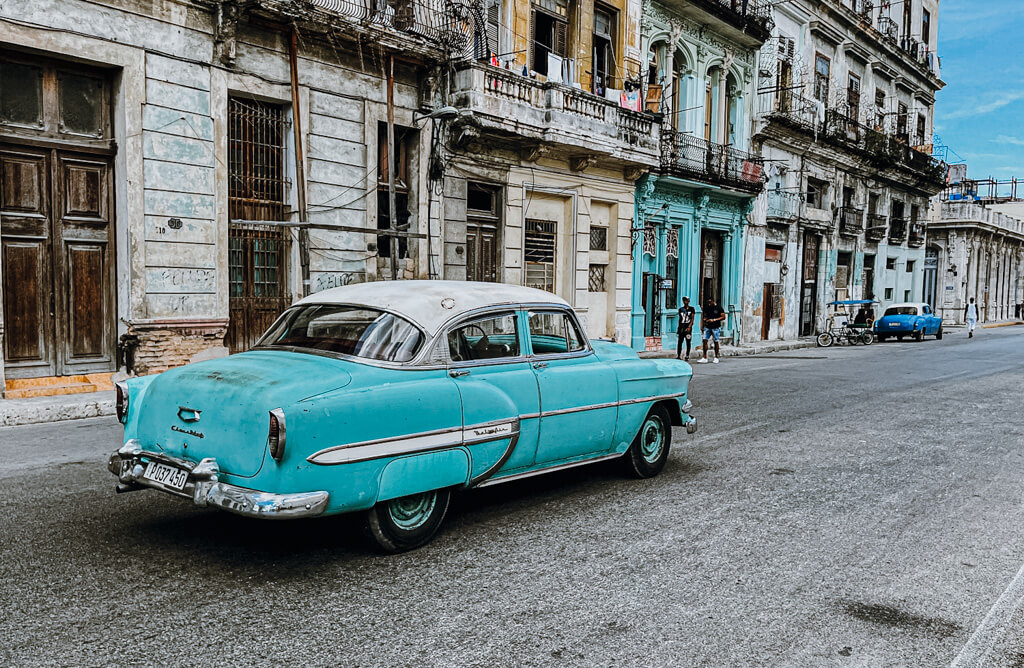
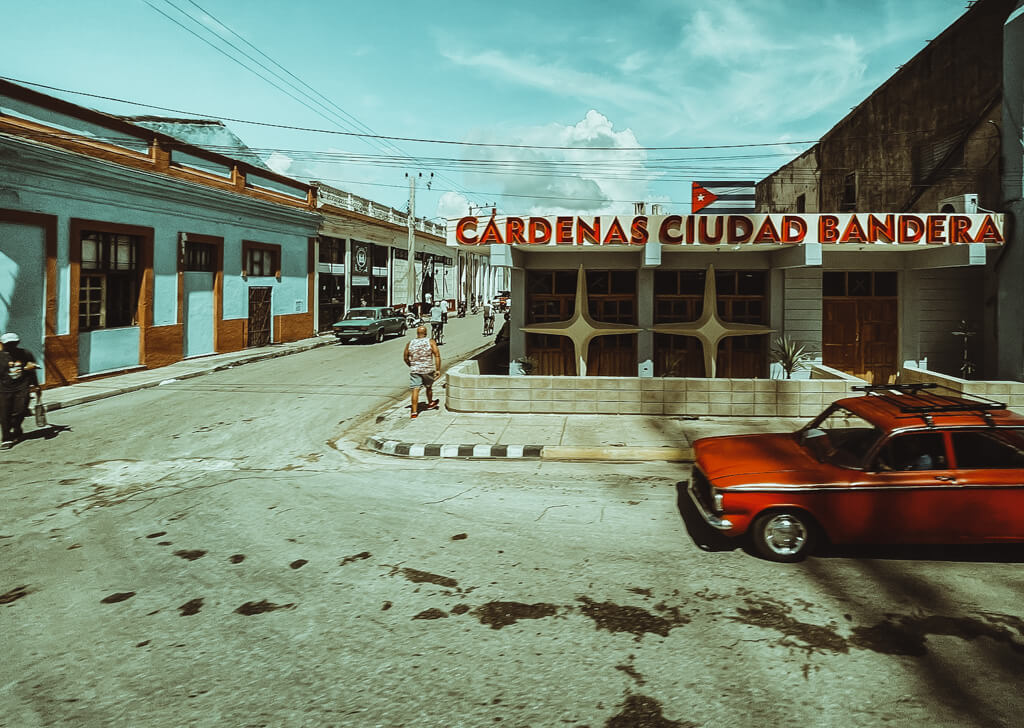
Walking through the streets of Havana, you’ll be hit by a mix of vibrant colours and a rich cultural experience. This city offers a paradise for photographers, blending architecture from days gone by with modern-day street art and classic cars parked against faded pastel buildings. It’s a photographer’s dream, where authentic moments and vibrant scenes await at every turn.
As a photographer, I had the pleasure of exploring Havana with my trusty Sony RX1R and iPhone in hand. The compact yet powerful RX1R allowed me to capture every detail with precision, while my iPhone provided the convenience of quick and on-the-fly editing using Adobe Lightroom. These tools were essential companions throughout my journey, helping me capture the essence of Havana’s colours and culture.
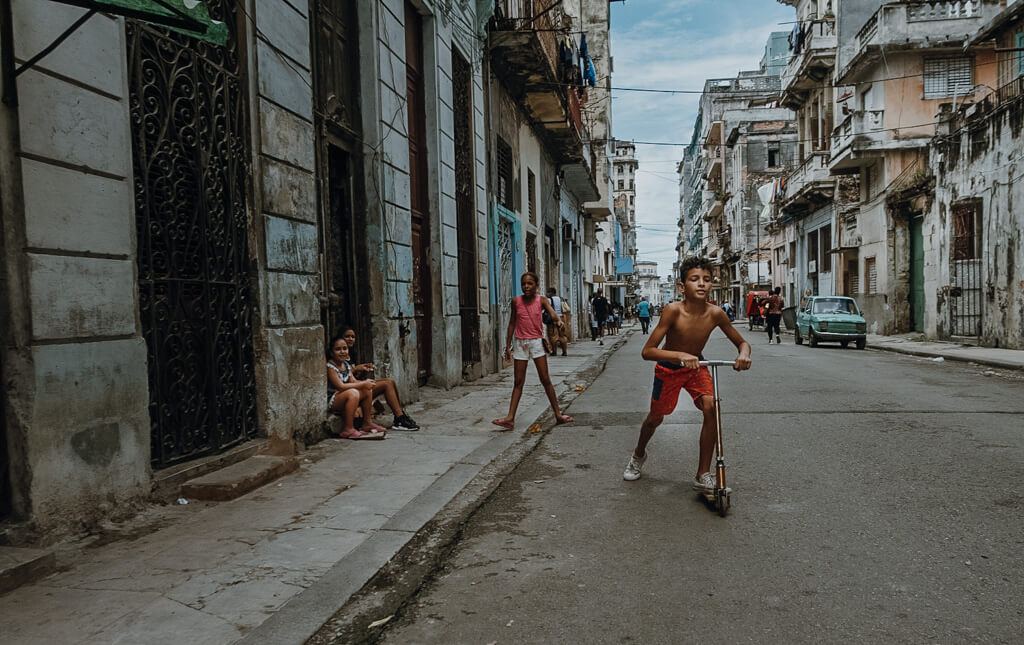
The close heat climate of Havana presented its challenges, with the scorching sun casting harsh shadows and intense light. But I quickly learned to adapt, adjusting my camera settings and experimenting with different angles to make the most of the challenging lighting conditions. It was a constant dance between capturing the vibrant colours and managing the harsh contrasts, a challenge that pushed me to think creatively and enhance the visual impact of my photographs.
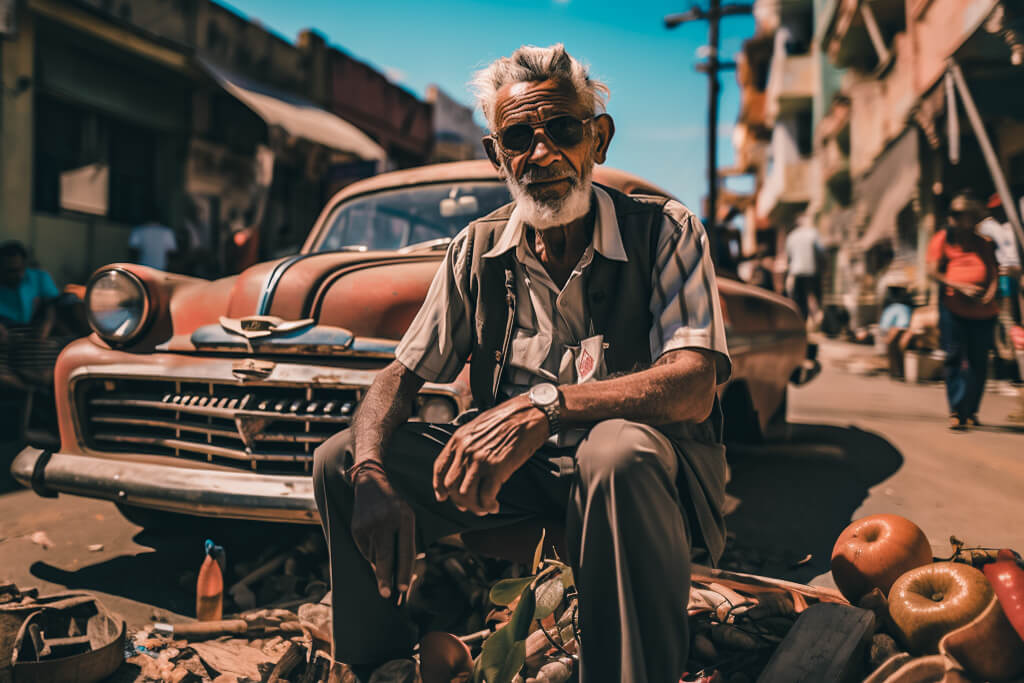
What struck me most about Havana, apart from its visual beauty, was the warmth and friendliness of its people. The locals were incredibly welcoming and open to having their pictures taken. Whether a musician playing on the street corner or a group of friends enjoying a lively conversation, people were relaxed about the picture-taking process and many were so happy to participate. This created an authentic and genuine atmosphere, allowing me to capture candid moments that truly reflected the spirit of Havana.
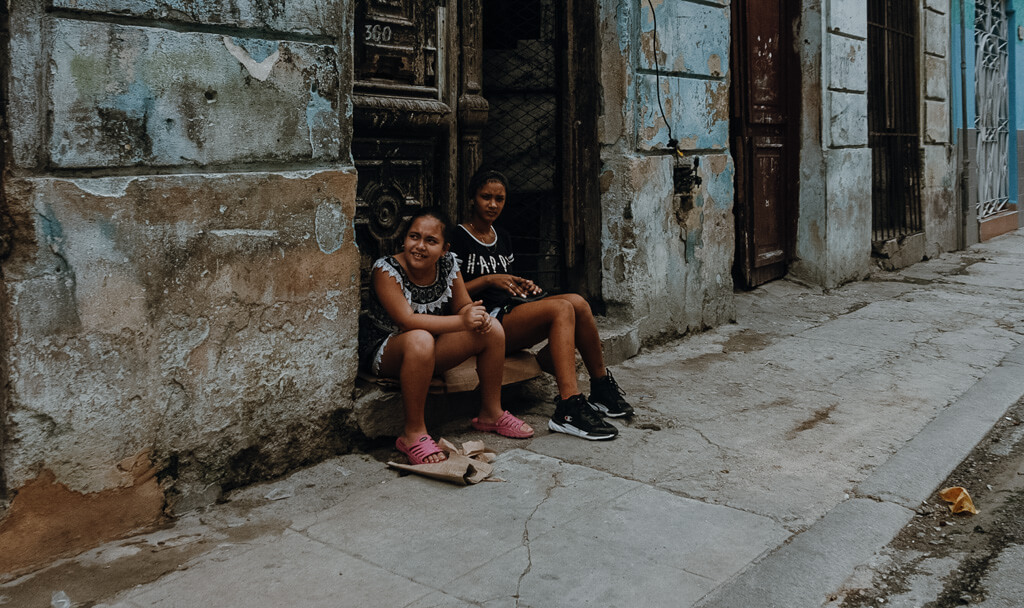
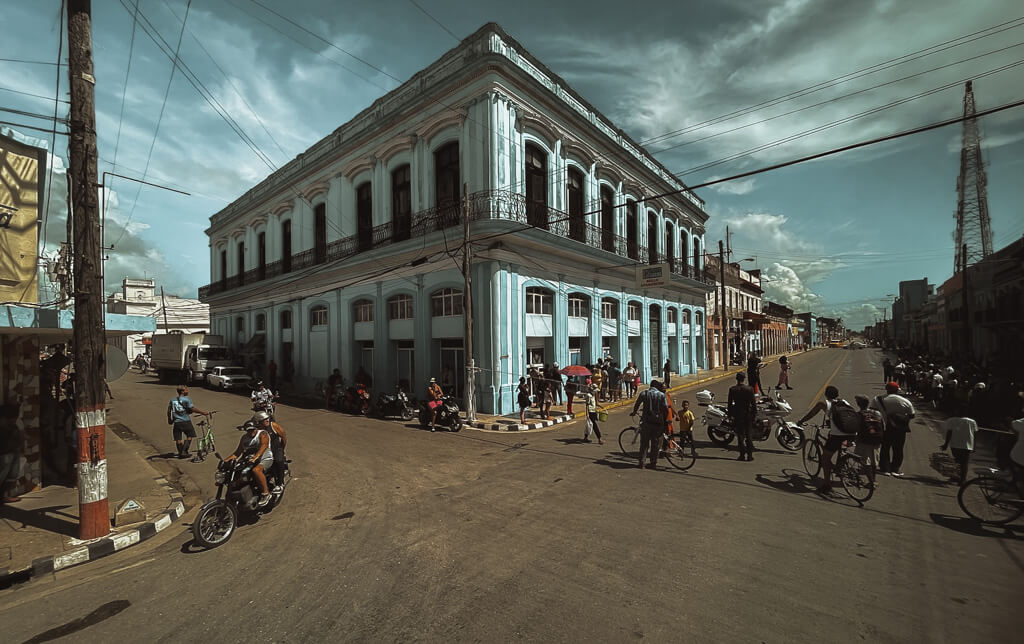
Let’s delve deeper into the exploration of the colours of Havana. The city’s architecture is a visual feast for any photographer’s lens. The pastel-coloured buildings are a testament to the city’s rich history and are a delight to capture. Each building tells its story, from the vibrant yellows and blues to the soft pinks and greens. With my Sony RX1R, I focused on the intricate details, capturing the weathered textures and faded colours that added to the charm of these structures.
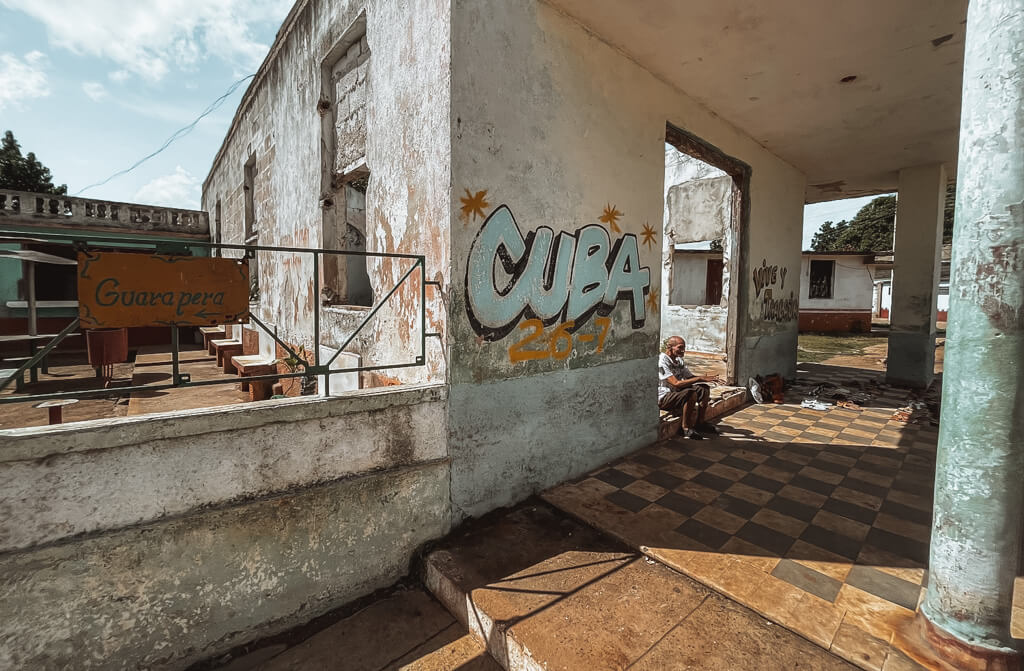
The vibrant street art and graffiti caught my eye as I wandered through the streets. The walls of Havana are like a canvas of expression, filled with bold murals and colourful tags. I couldn’t resist capturing the raw energy and creativity that emanated from these artistic creations. With my iPhone in hand, I snapped photos of the vibrant artwork, ensuring that each brushstroke and splash of colour was captured in its full glory.
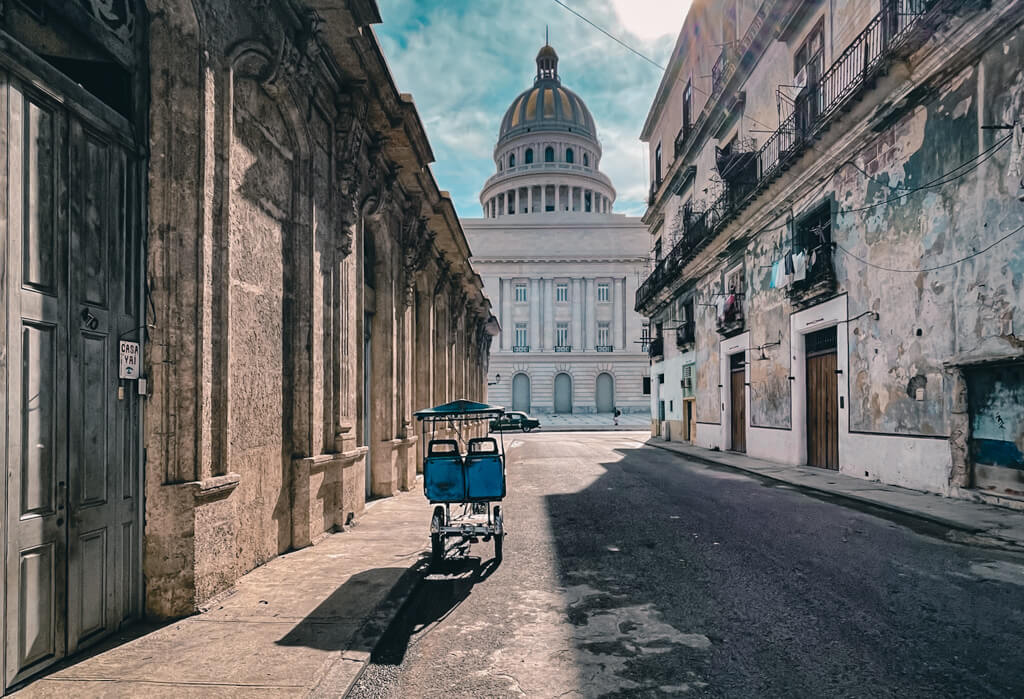
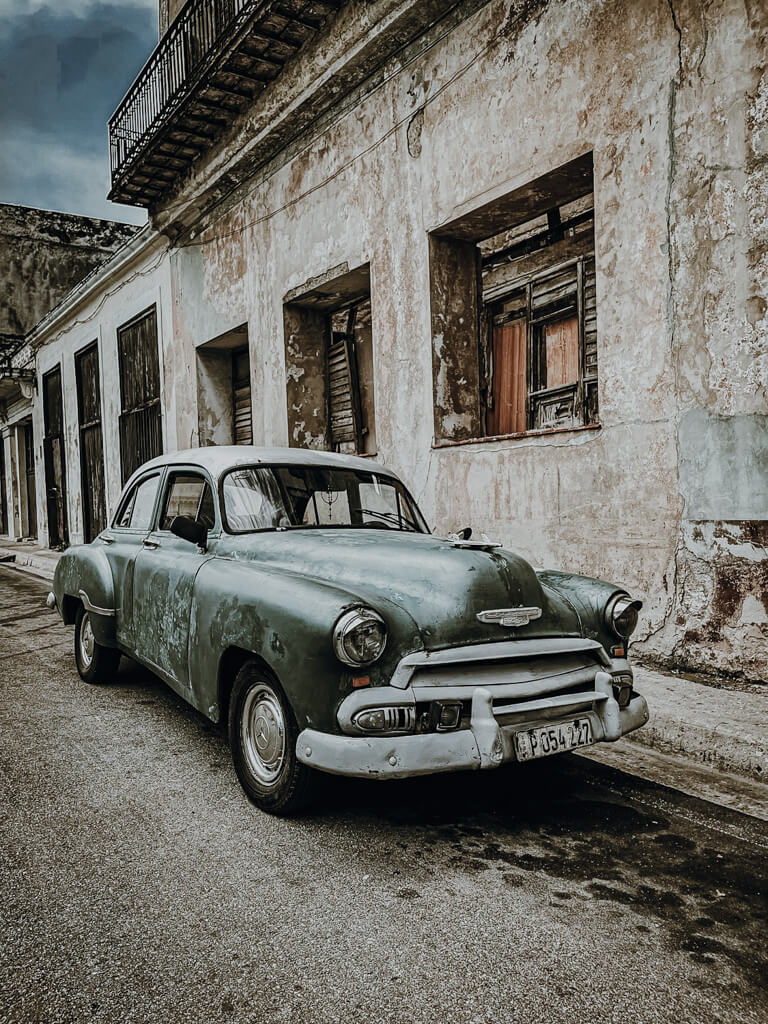
Of course, no exploration of Havana’s colours would be complete without mentioning the iconic classic cars that grace its streets. The Sony RX1R proved to be the perfect companion for capturing the timeless beauty of these vintage vehicles. The bold and bright colours of the cars, juxtaposed against the backdrop of Havana’s colourful architecture, created striking compositions that were a feast for the eyes. I spent hours photographing these vintage machines, capturing their intricate details and the stories they carried within.
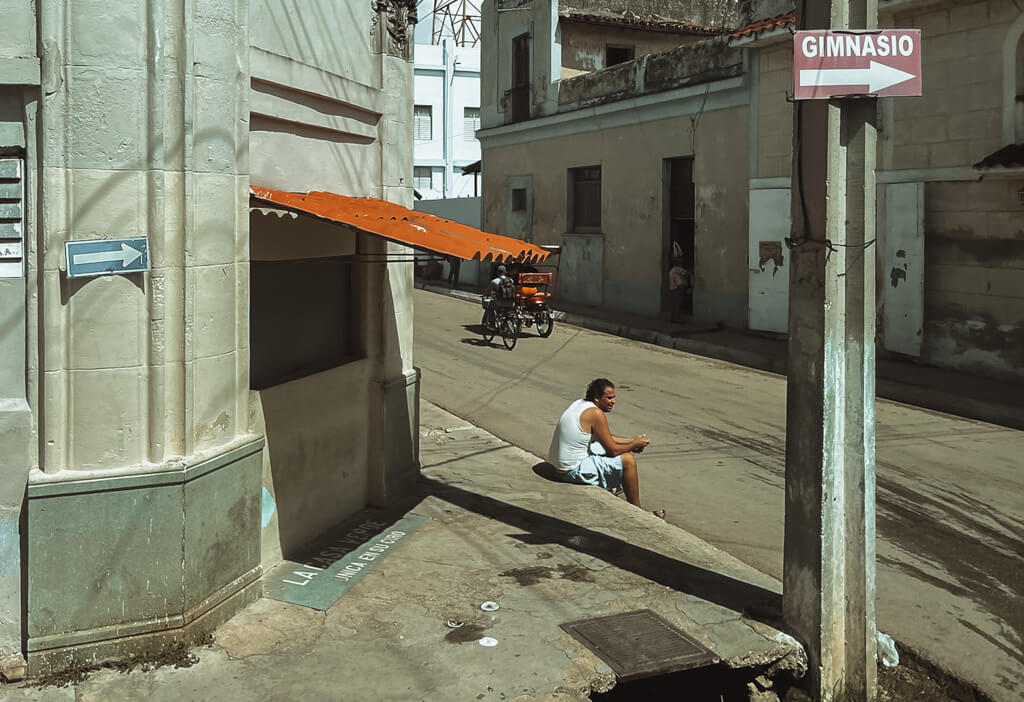
But beyond the buildings and cars, Havana’s colourful people truly brought the city to life. Their vibrant attire and expressive personalities added energy and dynamism to the streets. With my camera at the ready, I immersed myself in the lively scenes, capturing candid moments that showcased the city’s authentic spirit. From couples dancing to the rhythm of the music to friends sharing laughter on the sidewalk, every interaction was a chance to capture the vibrant essence of Havana’s people.
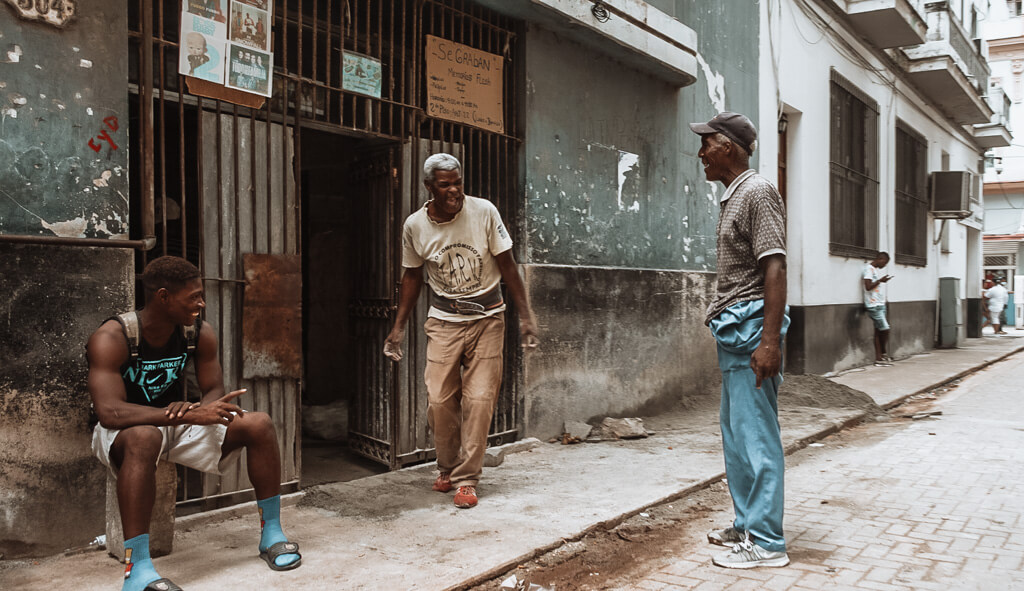
As I ventured deeper into Havana, I couldn’t help but uncover the rich culture that permeates every aspect of the city. Music and dance are at the heart of Havana’s cultural heritage. The pulsating rhythms of salsa, rumba, and son fill the air, inviting you to move and groove. With my camera in hand, I aimed to capture the movement and passion of these dance forms. The Sony RX1R allowed me to freeze the dancers in action, preserving the energy and joy of the moment.
Cuban cuisine is another vibrant aspect of Havana’s culture. The fusion of Spanish, African, and Caribbean flavours creates a culinary tapestry that is visually enticing and delicious. With my iPhone, I captured mouthwatering shots of colourful dishes, each a work of art in its own right. From the vibrant hues of the tropical fruits to the rich earth tones of traditional Cuban dishes, the colours and textures come alive through my lens.
Religion and spirituality are deeply ingrained in Havana’s culture, with Santeria being a prominent belief system. The city’s churches and cathedrals stand as testaments to the city’s devotion, and I made sure to capture their grandeur with my Sony RX1R. The intricate details of the architecture, combined with the soft hues of the stained glass windows, created a sense of serenity and spirituality that I sought to convey through my photographs.
Throughout my journey, I couldn’t help but notice the friendly and relaxed atmosphere that permeated Havana. The people were open to being photographed, and their genuine smiles and laughter added an extra layer of authenticity to my captures. It was a joy to interact with the locals, exchanging stories and laughter while capturing the essence of their vibrant culture.
As a photographer, Havana presented endless opportunities to experiment and push the boundaries of my creativity. The close heat climate, while challenging, added a unique intensity to the colours and textures of the city. The friendly and relaxed atmosphere allowed me to connect with the people and capture candid moments that truly reflected the spirit of Havana.
When photographing Havana, it’s essential to understand lighting and how it interacts with the city’s vibrant colours. The tropical climate provides ample sunlight but creates strong contrasts and harsh shadows. Adjusting camera settings and being mindful of the direction and quality of light is crucial to capturing the true essence of the colours.
Composition is another vital aspect of Havana photography. With its diverse architecture, street scenes, and cultural events, the city offers countless opportunities to experiment with angles, perspectives, and framing. The Sony RX1R and iPhone allowed me to capture both wide shots that showcased the grandeur of the city and close-ups that highlighted intricate details and emotions.
In Havana, imperfections tell a story. The city’s worn-down buildings and vintage cars are part of its authentic charm. Instead of trying to hide these imperfections, embrace them and use them to enhance the visual narrative of your photographs. Let the peeling paint and rusted metal add depth and character to your captures.
Capturing movement is essential in Havana, where the streets are alive with music, dance, and people. Whether it’s freezing the motion of a dancer mid-step or panning to capture the energy of a passing classic car, mastering the art of capturing movement adds dynamism and vitality to your photographs. Experiment with shutter speeds and techniques to convey the sense of motion that permeates the city.
As a photographer in Havana, you’re spoiled for choice when it comes to selecting photography spots. The Malecón, Havana Vieja, Miramar, and the statue of El Cristo de La Habana are just a few of the must-visit locations that showcase the city’s vibrant colors and culture. The Malecón, with its breathtaking views of the ocean and city skyline, provides the perfect backdrop for capturing the essence of Havana. Havana Vieja’s narrow streets and colorful buildings offer endless possibilities for capturing the authentic charm of the city. Miramar, with its wide boulevards and modernist mansions, provides a glimpse into Havana’s contemporary side. And atop the hill stands the El Cristo de La Habana statue, offering panoramic views that encompass the city’s beauty and vibrancy.
In conclusion, Havana is a photographer’s paradise, offering a captivating blend of colours and culture. With its vibrant architecture, street art, classic cars, and friendly people, the city provides endless opportunities to capture moments of authentic beauty. Embrace the challenge of the close heat climate, soak in the warmth of the locals, and let your creativity soar as you explore Havana’s unique and enchanting streets. It’s a journey that will leave you with a treasure trove of photographs and memories, capturing the true essence of this magical city.
Certainly! Here’s a list of some of the best places to see in Havana:
When it comes to cigars, Havana is renowned for its world-class Cuban cigars. Here are some of the best cigars to consider:
Havana offers a vibrant and lively entertainment scene, with a range of options to suit different interests. Here are some of the best places to go for entertainment in Havana:
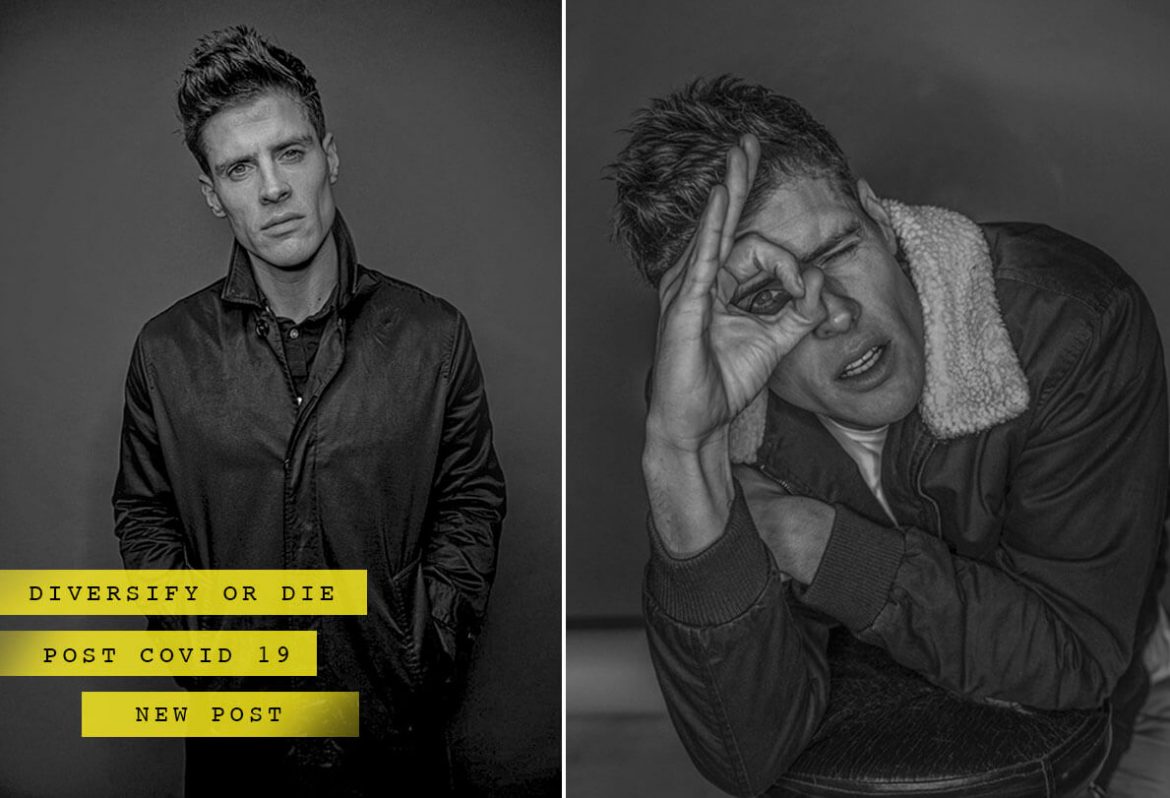
PHOTOGRAPHERS – DIVERSIFY OR DIE! – Photographers Blog 2021.
Photography has provided me with a fabulous career and opportunities over the years, apart from one major deviation into becoming a Creative Director in a leading agency and this lasted for around 8 years. It provided a sense of security up until 2008 when the chance of crashing and burning into debt with the recession. This pushed me back into the photography career I have right now.
One important factor I learned then and reiterating now, is the time occurs when you as a photographer have to learn to adapt or die in the profession. Below is my thought on how you can achieve this to manage the current situation without throwing in the towel and losing your opportunity to work later in the year as a photographer.
My diversifications over this last year have been Video Directing, Editing, Compositing, Lifestyle and People Photography and soon Podcasting and Youtube. Mostly i have added real people and celebrity Portraits and Interviews (coming soon )
The wedding industry is a great sector to introduce your style into after all fashion work is all about people wearing clothes and wedding dresses still need photography and it pays well. Do you want to continue as a photographer or find an engineering job?
The easiest option as a photographer is to continue ahead on the weedy path and focus on your main specialisation and industry and not really looking into diversifying. However, as we all know, the market has many various routes to it with mainstream photographers taking a hit with social media growth and the change towards how and where photographers are being booked and paid. This change has punished the traditional agency photographers and bein fair, massively affecting me. Niching down into sub-genres of photography is right now more important than most other ways. Adapting to another style is important and being good at them even more so. Therefore, expanding into at least two or three primary industries can help you diversify and work with a wide range of clients, which helps your business and keeps things fresh and exciting. Lifestyle, People, Interiors, Travel and Food without even mentioning Weddings. This will be a booming industry very soon.
Present your new style in additional galleries, and if it looks slightly out of place within your brand, you can test this out and the response but hiding it under “personal work ” This is also important when working with different clients. At one point in time, one style was most important, but there is a little more flexibility nowadays. It would help if you found your storytelling style within your new work to be visually recognisable. This is the key, so the message is correct throughout your career. Fashion for me has been my main domain, but people and lifestyle is my looser brand identity. However, the style is similar and stands together side by side.
For a few years now, social media has been the best way to get seen online; however, it has also been a problem for mainstream photographers, losing footfall to photographers with more significant accounts online. Agencies are looking for an easy sell both for clients and to the masses. Social media has more traction than traditional advertising collateral.
Instagram has been the obvious choice for sharing beautiful content however with Facebook taking control it has become a large sales platform and in doing this it has decided to cut out the certain account which doesn’t fit their advertising requirements,
I think a photographer must focus on a few social media channels such as LinkedIn, Facebook, Instagram, YouTube, Pinterest, and even TikTok. It takes time and dedication, but they do help you get noticed. In the past, you could call an agency for a meeting and portfolio view, but now it’s all online. Get your message consistent and then get yourself out there posting the relevant categories and hashtags which you are not diversifying into and changing your key hashtags for each post.
Video could seem a tricky diversification; however, professional videography is a job in its own right. As more and more creative fusion happens, it has become obvious a photographer would have the skills to shoot video and edit this. Yes, there is a substantial learning curve. It has been a major diversification that I have embraced. I now get regular bookings with clients shooting the stills, directing and capturing online and offline video content with my team.
Brands now need content and these needs have shifted much more to include a video for social media and mobile marketing. While the need for photography remains, adding video to your creative offering, gives you an edge over your competition in turn allowing you to become a much more attractive option.
I have also looked to diversify and add another option into what I can offer are workshops and masterclasses or even retreats. I am right now in the process of adding www.jamesnadereducation.com and www.photographyretreats.com to the services I offer. It appears many photographers are already embracing this option and doing it well, however, for me, it seems that it is better coming from an experience from working with clients, lighting abilities for clients and problem solving on location with a team. No matter how you look at it, workshops or masterclasses are a great way of diversifying as a photographer. It expands your ability and conversation with a new audience who are willing to listen.
Podcasts have risen greatly in popularity. I had thought it was dead in the water, but its popularity has surged As a photographer with the lockdown. Right now we are in the process of setting up a regular podcast, and when used in combination with YouTube you have an influential new audience to engage with and with success, this could land lucrative jobs and deals.
It is really a crucial time for diversification in photography, and I would use the downtime to update and refresh your complete attitude and awareness. Learn more, seek more, try more and do more to develop a new niche. If you don’t adapt, no doubt many will die and the photographers who do make a change or add services in as a complementary style will thrive when this world gets back up and running.
Optimal Environment: Begin by selecting a dark environment with little ambient light. This setting is critical for avoiding interference with your projected pictures and ensuring they are vibrant and crisp.
Ideal Projection Surface: Locate a blank wall on which to project your photographs. The quality of your projection surface is very important in the end outcome.
Projection Distance: To regulate the size of the projected picture, adjust the distance between the projector and the wall. Place the projector at least four feet away from the wall for smaller pictures, and at least eight feet away for bigger, more immersive presentations.
Tripod Mounting: It is strongly advised to put your projector on a tripod using a specific mount. This configuration allows for exact changes, such as tilt and height, to ensure that your projection angle is correct.
Keystone and Focus: After you’ve installed your projector, it’s time to fine-tune the keystone and focus settings. To obtain clarity, turn on the projector, go to the menu, and utilise the focus dial near the lens. To make the screen look exactly aligned, use the Keystone dial to correct the perspective.
Connectivity: To show your photos, use an HDMI cable to connect your computer to the projector. Select HDMI and project your computer screen onto the wall using the projector’s control choices, whether buttons or a remote.
ISO Adjustment: Because projector pictures aren’t always as bright as you’d like, be prepared to adjust the ISO setting on your camera. In most circumstances, a value of 1000 or greater is required for satisfactory results. While this may result in some graininess, projector photography often embraces it as part of its own look.
Shooting Modes: On your camera, choose either Manual or Aperture Priority mode. To let more light in while shooting in Aperture Priority, choose a lens with a wide aperture, such as f/1.2 or f/1.8. Consider using a tripod if your lens has a smaller aperture (e.g., f/3.5 or f/4), to eliminate motion blur produced by shorter shutter rates.
Manual Mode Settings: In Manual Mode, set the aperture to its widest setting (e.g., f/1.2 or f/1.8) and the shutter speed to 1/60th to 1/100th of a second. These settings achieve a compromise between minimising motion blur and making your photographs too dark. To fine-tune your exposure, always take test photographs.
Ultimate Projector Photography: Advanced Techniques
Once you’ve mastered the fundamentals, it’s time to move on to more complex methods for projector photography. Here are some imaginative suggestions:
Long Exposures for Decorative Effects
Experiment with extended exposure times ranging from 1/15th to 30 seconds. Allow your subject to wander around throughout the exposure to create fascinating, ghost-like effects in your shots. To retain steadiness during longer exposures, use a tripod.
Projector Photography Creates Movie Magic
Place the projector exactly behind your subject to mimic the cinematic beauty of artificial backdrops in movies. This creates the illusion that your person is in a whole other setting. As a major light source, utilise a tiny lamp or perhaps a flash to illuminate your subject.
Various Projection Surfaces
Don’t restrict yourself to just displaying graphics on white walls. Experiment with different surfaces, such as flowing curtains, doors, and furniture, to become creative. These one-of-a-kind backdrops may add depth and character to your images, making them genuinely unique.
Vibrant Results with Post-Processing
After you’ve captured your projector pictures, the last step is to improve the colours and details. Here’s how to make your photographs really pop:
Basic Adjustments: To bring out brilliant colours and ensure all aspects in your picture are distinct, begin by tweaking exposure, contrast, shadows, and highlights.
Clarity and Dehaze: If you have access to software such as Adobe Lightroom, use the Clarity and Dehaze sliders to improve details even more.
Noise Reduction: Because of the high ISO settings utilised in projector photography, your images may seem grainy. Use the noise reduction tool, but be careful not to overdo it, since too much noise reduction might result in detail loss.
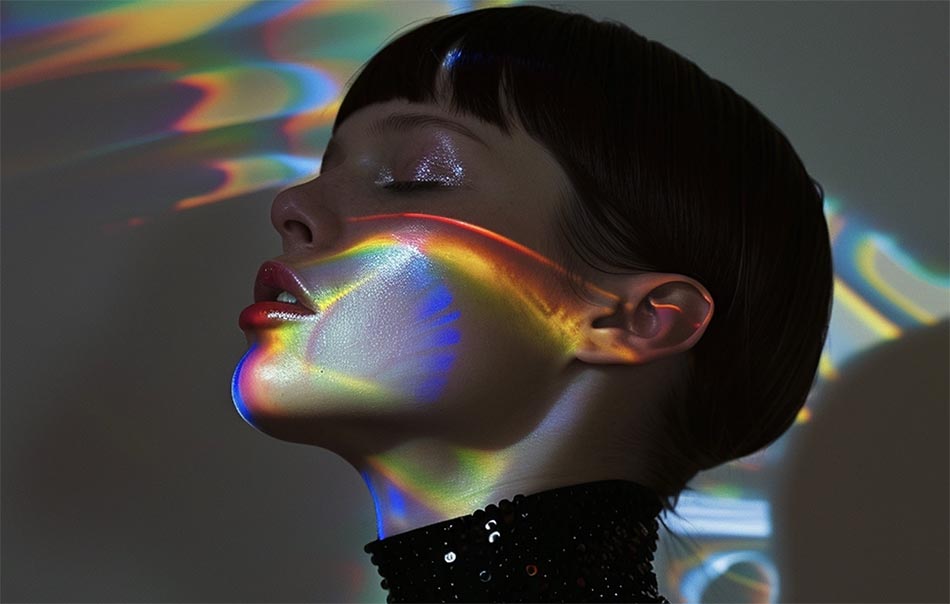
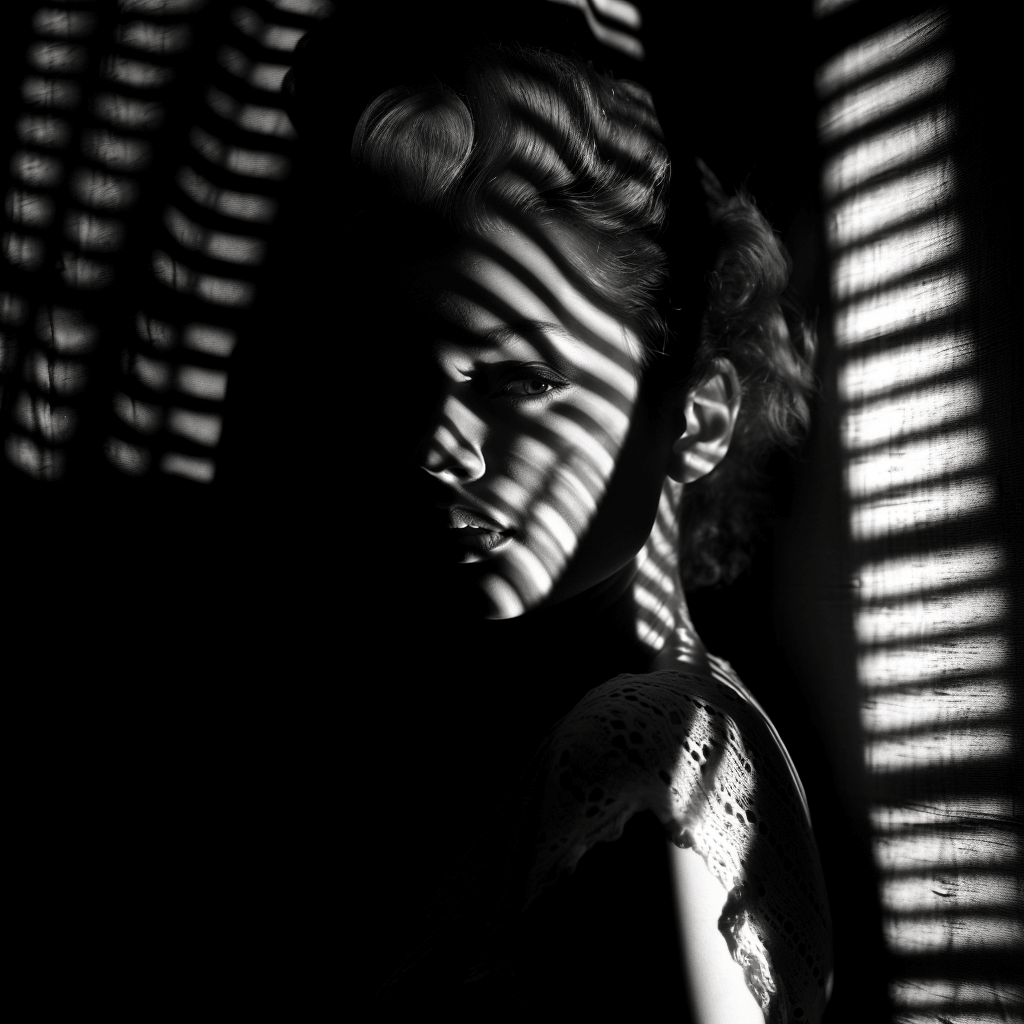
In the 1960’s John French photographed models with floral and 60s style patterns projected onto their bodies instead of clothes. These black and white prints represent the versatile and exciting possibilities that projections can offer artists and photographers.
I wanted to try projector photography and see if my own projector lighting mixed with some interesting projected screens was in fact as good as they say?
Modern projectors are digital and have LED bulbs and fairly sturdy to your mum and dads version with the lamp which would often break, however generally they have a low light output for capturing images and if purchasing you would need some basic bulb power.
With so many types of digital projectors out there which will be great for projector photography, how do you know if the one you have or plan to buy is the right option for you? There are a few things that you’ll need to consider including brightness, size, and definition. Brightness is essential so looking for a projector which has at least 3,500 Lumens. That way, your projected image will still be visible even when you’re working with a different light source if you plan to.
For my test, I chose to illuminate the model with only the projector light source. My Projector was purchased from amazon and was the VANKYO Performance V630 Native 1080P Full HD Projector, 6800 Lumens 300″ LED Projector which is reasonably bright and seemed to be perfect for what we were achieving
Now you don’t have enough light to shoot fast, but there are two ways to get around this.
You can use slower shutter speeds which of course limit how fast you can work with the model and of course use of a tripod is essential, or you can increase your camera’s ISO and speed up the shots, in turn, allows faster working. Higher ISO does tend to clean up the mids and highs of the image.
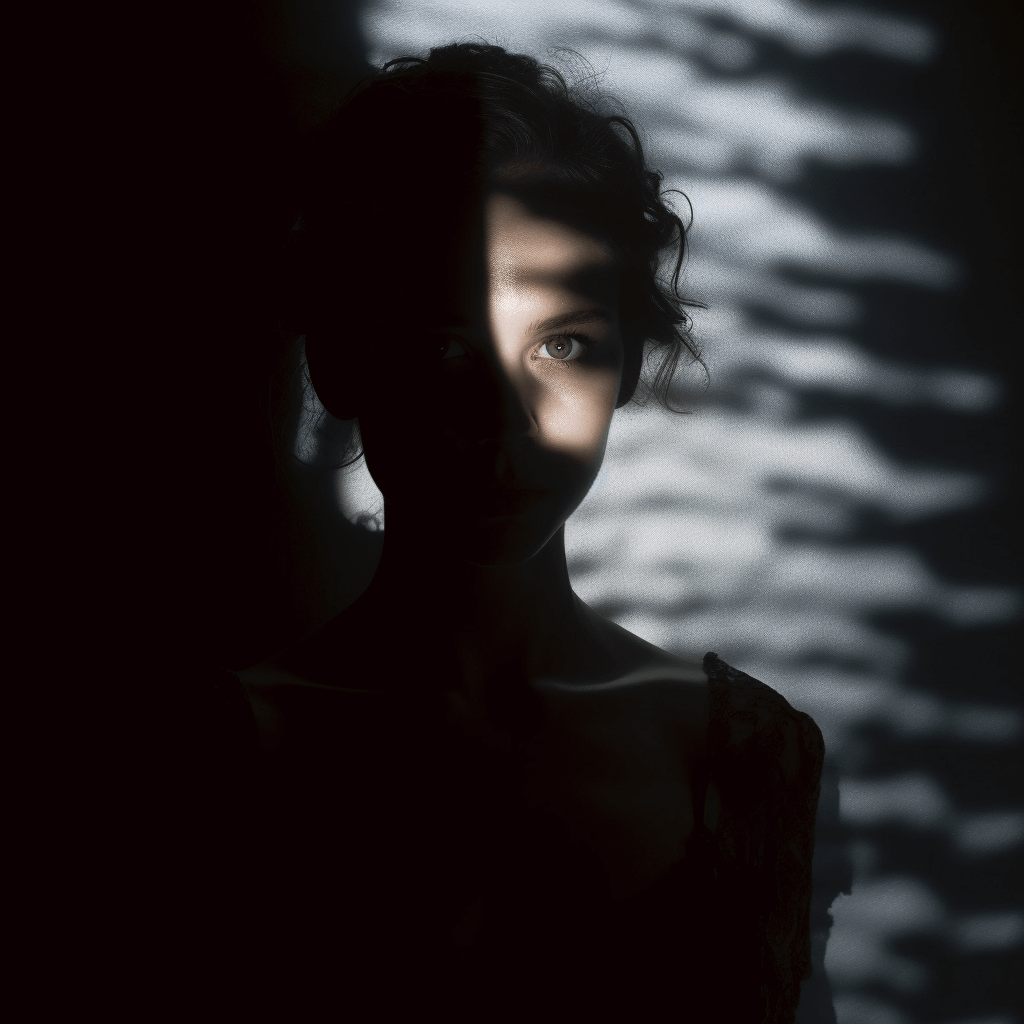
Although you can technically use any graphics you really want, it can really be of benefit to use photos that don’t have too many distracting elements but has some negative space where you can place your model. Some awesome examples for a projected image include the skies, clouds, and open landscapes.
Patterns also work really well for a projected image. Placing a subject in front of the patterns would create distortions that look futuristic. You can try anything from graphic lines and shapes, and maybe clouds and flowers in fact it could be anything which allows for the contrast which you will need.
We chose for our projector lighting test a selection of grids rather like venetion blinds but also for our video some moving grids and graphic blocks.
A studio with very little ambient light or darkened room of your choice is essential so as not to ruin your exposure. Any ambient light will be cumulative to your final exposures. It would help if you also had a plain wall, preferably white or light, so the image is projected. If you want a small projected image, place the projector at least four feet away from the wall. But if you desire a more significant projection, put it at least 8 feet or more. Remember that the farther away you are, the larger the screen.
Once you finish setting up your projector using supplied HDMI cables, the next step is to adjust the focus, which is located near the lens. First, turn on the device. Once the menu appears on the screen, change the focus dial as you would with a camera lens until everything is sharp. Now go to the Keystone dial and move it back and forth until the perspective of the screen looks straight.
Now that the screen is sharp and straight and your image looks sharp across it all, then plug your computer to an HDMI port. Use the projector’s buttons or the remote to access the menu and select HDMI to watch the screen of your computer appear on the wall behind.
We used our iPhone to connect to the HDMI port of the projector for projecting your projector photography images. Our experience was as our images to prject were loaded ino the photos section of the iPhone they were of a certain size and although this was great for headshots it was clear you would really need a large space to get a full length or even 3/4 length shot. The reason for this we worked out was purly down to the scren size of our device.
For our next attempt we would use the larger iPad for projection so that the image would be bigger and project larger, this would allow for a good standing shot, however if not it was plenty good enough for portraiture.
Some readings from the shoot will give you an idea before retouching how we set up shooting specs.
Lens was the 105mm
ISO was only 80, the large aperture of the 105 allowed this otherwise we could easily have been in excess of 400 ISO
Exposure was 1.6 seconds at F14 – Again the lens helped as did the higher power projector.
All images were handheld
– Projectors can help to enhance your photography ideas and concepts for your portfolio
- They add a slightly different perspective on how you view light and subject.
– Easy way to add colour or pattern to your subject
- It can create avantgarde style concepts.
5 TIPS & IDEAS TO TRY
- Projecting Mexican masks onto a model face.
- Project text, shapes or graphic designs to create graphical bodywork onto the face.
- Great for illuminating the nude form, add some creative shapes to this for a more advance result.
- Projecting slideshows of images over the face, with slow shutter speed and creating motion blur exposures.
- Use moving graphics from YouTube to create animated sequences or even your psychedelic film like we did.
Other links
James Nader Portfolio
Fine Art Website
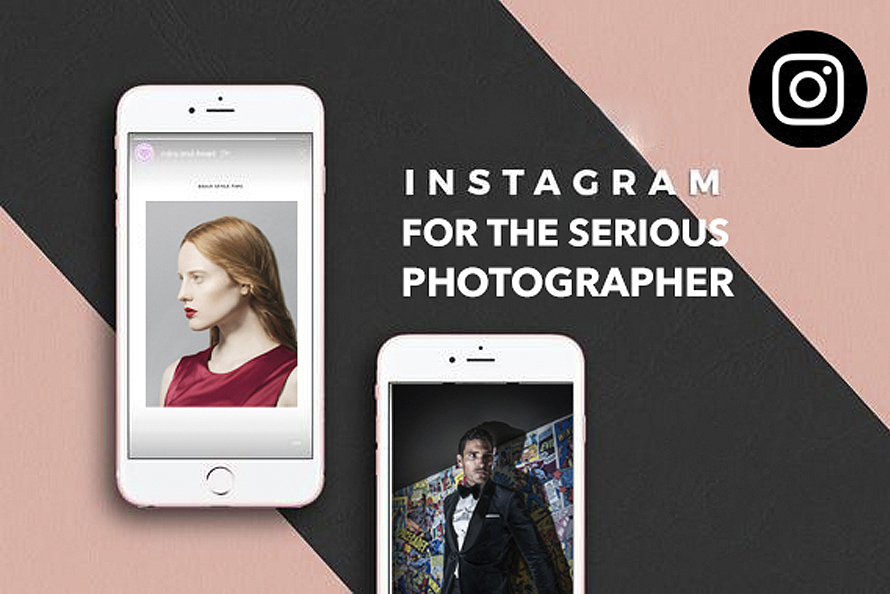
Photography platforms have been in a way a perfect way for any photographer to get seen and not just locally but globally. Instagram has become one of the main platforms for a photographer to not only get seen but get influence and get booked.
When I first started on Instagram it was mostly about posting what you observed daily and then sharing it but nowadays Instagram allows a photographer to use it more like a portfolio and get reviews on this almost immediately. A feeling of appreciation allows you to establish a following. This is a powerful tool if used correctly. Building up relationships with advertising agencies and production houses in each city is not easy these days, why? well because the downside of Instagram is that everyone is one there and can be seen by the creative industries based on popularity, followings, and presence.
It seems that these days it’s not about your work and work ethic and how they have been crafted over the years! It is most definitely how much of an influence you have, you may not have worked for big brands, not produced large shoots and for sure not built up a range of clients that support you. In fact, these clients now look to book a photographer who has influenced more than a heritage in what they do. In short, having a great social presence will attract more clients as it gives them a better chance of coverage of their product and with this, in mind, you need to follow some simple tips that I have followed to grow my audience.
Here is the thing though, as Instagram changes their algorithm on a regular basis then don”t be surprised to find it n increasing challenge and that the carefully built following suddenly stops liking and commenting as time goes on I fell that Instagram as its now owned and run by Facebook that it is gearing to edge out the masses who DON’T advertise in favour of those who do. What was a carefree and interesting platform to me has become controlling and a little like Big Brother not allowing us to use it as it was first intended which was to share pictures and get appreciation.
However below are my top 7 tips for photographers on Instagram and what I follow to grow my audience.
Treat your Instagram feed as an online portfolio by posting only your best images. Curate your images and if it doesn’t do too well after a few days then remove it is my advice.
As your own photographic style develops, make sure each post delivers its own ‘Wow!’ factor on a picture by picture basis which really sometimes is a challenge even to me with my large portfolio of pro shoots. It has been said creating a consistent aesthetic—through a common theme, colour palette, saturation or style—visitors will become engaged followers. For me, I shoot in an erratic eclectic way and most of my images are a mix of styles based on clients’ requirements or the styling used. My work does look better sometimes in black and white but I am not purely a monochrome shooter. I do however make sure that my images or processed correctly and not on the phone. All my images are edited in Photoshop for Instagram or Lightroom and then copied across to my smartphone or smart devices for posting
So this really is down to your feed and how you work. I am not saying that DSLR cameras( My cameras are Nikon D85o and Sony A7Rll and FujiCamera XT-3) are any better than Smartphones (Mine is iPhone XSMax) It’s all about how your feed has developed. I tend to use my smartphone behind the scenes and use a couple of beautifully crafted steady-cam or gimbals for this which create a silky smooth video that is great for stories or posting quick behind the scenes. However, my own approach is to produce coverage with my iPhone and keep the main shots on my Nikon D850 DSLR. These go back to the studio and then I process and post.
It was once quoted by Chase Jarvis when he was asked “what is the best camera” and he replied “The one you have with you” which makes sense. I would say that there is no right way to take your pictures for Instagram. It is whatever your style is and how you interpret this to your followings. Either method produces great pictures at the resolution seen which is screen-based. In fact, some YouTube influencers (Unlike me 🙁 at this stage) have done comparisons for a whole range of cameras and phones so if in doubt go to YouTube and see some in-depth reviews and samples.
So you created a #jamesnaderphoto hashtag for your brand, but who knows to use it to share content about you? Make sure it’s in your profile. It should be seen in all of your marketing materials. You in effect have another portfolio based around your hashtag. Have you thought about trademarking your hashtag? so long as you are in a position to demonstrate that you are providing a product or service to the general public that can be directly associated with that hashtag then you can do this. Copyrighting it is is also possible.
When posting your content and you are writing your comments make sure that you try to include this and also add this to your relevant hashtags on your post. You can then create a buzz around your own branded hashtag. When someone searches #jamesnaderphoto then this shows a grouping of all your relevant imagery.
When it comes to Instagram hashtags and caption ideas, look beyond the one-word and the most obvious hashtags. Good research into these is essential. build up lists that you can reference against for relevant posts. DO NOT COPY AND PASTE these as Instagram doesn’t like this also DO NOT POST THEM ALL INTO YOUR FIRST POST. This once again can get your picture SHADOWBANNED This is where the Instagram algorithm suspects black hat activity and bans the hashtag, picture or even lead to temporary banning for 24 hours.
Make your hashtags tell the correct story the same as YouTube likes to hear the code keywords in your actual video. It shows a correct approach to your posts and keeps you seen. A shadowban is something you don’t really see but you suspect something has happened to your pictures as it gets fewer views or comments and in general less interaction. What Instagram does is limit your post to ONLY your followings and keeps it from appearing in the Instagram search browser. In general, keep it mean and keep them lean – No more than 15 is a suggestion.
If you would like to know more about how to check a shadowban send me a contact and Ill point you in the right direction
Your Bio is what you are about on your Instagram profile. Make this interesting and truthful. As descriptive as possible in the allowed space. Should your bio to only link to your website homepage? A good idea is to keep changing this slightly every so often to keep it fresh. Use it to promote what you have been doing elsewhere. Drive fans to other projects you have been working on recently.
Posting a picture entirely o its own can be powerful especially if your audience knows you and what you care about. However, in the bigger picture, it’s a better option to use great captions. Rather like on Google if your keyword and craft a supertitle to your image it should help capture the attention of the greater audience. As titles on YouTube and on Google, carefully crafted descriptive titles and captions for Instagram will help you post get discovered. Some users even prefer to see a caption as this sets the story for the image. Back this up with an interesting caption and storyline with a question thrown in and you have a recipe for a successful post.
Try to think of Instagram as an online portal to develop and define your brand’s presence. Use your feed to showcase photos that revolve around a central theme in your work, be that fashion photography like my own niche, portrait or landscape. You can not just focus on your niche but also on your own particular style of shooting. if you shoot mainly as a black and white photographer shooting black and white photography then stick to this. I stick to fashion photography mainly but if you look at my feed @jamesnader you can see diversity in style from portraits to models in landscapes and models in studios. This is as a pro photographer I show my client work as well as my own.
I have a very clear message to all of you photographers out there. If it doesn’t fit don’t fog your niche. Create another Instagram feed and add dissimilar images or images that are so random they don’t fit on your main branded feed. my own @lifewithnader is all about other subjects that capture my imagination which can be stills, products, location, and people in fact anything!
Your followers will expect you to maintain a feed that features a cohesive style or subject matter—one which will ultimately keep them coming back for more. Instagram users will typically land on your profile and make a decision to follow based on your last nine images. Because of this, it’s a good idea to make sure the top of your feed always represents who you are as a photographer in order to attract and build your audience. I change my mind consistently and my feed changes its look over time, however, it does come back to my brand feel in the end. The message is experiment with your feed over the weekends or in between your main posting times.
Instagram Stories has proven they are great value of real, uncut content in the eyes of audiences, so documenting your journey with Stories makes your brand approachable. A story tends to identify with people who may not already be following you, they gain your attention and new followers sometimes outside of your immediate niche. Some brands use Instagram Stories as a more interactive extension of their Instagram feed. Their Instagram Stories content reflects its larger Instagram strategy and branding.
Colorful stories are a real insight into you and what you are about, they allow clients, brands and other influencers the opportunity to see you from afar. They are a great way to help others and give a shoutout.
I am only really just understanding the benefits of Instagram stories for photographers, a direct connection is allowed very easily between your story viewer and your post. A direct message is perfect to target them with a nice little into post to somewhere you would like them to go. A super tool for promotion and sales. James Nader Fashion Photographer will b doing many more stories so I hope to see you on one soon!
This is a brief rundown of my 7 tips for photographers to organically grow on Instagram, this is how I have done it and so thought it might be nice to share the information. If you like what you read please join me on my social media, visit my websites or indeed sign up to our member’s area coming very soon for private members and only available to a select amount for now.
James
This website uses cookies to improve your experience. We'll assume you're ok with this, but you can opt-out if you wish. Accept Read More