Analog film photography – Mastering Cyanotypes with Analog Film Processes
Something is alluring about the practice of film photography in a world where digital photography predominates. The process of capturing moments on film has a timeless quality that pixels and screens cannot match. And among the vast array of film techniques, cyanotypes hold a special place.
Cyanotypes are a type of alternative photographic process that dates back to the 19th century. Known for their distinctive blueprints, cyanotypes are created through a unique combination of chemistry, light, and patience. Unlike the instant gratification of digital photography, mastering cyanotypes requires a deep understanding of traditional film techniques.
In this article, we will explore the fascinating world of cyanotypes and delve into the intricacies of analog film photography. Whether you are a seasoned film photographer who wishes to expand your repertoire or a curious beginner eager to learn the ropes, this guide will equip you with the knowledge and skills needed to master the art of cyanotypes.
Throughout this journey, we will unravel the processes of cyanotypes, compare them to other traditional printing techniques, and uncover the factors contributing to their perceived ease of creation for photographers of all levels. From selecting the right film and camera equipment to understanding the chemistry involved in the development process, there is much to discover in the world of cyanotypes.
Analog Film Photography – Cyanotypes

So grab your camera, load your film, and join us as we embark on a quest to unravel the cyanotypes’ mystique and learn film photography’s intricacies. Be captivated by the magic of creating beautiful, ethereal images through traditional methods, and step away from the digital world to explore the wonders of analog film.
In traditional photographic printing techniques, cyanotypes stand out for their simplicity and accessibility. These unique prints, known for their beautiful cyan-blue shade, are created using a process involving exposure to ultraviolet light and specific chemicals. In this article, we will explore cyanotypes’ preparation and development processes, compare them to other traditional printing techniques, and uncover the factors contributing to their perceived ease of creation for photographers of all levels.
Cyanotypes have a rich history dating back to the 19th century when they were primarily used for creating blueprints. Today, photographers have embraced cyanotypes as a unique art form that allows for creative expression through analog film photography. Unlike other printing techniques that require complex equipment and specialised darkroom setups, cyanotypes can be created with minimal equipment, making them accessible to beginners and experienced practitioners alike.
Creating cyanotypes involves coating a suitable surface, such as paper or fabric, with a mixture of chemicals, usually potassium ferricyanide and ferric ammonium citrate. Once the surface is coated, it is exposed to ultraviolet light from sunlight or specialised UV lamps. Combining the chemicals and the exposure to UV light triggers a chemical reaction that produces the characteristic cyan-blue colour.
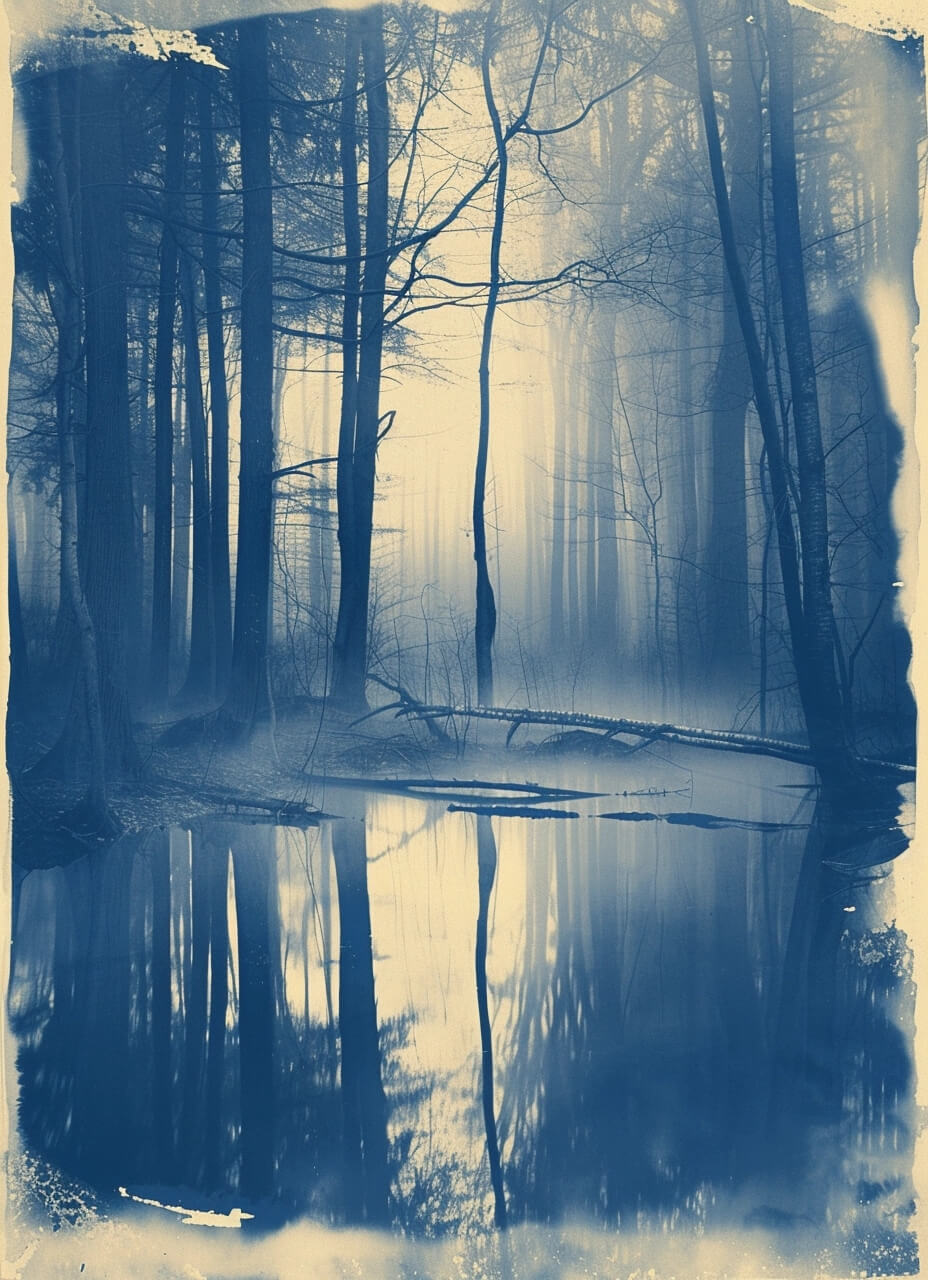 Compared to other traditional photographic printing techniques, such as silver gelatin prints or platinum prints, cyanotypes’ preparation and development processes are relatively simple. Cyanotypes do not require the use of a darkroom and can be developed in daylight, making them easier to handle for beginners who may not have access to darkroom facilities. The chemicals used in cyanotype printing are also less toxic and more readily available compared to the specialised chemicals used in other printing processes.
One of the key factors that contribute to the perceived ease of creating cyanotypes is the forgiving nature of the process. Unlike other printing techniques that require precise control over exposure and development times, cyanotypes are more forgiving and allow for experimentation. This makes them an ideal choice for beginners who want to explore the world of analog film photography without fearing making mistakes.
In conclusion, cyanotypes offer a simpler and more accessible alternative to traditional photographic printing techniques. The minimal equipment requirements, the use of natural daylight for development, and the forgiving nature of the process make cyanotypes an attractive choice for photographers of all levels. Whether you are a beginner looking to explore film photography or an experienced practitioner seeking a new creative outlet, cyanotypes provide a unique artistic medium to express your vision.
 Mastering Cyanotypes: Key Takeaways
- Cyanotypes are a traditional photographic printing technique known for their unique cyan-blue shade.
- Compared to other printing techniques, cyanotypes are more straightforward and accessible, requiring minimal equipment and no darkroom facilities.
- The forgiving nature of the cyanotype process allows for experimentation and makes it an ideal choice for beginners.
- Cyanotype chemicals are less toxic and more readily available compared to chemicals used in other printing processes.
- Cyanotypes offer a creative outlet for photographers of all levels, allowing them to express their artistic vision through analog film photography.
Understanding Cyanotypes as an Analogue Printing Process
This section will provide a detailed overview of cyanotypes, one of the oldest photographic printing processes. Understanding the chemical components and steps in creating a cyanotype print is crucial for mastering this unique analog technique. Let’s explore the artistry behind cyanotypes and how they rely on the power of ultraviolet light or sunlight.
Cyanotypes, or blueprints, are characterised by their distinctive cyan-blue colour. Sir John Herschel created the technique in 1842 as a way to replicate notes and diagrams. Over time, cyanotypes evolved into an artistic expression, capturing the beauty of everyday objects through a vivid blue hue.
We need two main components to create a cyanotype: the sensitizer and the substrate. The sensitizer is a mixture of ferric ammonium citrate and potassium ferricyanide. It forms a light-sensitive emulsion when applied to a suitable substrate, such as watercolour paper or cotton fabric.
The Cyanotype Process
The cyanotype process involves three simple steps:
- Coating: The sensitizer solution is evenly applied onto the substrate, forming a thin layer left to dry in a darkroom.
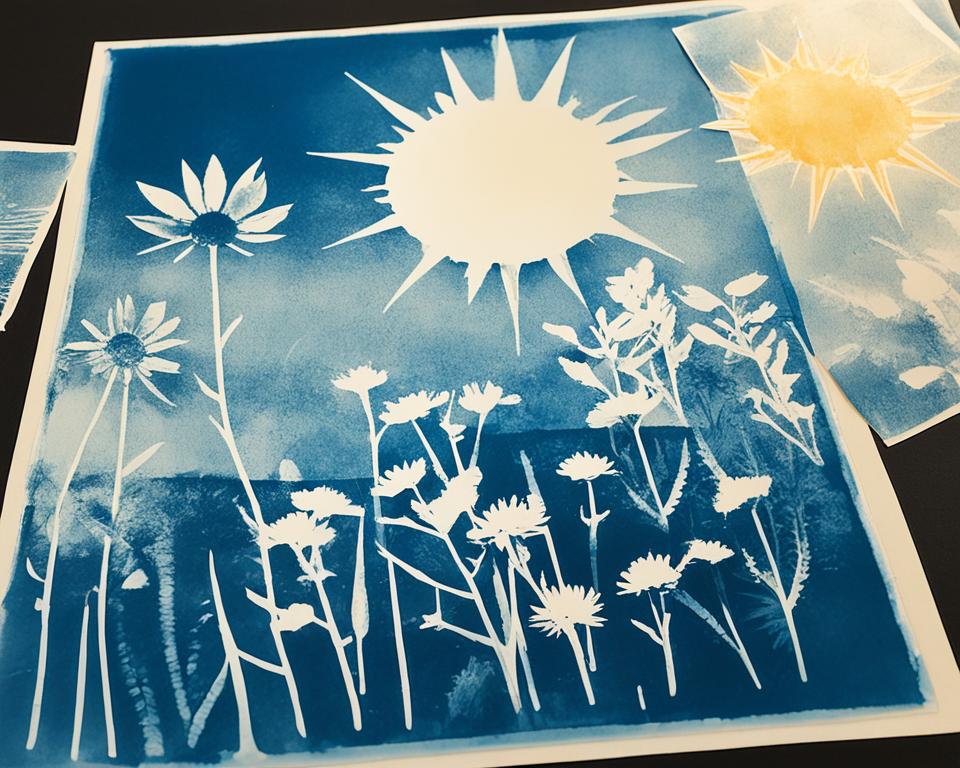
- Exposure: The coated substrate is then exposed to ultraviolet light or sunlight. This step is where film photography comes into play. We can create unique compositions by placing objects or negatives directly on the coated substrate.
- Processing: After the desired exposure time, the substrate is washed in water or a dilute hydrogen peroxide solution to remove the unexposed sensitizer. This reveals the distinctive blue image of the cyanotype.
The use of ultraviolet light or sunlight is crucial in the exposure process. These natural light sources activate the sensitizer, causing it to undergo a chemical reaction resulting in the characteristic blue coloration. This reliance on sunlight makes cyanotypes a fascinating technique to explore, as it connects us to the power of nature in creating art.
Now that we understand the process behind cyanotypes as an analog printing technique, let’s explore film photography techniques for cyanotypes in the next section.
Exploring Film Photography Techniques for Cyanotypes
In cyanotype processing, film photography plays a crucial role in capturing the images that will be transformed into stunning cyanotype prints. The photographer can carefully compose and expose the scene with an analog camera to create a unique visual narrative. The use of film adds a nostalgic touch and reveals the inherent charm of analog photography.
Regarding cyanotypes, natural daylight is the preferred light source for capturing the desired image. The soft, diffused light of the sun provides the ideal conditions for achieving the best results. Photographers carefully time their shots to take advantage of the flattering qualities of daylight, ensuring optimal exposure for the cyanotype process.
Once the images are captured, the film processing journey begins. In the darkroom, photographers meticulously develop the film to highlight their photographs’ details and tonal range. This involves a delicate balance of chemicals, temperature, and timing to achieve the desired results. By following precise techniques, photographers can create negatives that will be the foundation for producing captivating cyanotype prints.
The final step in the cyanotype process involves applying the photosensitive chemicals to the chosen medium and exposing them to ultraviolet light. This chemical reaction brings forth the characteristic cyan-blue tones that define cyanotype prints. The film photography techniques employed earlier lay the groundwork for successfully creating these beautifully rendered cyanotype artworks.
 FAQ
FAQ
What is a cyanotype?
A cyanotype is a photographic printing process that produces a unique cyan-blue shade. One of the earliest printing techniques in photography dates back to Sir John Herschel’s invention in the 1840s.
How are cyanotypes created?
Cyanotypes are created by exposing a photosensitive solution to ultraviolet (UV) light. This solution, which contains iron compounds, reacts to UV light and forms an insoluble blue compound on treated paper or fabric.
What is the role of film photography in cyanotypes?
Film photography plays a significant role in cyanotype printing. First, you need to capture an image using an analog camera. This can be done using specialised cyanotype film or any film you choose. The film negative will create a contact print in the cyanotype process.
Can cyanotypes be created without natural daylight?
While natural daylight is ideal for exposing cyanotypes, it is possible to use artificial UV light sources such as UV lamps or even sunlight through a window. The key is ensuring the UV light reaches the photosensitive solution to initiate the chemical reaction.
What chemicals are required for cyanotype processing?
The chemicals involved in cyanotype processing include ferric ammonium citrate and potassium ferricyanide. These two solutions are mixed together to create the photosensitive solution applied to the paper or fabric substrate. The process also requires water to rinse and fix the print.
Cyanotypes, a photographic printing process that produces a cyan-blue print, are one of the earliest and simplest forms of photography. The process was discovered by Sir John Herschel, an English scientist, in 1842, primarily as a means of reproducing notes and diagrams, where it was known as “blueprinting.” Due to its distinctive appearance and ease of use, artists and photographers later adopted it. Here’s a breakdown of what makes cyanotypes unique, their process, and their significance in both historical and contemporary contexts:
The Process of Creating Cyanotypes
- Creating the Cyanotype Solution: The process involves mixing two chemicals: ammonium iron (III) citrate and potassium ferricyanide. When combined, these chemicals are sensitive to ultraviolet (UV) light.
- Preparing the Paper: The cyanotype solution is applied to a suitable surface, most commonly paper, but fabrics and other materials can also be used. The surface is then dried in the dark to prevent premature exposure.
- Exposing the Image: Objects or negatives are placed on the prepared surface, which is then exposed to UV light. Natural sunlight is often used, but UV lamps can also serve this purpose. The exposure time varies depending on the light intensity and the desired effect, typically ranging from a few minutes to several hours.
- Developing and Fixing: After exposure, the material is washed in water. This step develops the print and removes unreacted chemicals. The result is a distinctive blue image with unexposed areas remaining white or a light yellow, depending on the paper used.
Features and Benefits
- Distinctive Aesthetic: Cyanotypes are known for their characteristic deep blue colour, offering a monochromatic palette that is both striking and versatile.
- Simplicity: The process is relatively simple and does not require a darkroom, making it accessible to beginners and popular in educational settings.
- Versatility: It can be applied to a variety of materials, including paper, fabric, wood, and more, allowing for a wide range of artistic expressions.
- Archival Quality: Cyanotype prints are long-lasting and resistant to fading, ensuring their durability over time.
Historical and Contemporary Use
- Blueprints: Historically, cyanotypes were used extensively for engineering and architectural plans, known as blueprints, due to their ease of production and copying capabilities.
- Art and Photography: Artists and photographers have embraced cyanotypes for their unique aesthetic and manual process, which allows for hands-on creativity and experimentation.
- Modern Applications: Artists, educators, and hobbyists all enjoy cyanotypes today. They’re used in fine art, mixed media, and even in modern design and fashion.
Cyanotypes stand out for their unique blend of simplicity, beauty, and history. They offer an accessible entry point into photographic printing and art creation, appealing to a wide range of people, from hobbyists to professional artists. The cyanotype process encourages experimentation and can be a rewarding way to explore photographic printing and art creation.
Chemicals Measurements to Create Raw Solutions for Cyanotypes
| Chemical | Purpose | Initial Measurement | Notes |
|---|---|---|---|
| Ammonium Iron(III) Citrate | Sensitizer | 25 grams | Part A of the cyanotype solution. The green type is commonly used for its higher purity and consistency. |
| Potassium Ferricyanide | Sensitizer | 10 grams | Part B of the cyanotype solution. It reacts with Part A under UV light to form the characteristic blue print. |
| Distilled Water | Solvent | 100 ml for each chemical solution | Used to dissolve both chemicals separately before mixing them together. Ensures purity and consistency. |
| Total for Mixed Solution | - | 200 ml (approximately 100 ml of each) | This mixed volume is enough to cover approximately 20-30 sheets of 8x10 inch paper, depending on application thickness. |
Chemicals & Tools Needed
| Requirement | Description | Notes |
|---|---|---|
| Chemicals | ||
| Ammonium Iron(III) Citrate | A key component of the cyanotype solution, it reacts with UV light. | Often comes in green or brown form; the green type is typically used for cyanotypes. |
| Potassium Ferricyanide | Works in conjunction with ammonium iron(III) citrate to form the photosensitive solution. | Must be handled with care, as it is toxic in concentrated forms. |
| Paper or Material | ||
| Watercolor Paper | A popular choice for cyanotypes due to its texture and absorbency. | Heavier weights (e.g., 300 gsm) are preferred for their ability to hold more solution without warping. |
| Fabric, Wood, etc. | Alternative materials that can be coated with the cyanotype solution. | Natural fibers like cotton or silk work best for fabric. Preparation may vary based on material. |
| Negative Preparation | ||
| Digital Negative | A printed version of your image on transparency film, adjusted for contrast and exposure. | Can be created using photo editing software and a standard inkjet printer. Ensure the negative is the same size as your desired print. |
| Exposure Unit | ||
| UV Light Source | An alternative to sunlight, used for the exposure process. | Can be a UV lamp, lightbox, or even a tanning bed. The distance from the light source and exposure time will vary depending on the strength of the UV source. |
| Development | ||
| Water | Used to wash out the print after exposure, revealing the blue image. | Cold water is recommended for the washing process. |
| Other Supplies | ||
| Brushes or Foam Rollers | For applying the cyanotype solution evenly across the paper or material. | |
| Glass or Acrylic Sheet | Placed over the negative and paper/material to ensure close contact during exposure. | A clear sheet that is UV transparent is necessary to avoid casting shadows or blocking UV light. |
| Timer | To accurately measure exposure time. | A simple kitchen timer or smartphone app will suffice. |
| Dark Room or Space | A light-safe area for drying the coated paper/material before exposure. | Does not need to be completely dark but should be free from UV light until the paper/material is ready for exposure. |
| Chemical | Purpose | Initial Measurement | Notes |
|---|---|---|---|
| Ammonium Iron(III) Citrate | Sensitizer | 25 grams | Part A of the cyanotype solution. The green type is commonly used for its higher purity and consistency. |
| Potassium Ferricyanide | Sensitizer | 10 grams | Part B of the cyanotype solution. It reacts with Part A under UV light to form the characteristic blue print. |
| Distilled Water | Solvent | 100 ml for each chemical solution | Used to dissolve both chemicals separately before mixing them together. Ensures purity and consistency. |
| Total for Mixed Solution | - | 200 ml (approximately 100 ml of each) | This mixed volume is enough to cover approximately 20-30 sheets of 8x10 inch paper, depending on application thickness. |
Preparation Steps:
- Dissolve Each Chemical: Start by dissolving 25 grams of ammonium iron(III) citrate in 100 ml of distilled water to create Solution A. In a separate container, dissolve 10 grams of potassium ferricyanide in another 100 ml of distilled water to make Solution B. Ensure both chemicals are completely dissolved.
- Mix Solutions: Combine Solution A and Solution B in equal parts immediately before use to create the cyanotype solution. Stir gently to ensure a uniform mixture.
- Application: Apply the mixed solution to your paper or chosen material with a brush or foam roller under dim light conditions. Ensure an even coat over the entire surface.
- Drying: Allow the coated paper or material to dry completely in a dark, dry place. It must be completely dry before exposure to UV light.
- Exposure and Development: After drying, expose your coated material to UV light with your negative or object in place. Wash the print in cold water after exposure to develop the blue color.
Notes:
- Safety: Wear gloves and work in a well-ventilated area when handling chemicals.
- Adjustments: You may need to adjust the concentration based on your specific requirements or if you're experimenting with different types of paper or materials.
- Storage: Store unmixed chemicals in a cool, dark place. Mixed solution should be used soon after preparation for best results.
Using a Weak Bleach Solution to Alter Print Color:
- Prepare the Bleach Solution: Mix a weak bleach solution using household bleach and water. A recommended starting point is a ratio of 1 part bleach to 10 parts water.
- Test on a Sample: Before applying the bleach solution to your final print, test it on a small sample.
- Apply the Bleach: Gently apply the bleach solution to the cyanotype print using a brush or sponge.
- Observe the Change: Watch the print closely as it reacts with the bleach.
- Stop the Reaction: Once the desired color is achieved, immediately rinse the print in clean water.
- Dry the Print: After thoroughly rinsing, allow the print to dry.
Notes and Tips:
- Ventilation: Work in a well-ventilated area when using bleach.
- Experimentation: The process can be variable depending on the concentration of the bleach and the type of paper.
- Additional Toning: After bleaching, some artists further tone their prints with other substances to introduce different hues.

 Mastering Cyanotypes: Key Takeaways
 FAQ
FAQ
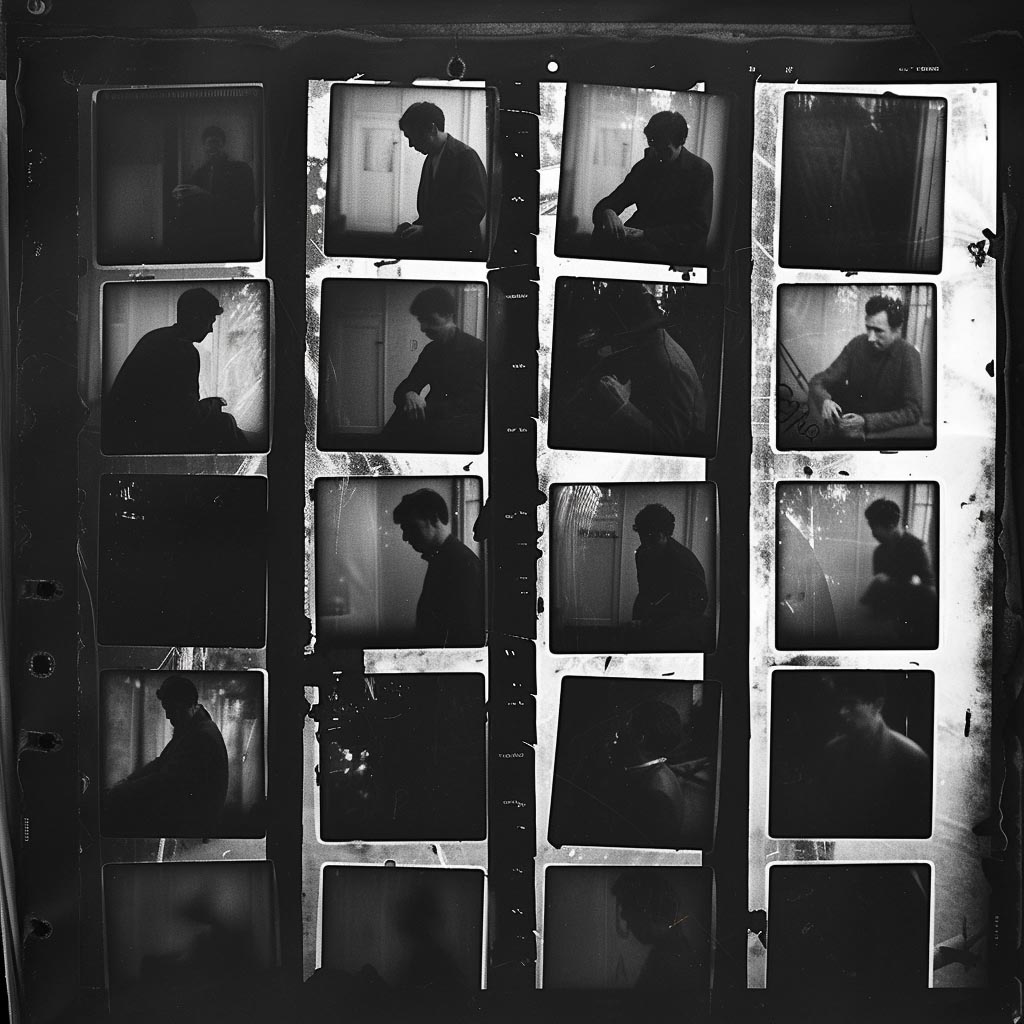 120 film, also referred to as medium format film, offers higher resolution and more detailed negatives compared to 35mm. The larger format allows for a greater amount of information to be captured, resulting in stunningly sharp and detailed images.