Beach Photography Project. Inspired by Martin Parr Covert Observation and Visual Storytelling
I’ve always found the unscripted moments that Martin Parr photographs on beaches to be intriguing. I recently began my own beach street photography project in Fuerteventura, inspired by his work.
Project Overview. Beach Photography as Social Observation
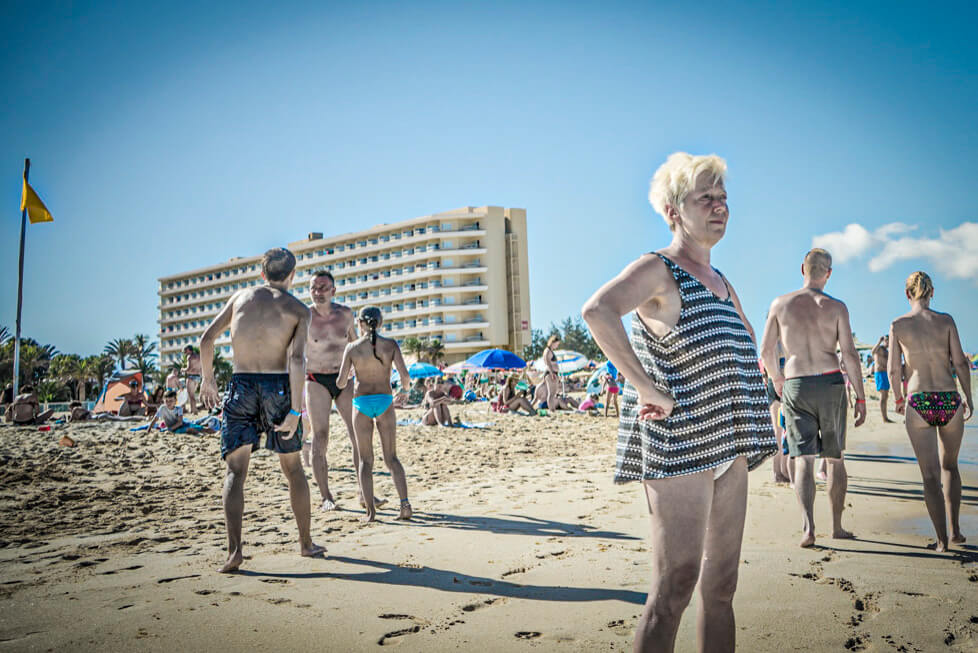
This project explores beach photography as a form of social observation, focusing on human behaviour when people believe they are unobserved.
Photographed during a holiday in Fuerteventura, the work examines how leisure environments expose gesture, habit, contradiction, and quiet narrative. The beach becomes a temporary social stage. A place where people relax their awareness, lower defences, and drift into routine.
Rather than documenting a location broadly, the project isolates individual moments. Each image was made to stand on its own, suggesting a story or raising a question rather than simply recording activity.
This is not casual holiday photography.
It is a deliberate exercise in editorial, lifestyle people photography, carried out covertly and with restraint.
Context. A Deliberate Holiday Photography Project
The project was undertaken as a contained exercise during a family holiday.
It was not intended as an extended series, nor as a commercial commission. The limitation of time and scope was intentional. Working within a finite window forced discipline, selectivity, and patience.
The initial challenge was simple.
Can you photograph people in a real way, without them noticing, and still create images with narrative weight?
This question shaped every decision that followed.
Method & Approach. Covert Lifestyle Photography on the Beach
All images were captured using a covert hip-shooting technique, a method historically associated with early observational and documentary practices.
The approach was influenced by the early beach work of Martin Parr, particularly his use of unobtrusive cameras and sustained observation to reveal social behaviour rather than staged moments.
I worked with a Sony ZV-E10, chosen for its compact size and unthreatening presence. The camera was held loosely and low, often appearing inactive. Exposure was left in automatic mode to remove hesitation and allow full attention to remain on behaviour rather than settings.
I walked the same stretches of beach repeatedly, at similar times of day, allowing familiarity to develop and suspicion to fade.
Presence became unremarkable.
Observation became possible.
Scene by Scene. Visual Storytelling in Beach Photography
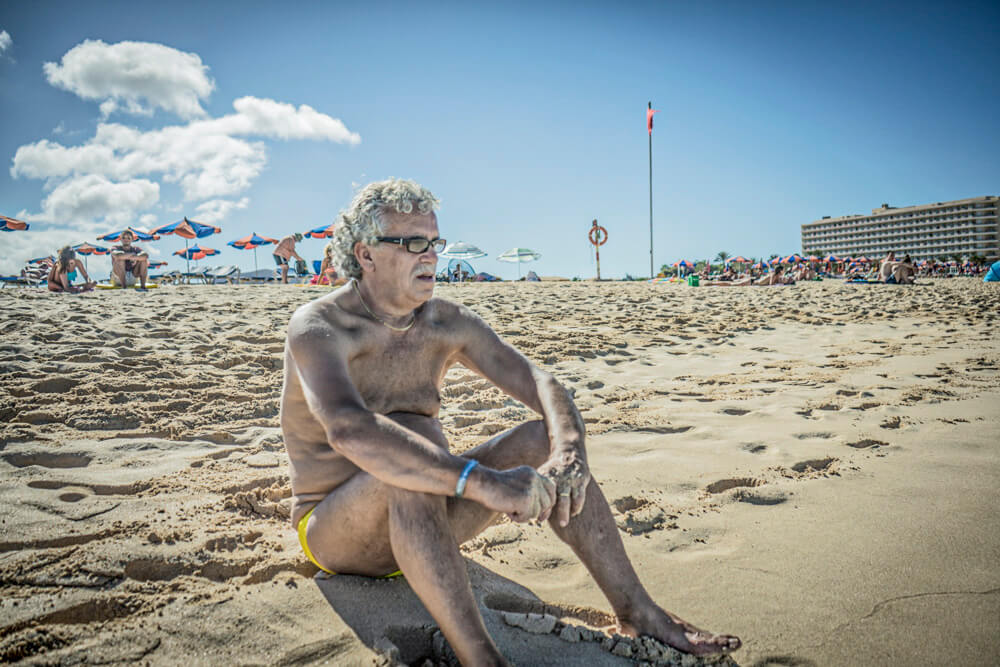
Each photograph was approached as a contained scene, not as part of a continuous visual sweep. This was not about accumulating images. It was about recognising when a moment carried meaning.
Every frame needed to:
Suggest a narrative
Create visual tension
Or reveal a contradiction between subject and environment
If a scene did not offer that, it was ignored.
This discipline separated the work from casual beach photography or happy snapping. The intention was not to capture activity, but to wait until behaviour revealed something worth recording.
In this way, the project aligns more closely with editorial lifestyle photography than with travel or leisure imagery.
Street Photography or Something Else?
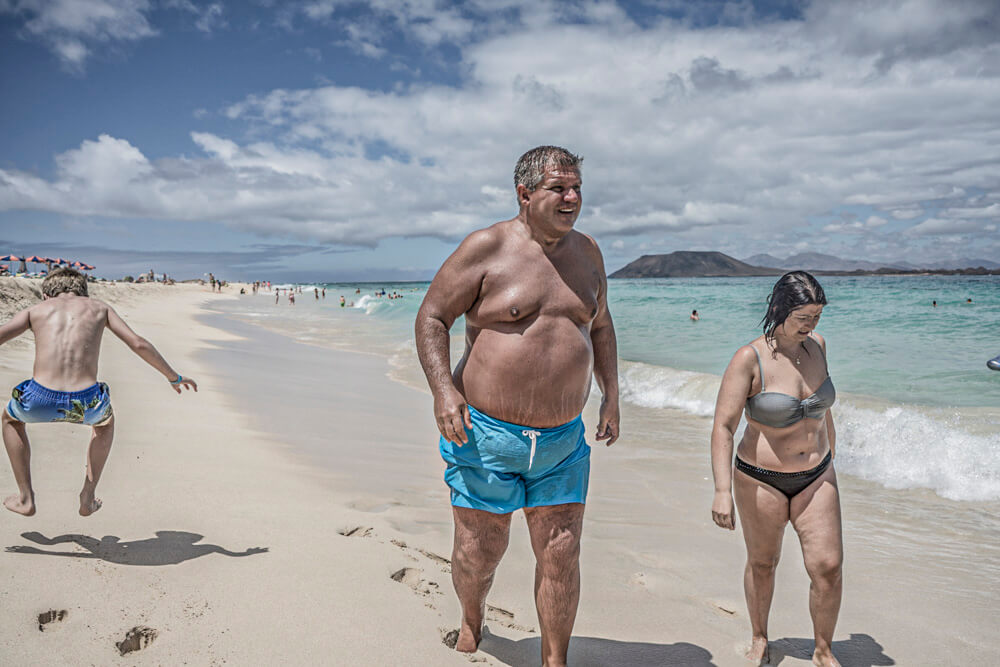
This project raises the question of whether beach photography should be classified as street photography at all.
The beach removes many of the disguises present in urban environments. There is less clothing, fewer distractions, and greater vulnerability.
The challenge is not speed or concealment, but judgement and restraint.
Knowing when a scene carries narrative value.
And when it is merely noise.
The work sits deliberately between street photography, documentary observation, and editorial lifestyle imagery.
Editing & Aesthetic. Editorial Restraint
All images were edited in Lightroom.
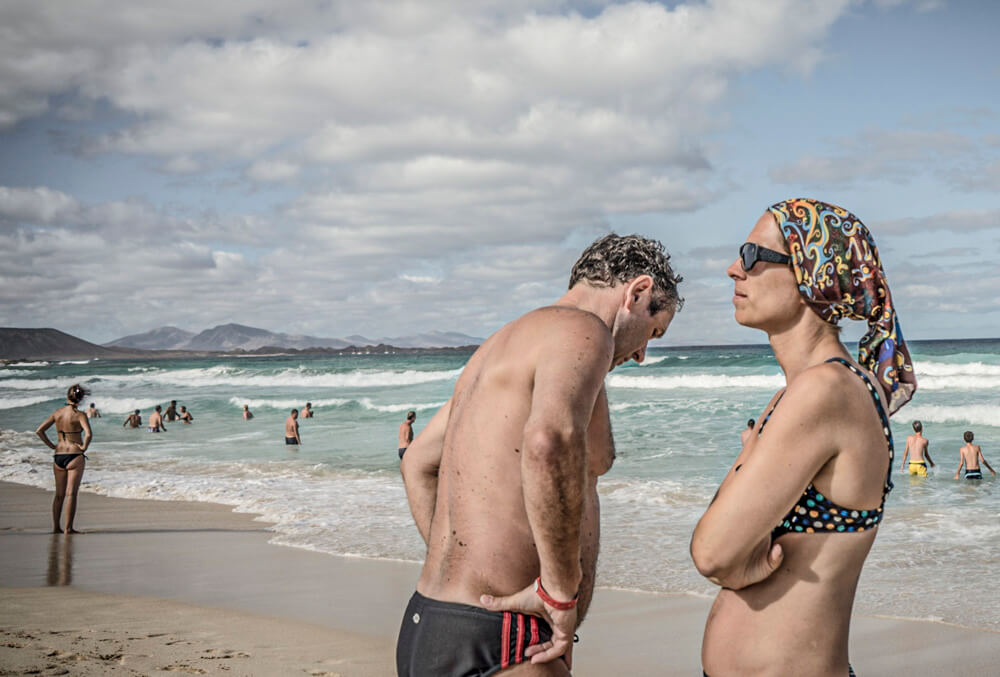
The aesthetic is restrained.
Saturation is reduced.
Contrast is controlled.
The goal was to avoid aestheticising behaviour that already carries enough visual and social information on its own. The edit supports the story rather than dominating it.
Why This Project Matters
This work exists outside my commercial fashion and advertising practice.
It was initially withheld because it did not align neatly with client-facing expectations. In hindsight, that hesitation was unnecessary.
Projects like this sharpen perception.
They train patience and judgement.
They reinforce the discipline of narrative intent over volume.
They inform all other work, even when unseen.
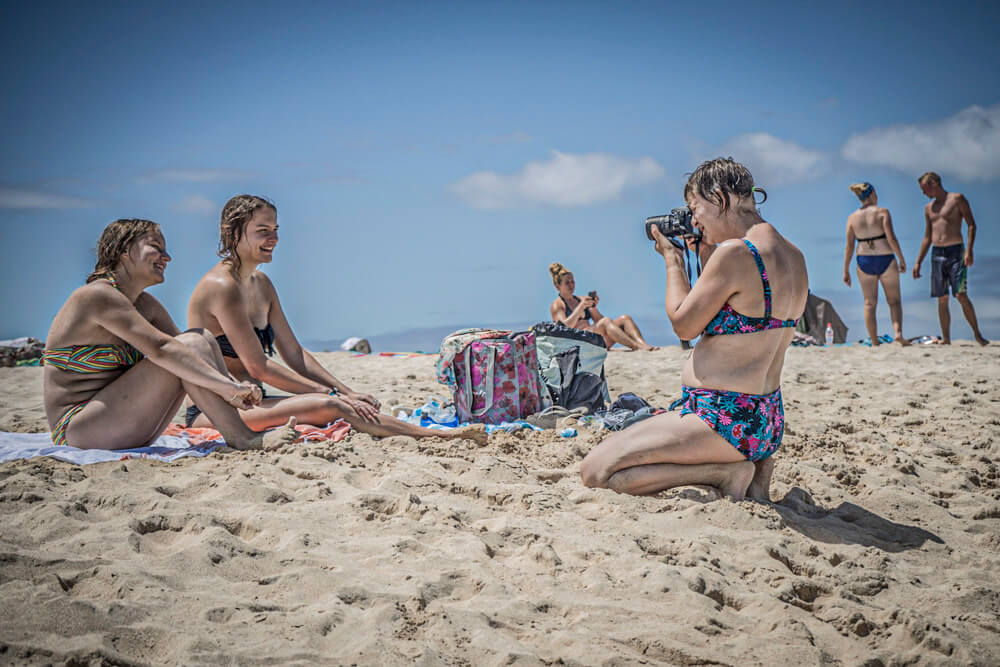
In the street, there are countless ways to blend in and work discreetly. On the beach, that option largely disappears. I did not have the luxury of a long lens to create distance. I was confined to the range of the Sony, which meant proximity was unavoidable and every decision carried more weight.
That limitation shaped the way I worked.
I walked the same stretch of beach over several afternoons, always at roughly the same time. Just after lunch, when energy fades, routines soften, and people begin to slow. It was during these hours that behaviour felt less guarded and more revealing.
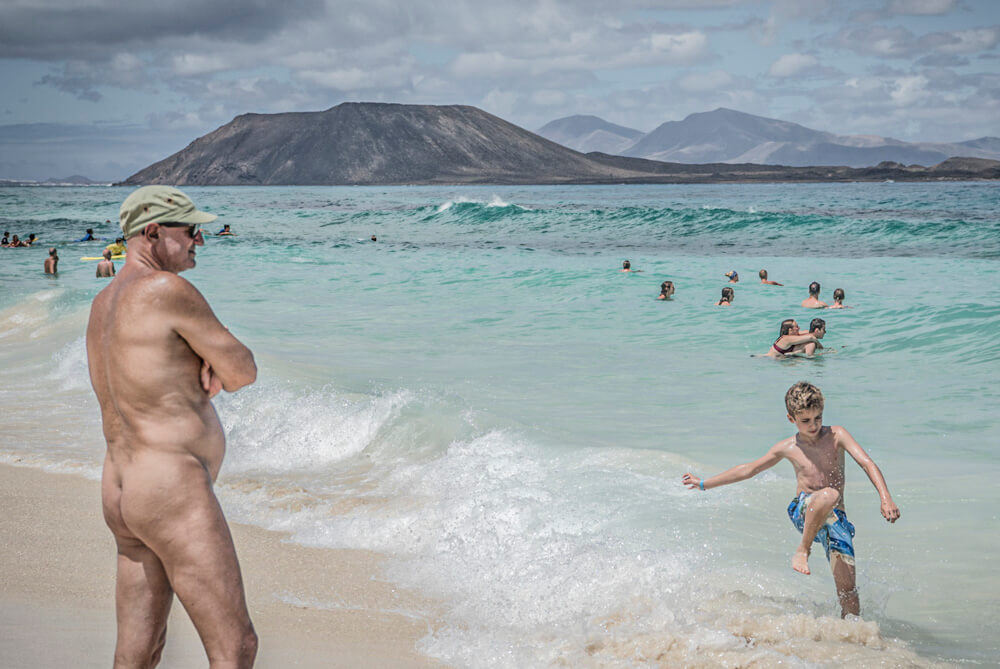
As the days passed, patterns began to emerge. The further I moved away from the hotel areas, the more behaviour shifted. What initially appeared ordinary gradually became stranger. Less structured. More improvised.
I was not searching for moments in the conventional sense. I was observing how people occupied time. How they lingered, avoided one another, settled into habits, and moved through the day without awareness of being seen.
Through repetition, familiarity developed. The beach revealed its own rhythm. Within that rhythm, the small, unnoticed stories began to surface.
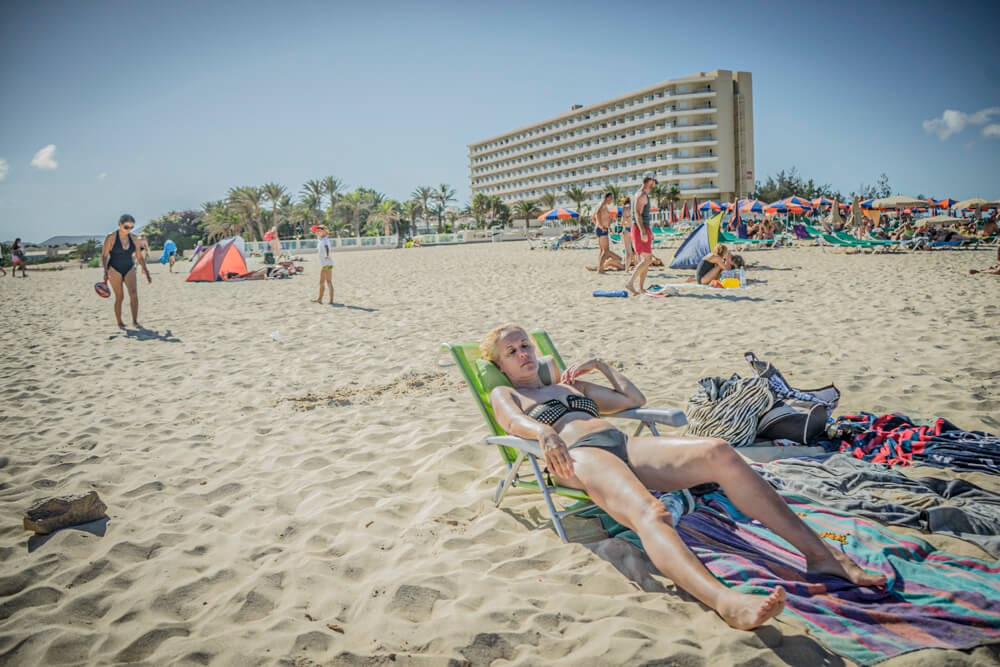
Expectation Versus Reality
Before I began, I assumed the challenge would be technical. That working without being noticed would rely on speed, timing, or concealment. In practice, it was none of those things.
What mattered most was patience.
The more time I spent walking the same stretch of beach, the less I felt the need to intervene. Scenes did not announce themselves. They revealed themselves slowly, often only after I had learned to ignore what initially appeared obvious.
My expectations of what constituted a “moment” shifted. Instead of waiting for action, I began to recognise tension in stillness. In posture. In the relationship between people and their surroundings. The images became less about what was happening and more about what was being suggested.
This change in attention altered the work entirely. It moved the project away from opportunistic capture and closer to considered observation.
Conclusion. A Different Way of Working
What this project ultimately revealed to me was not something about the beach, but something about myself.
I have spent much of my career working in controlled environments. Fashion sets, commissioned work, structured productions. Spaces where presence is overt, direction is explicit, and intention is announced. This project asked for the opposite.
Working covertly required me to recede rather than assert. To observe rather than intervene. To wait rather than direct. In doing so, I found a way of working that felt unexpectedly aligned with my own temperament.
The quieter I became, the clearer the images grew.
This approach did not demand attention. It relied on patience, sensitivity, and an ability to remain unobtrusive. Rather than confronting subjects head-on, the work unfolded through proximity and restraint. The camera became less of a tool for control and more a means of listening.
That shift changed how I think about image-making. It suggested a form of photography that values presence without intrusion. One that allows scenes to reveal themselves rather than be extracted.
While this project was brief and deliberately contained, it ignited a different way of seeing. One that sits comfortably alongside my commercial work, but operates according to entirely different rules.
Not louder.
Not faster.
Just quieter, and more attentive.

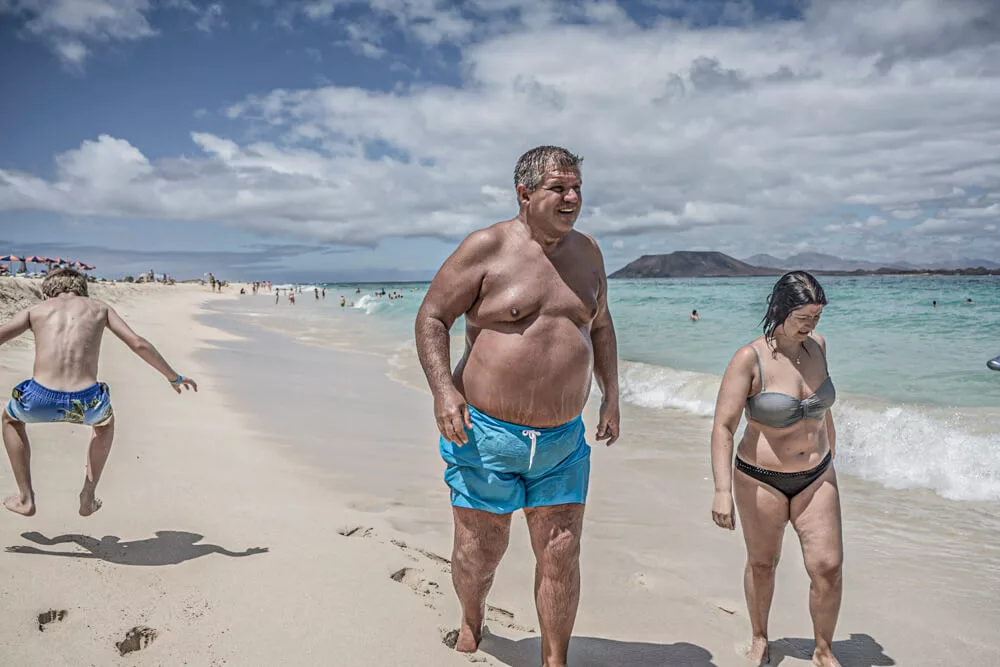
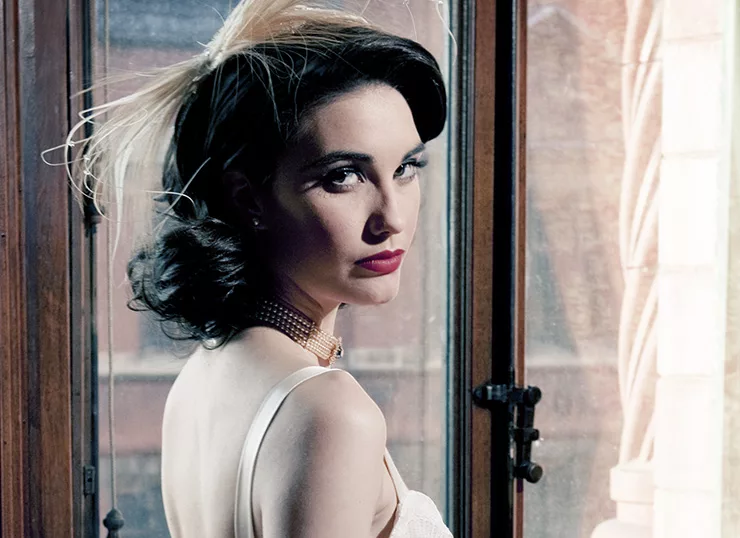
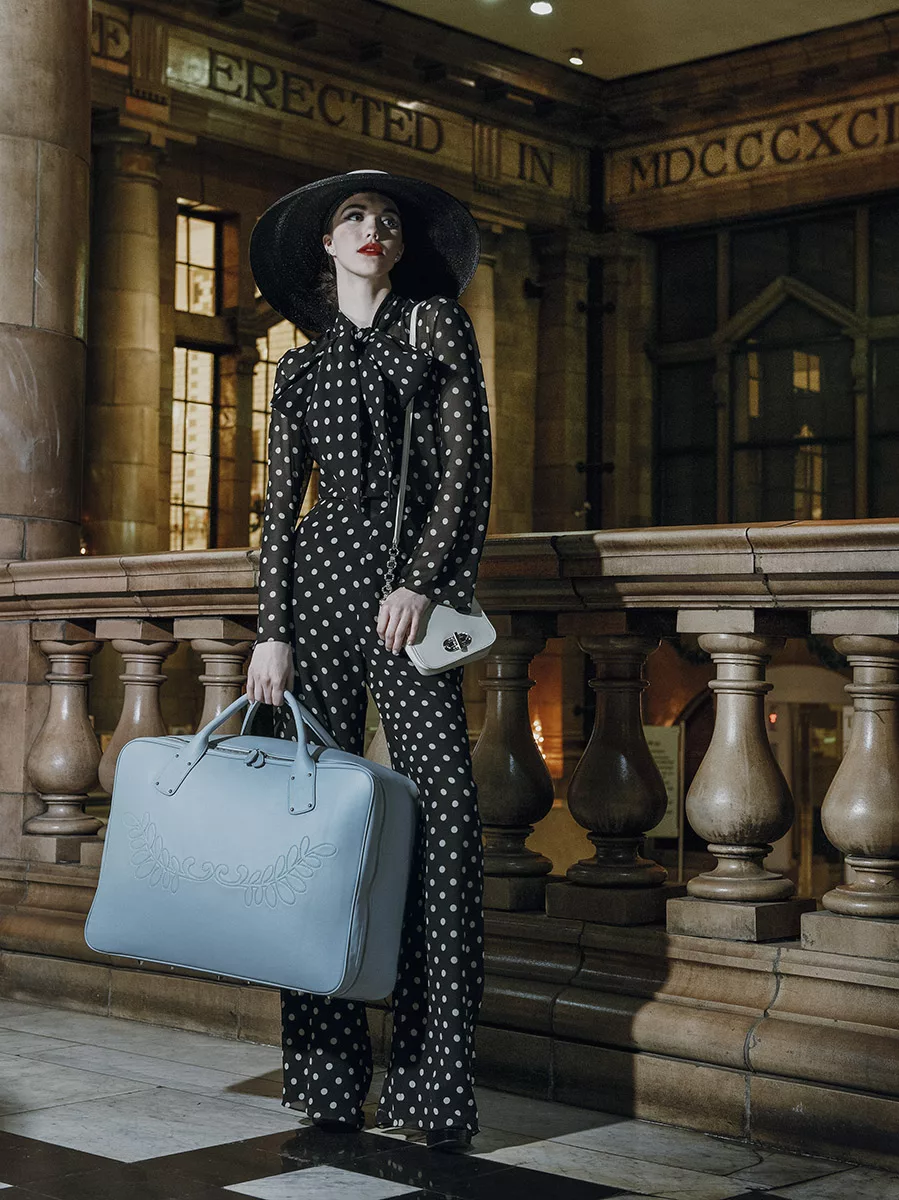 Timing was an issue. Late autumn.
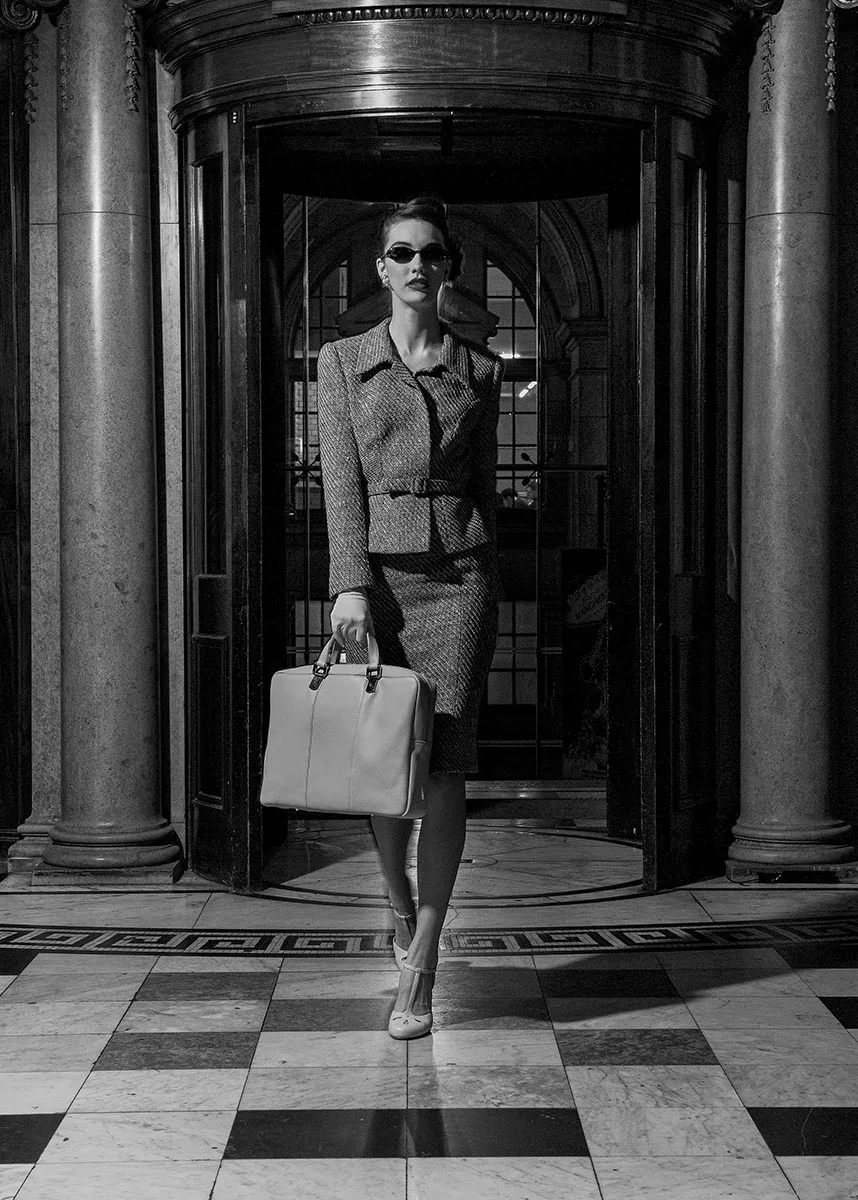 At this stage I was still building.
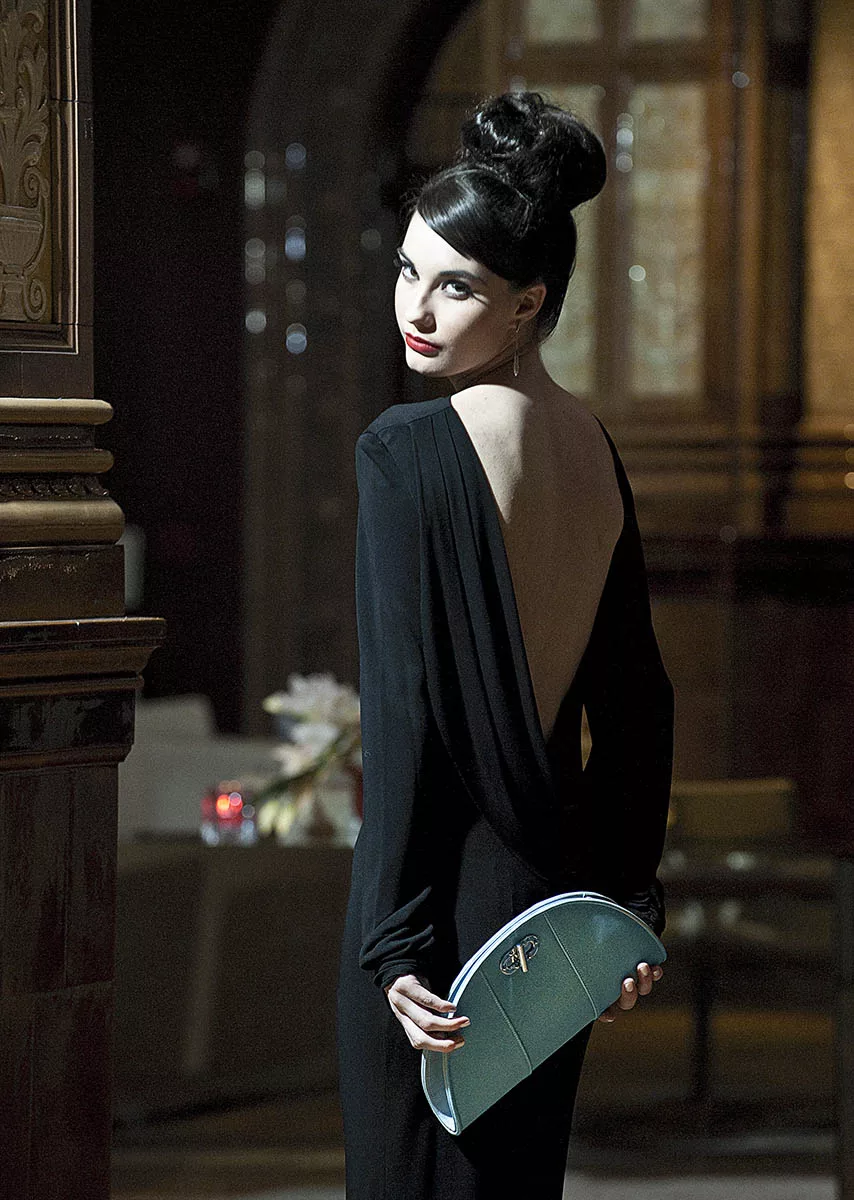
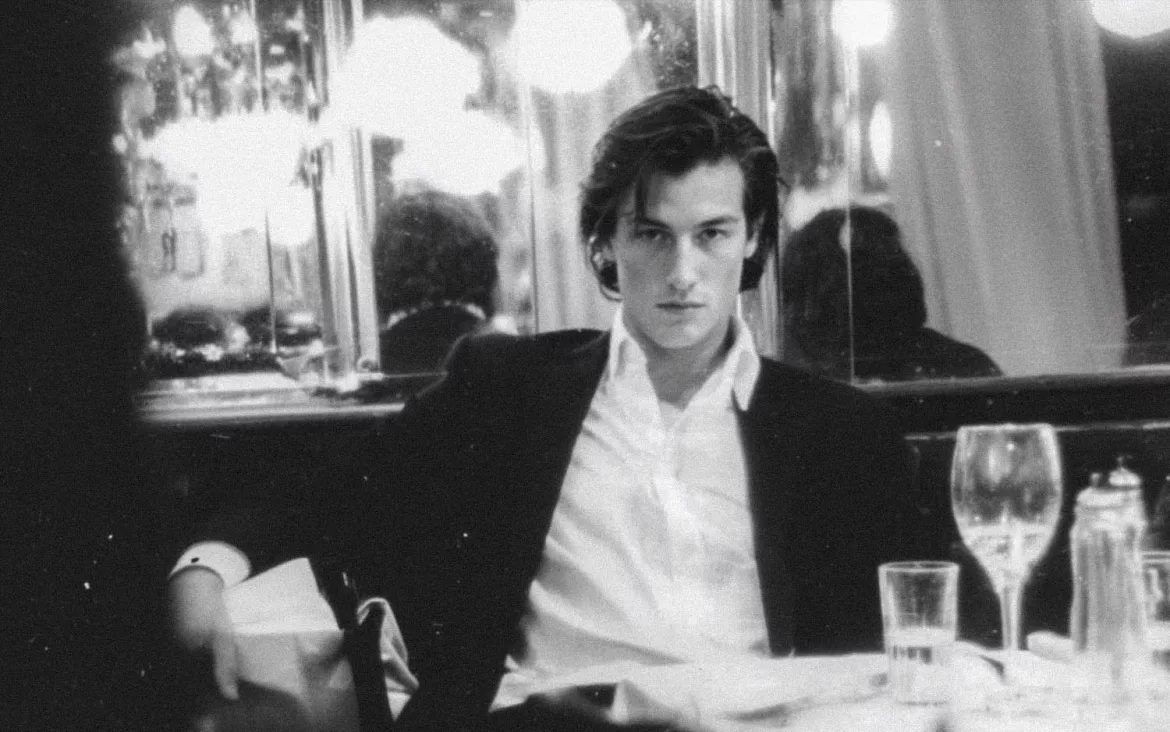
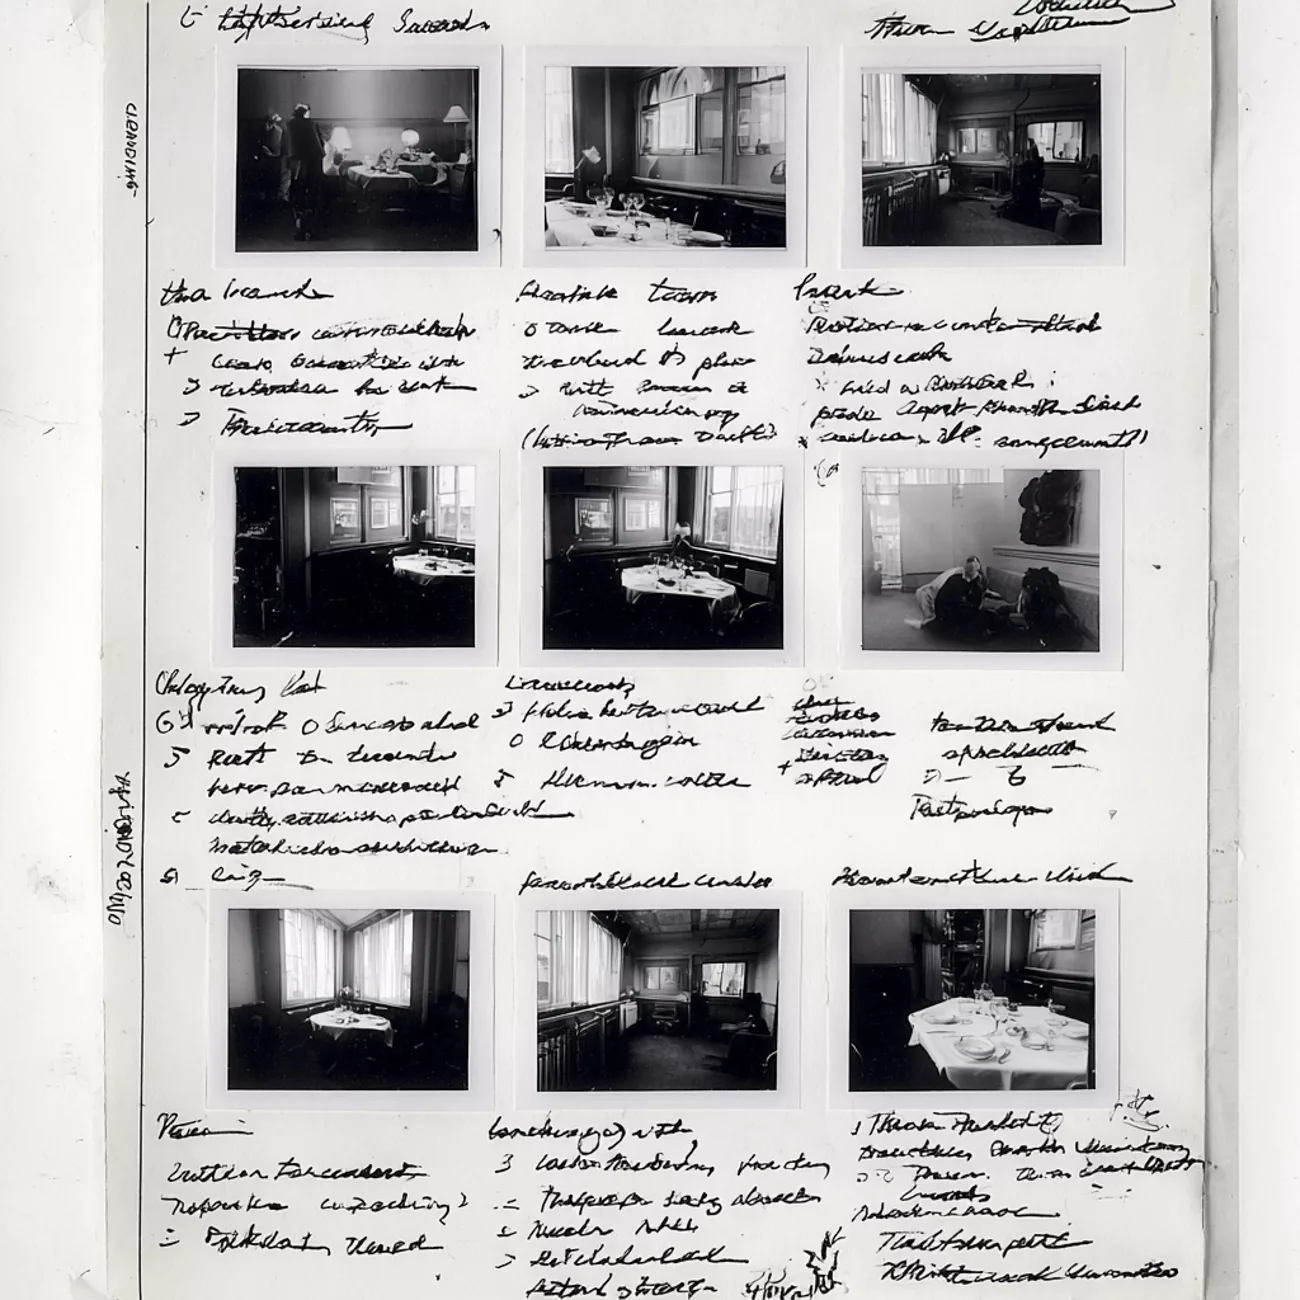
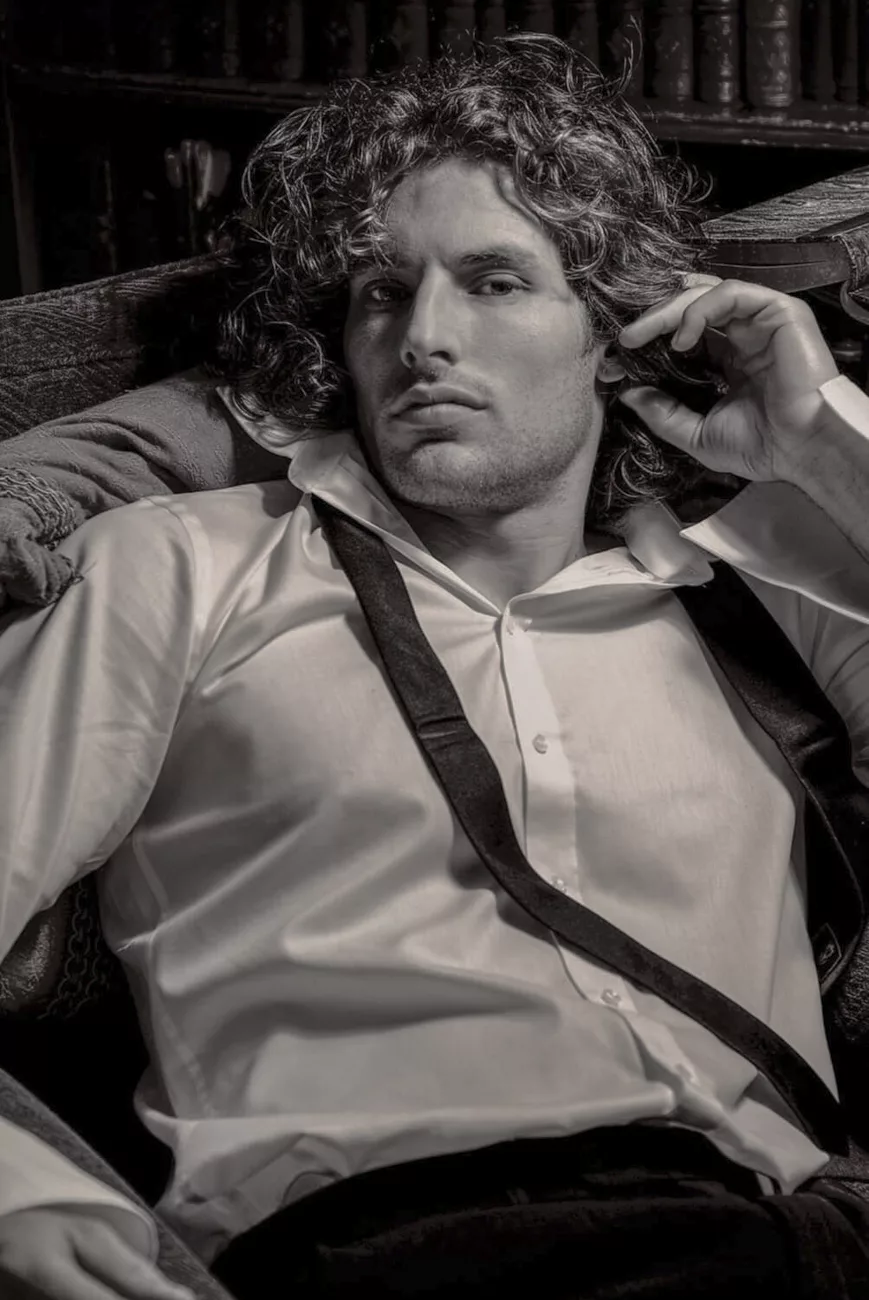
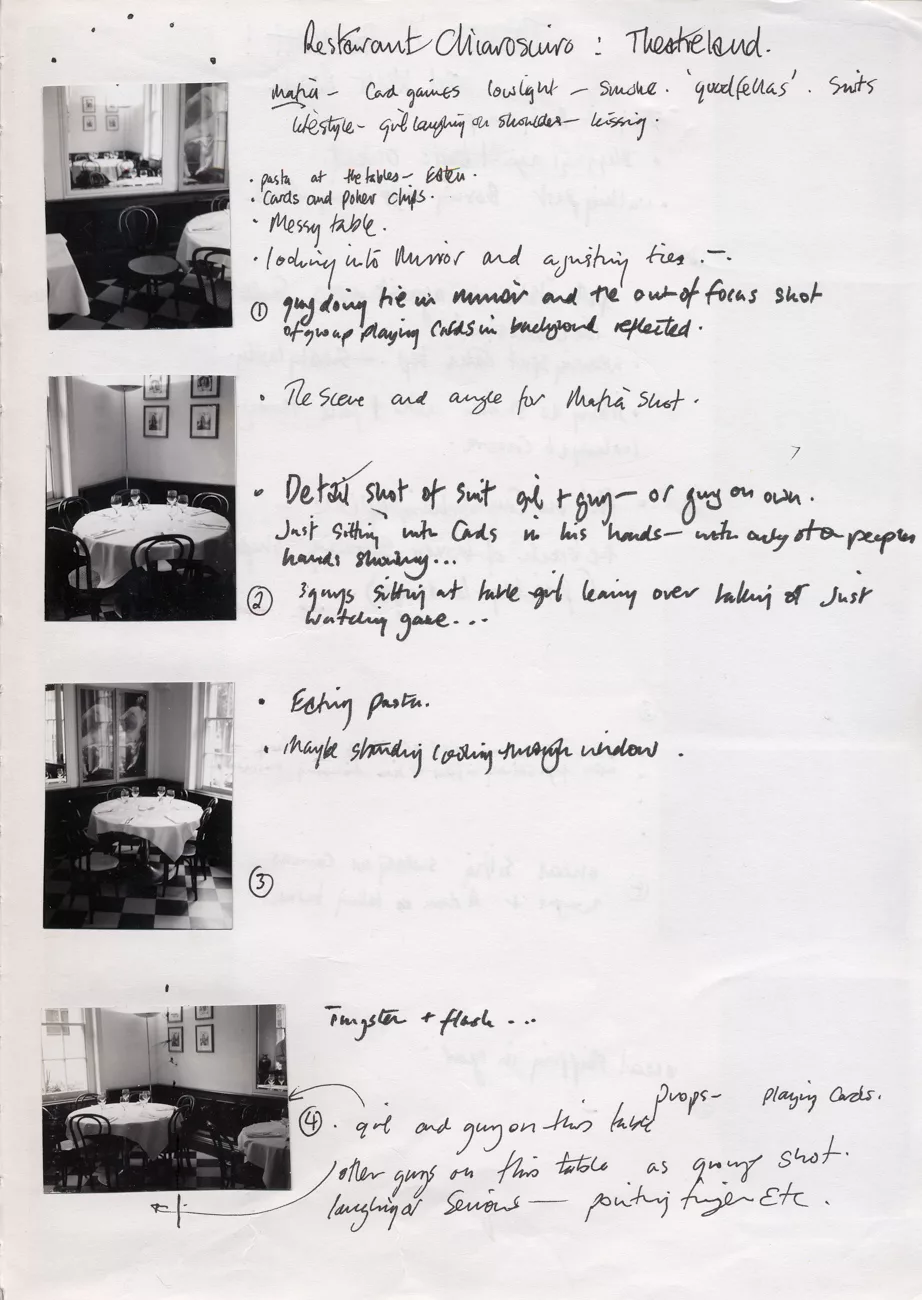
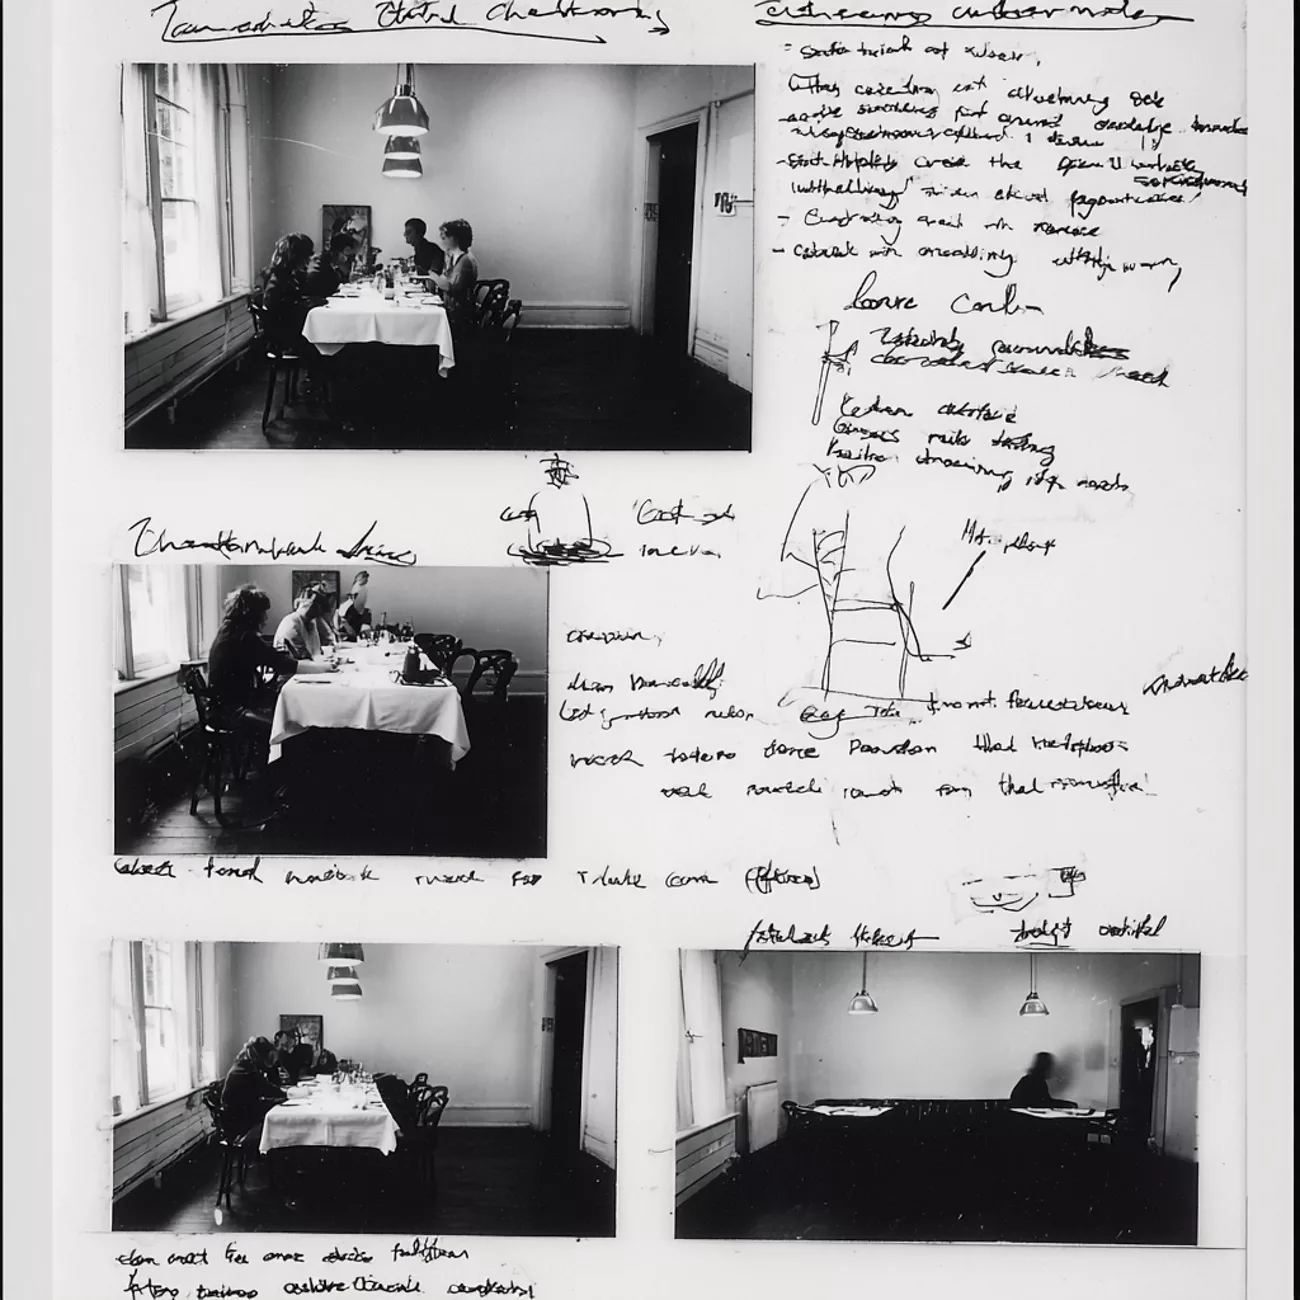
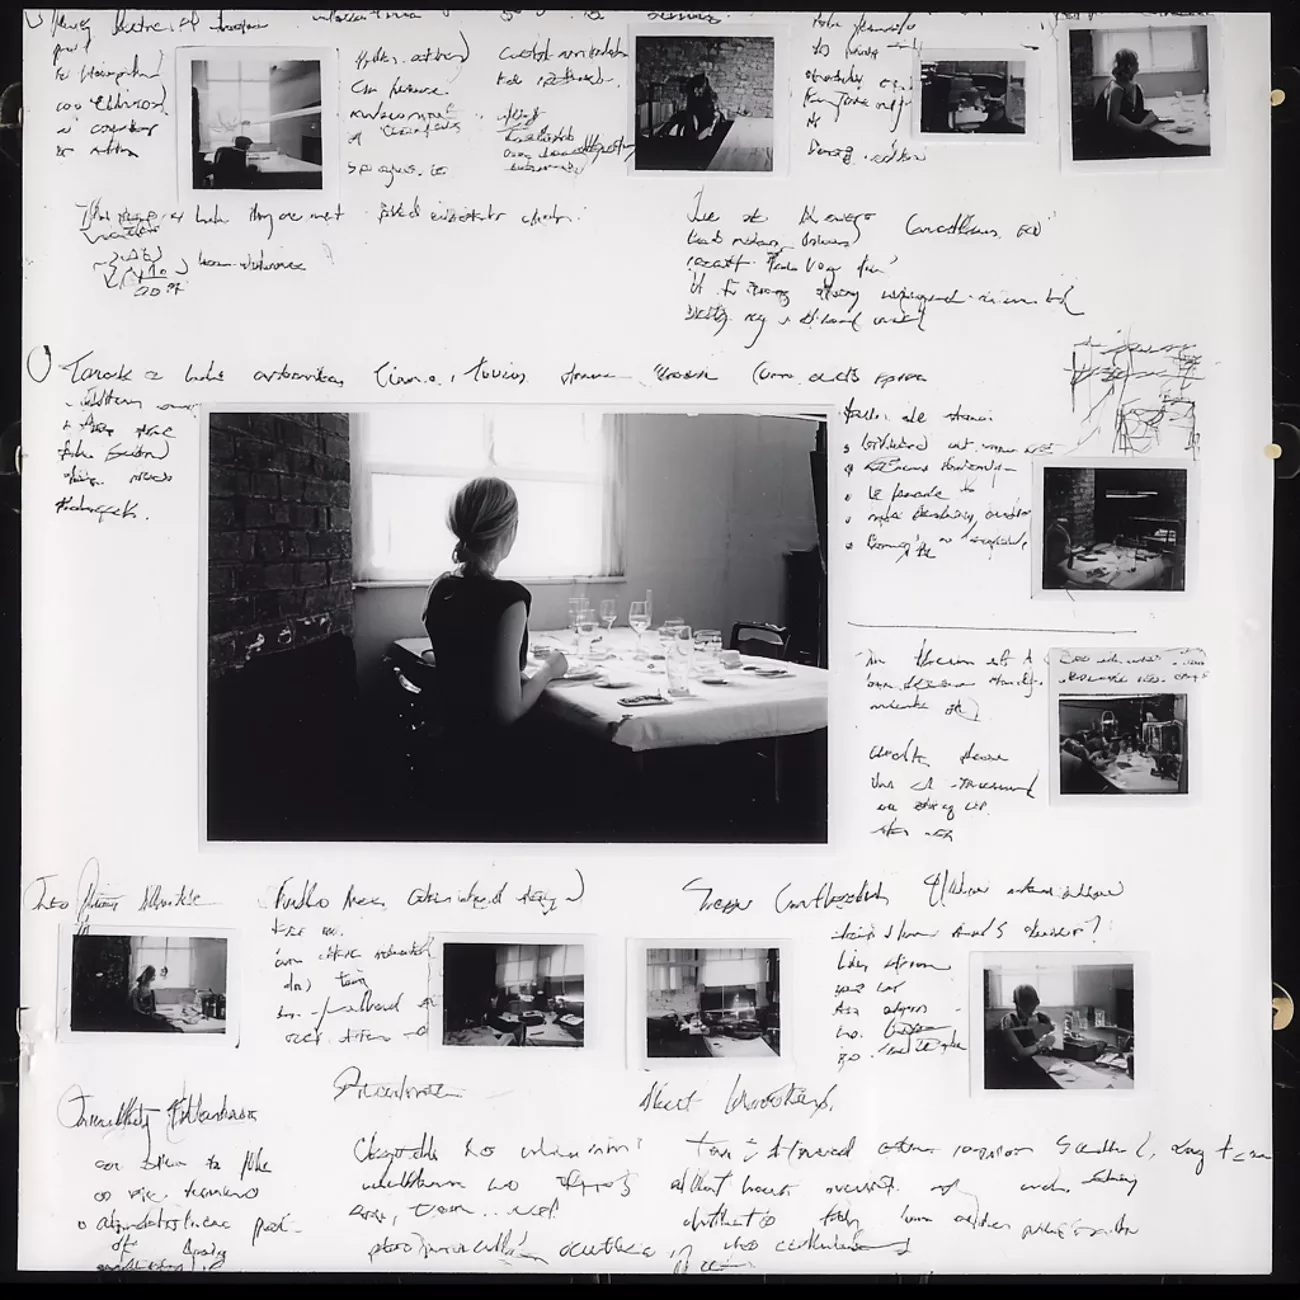
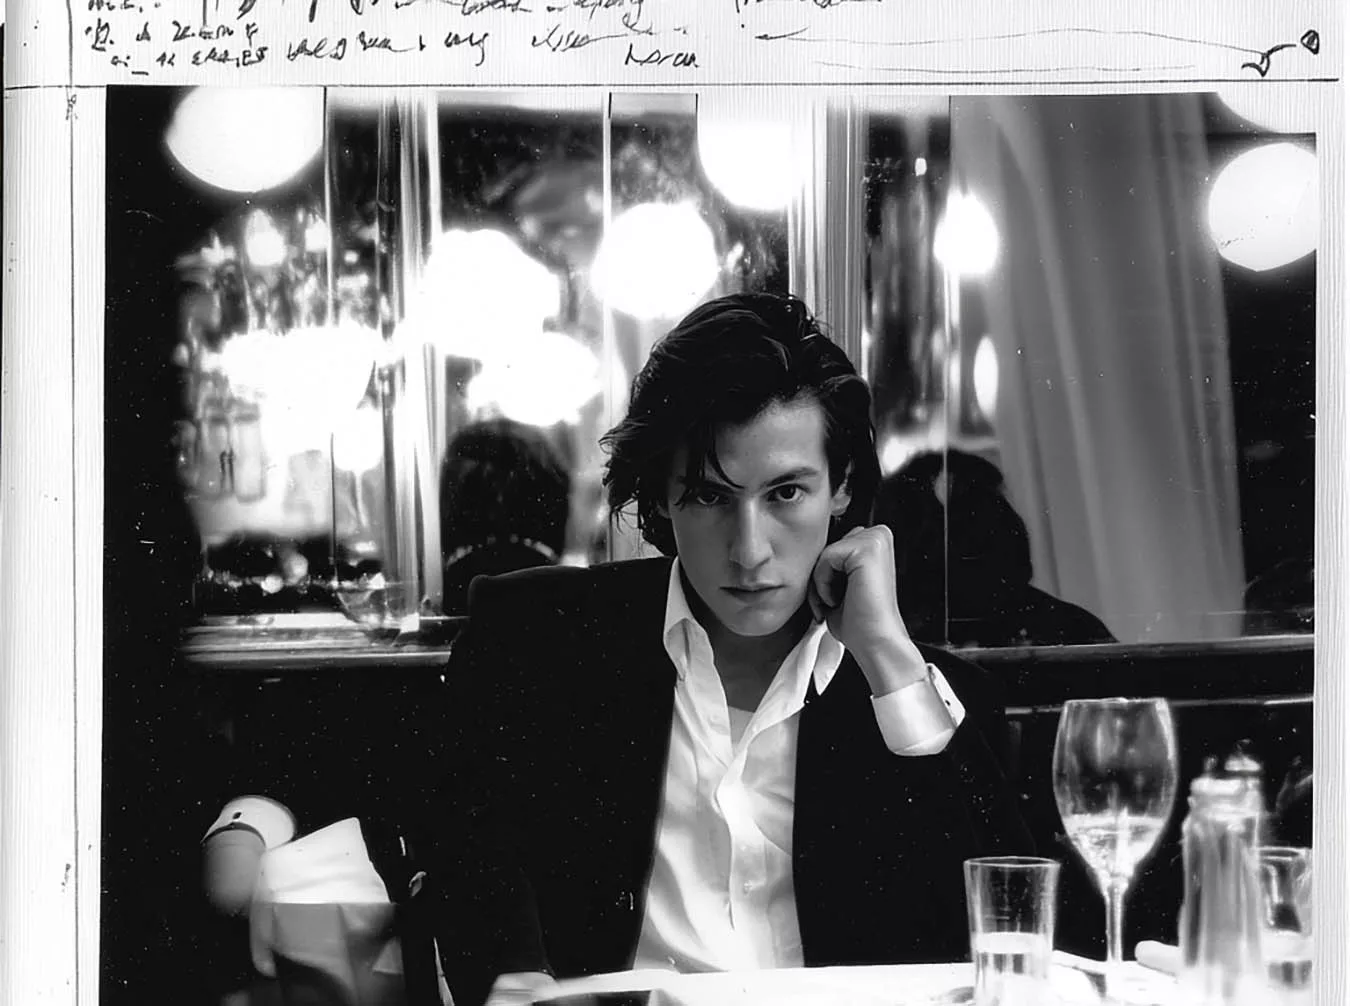 Back then it was film. Rolls numbered. Frames logged. Shoot three, film eleven, frames A, B, C. F-stops noted so decisions could be made in the lab. There was not much latitude. You had to be precise.






 Getting Started
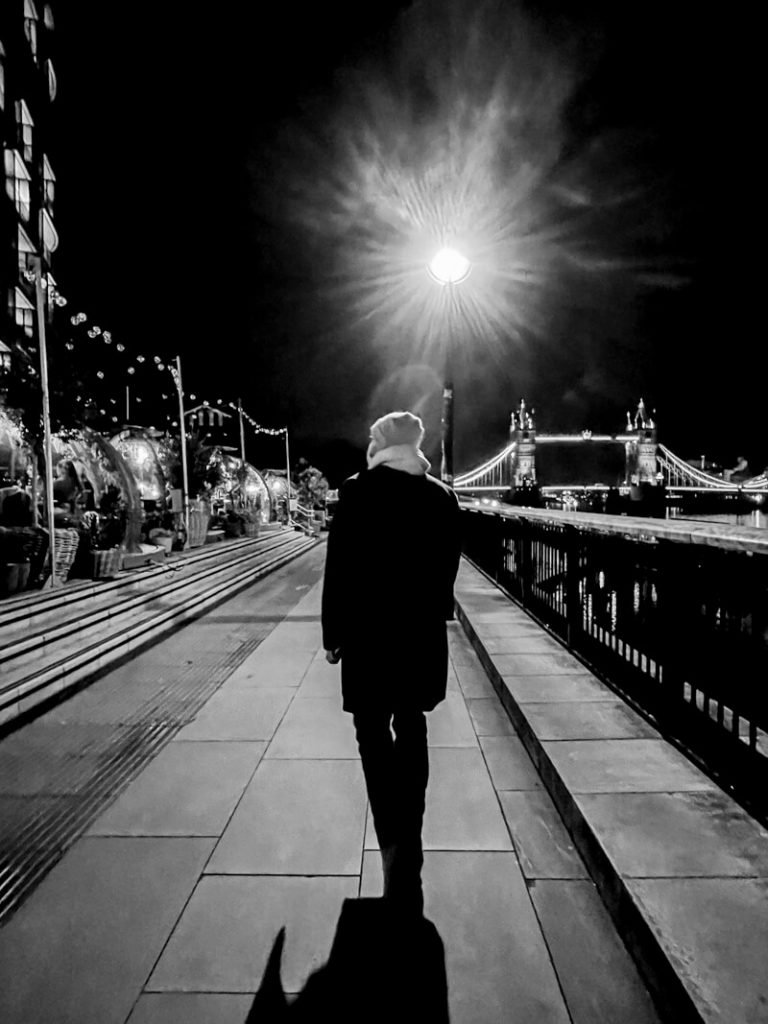
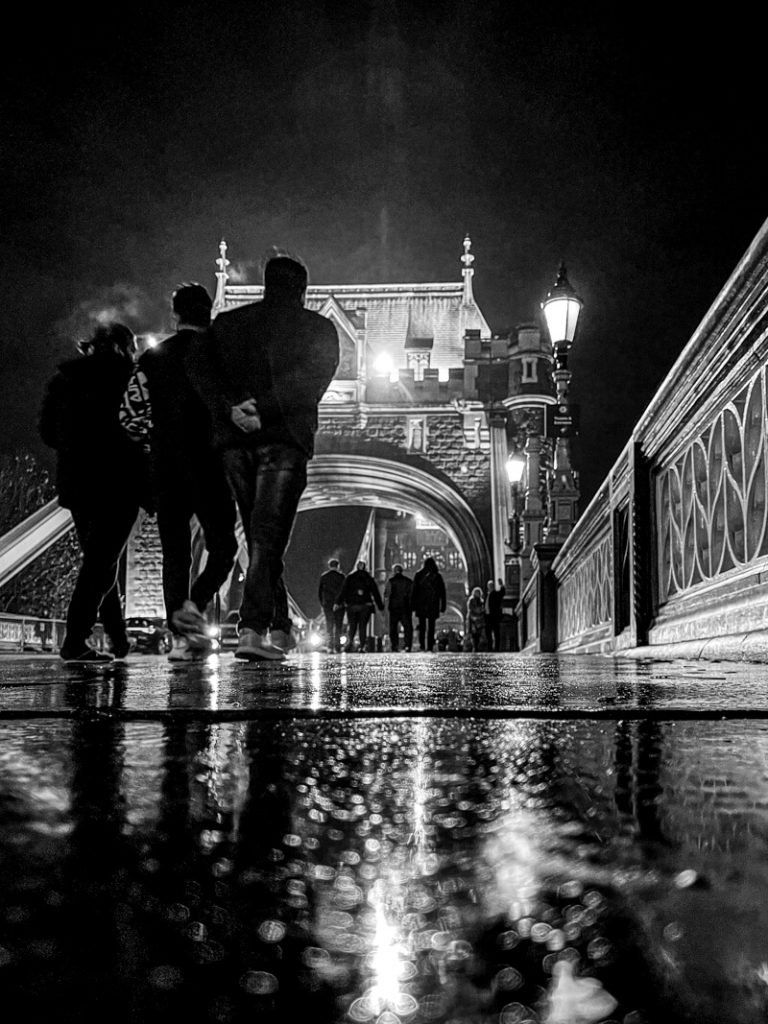
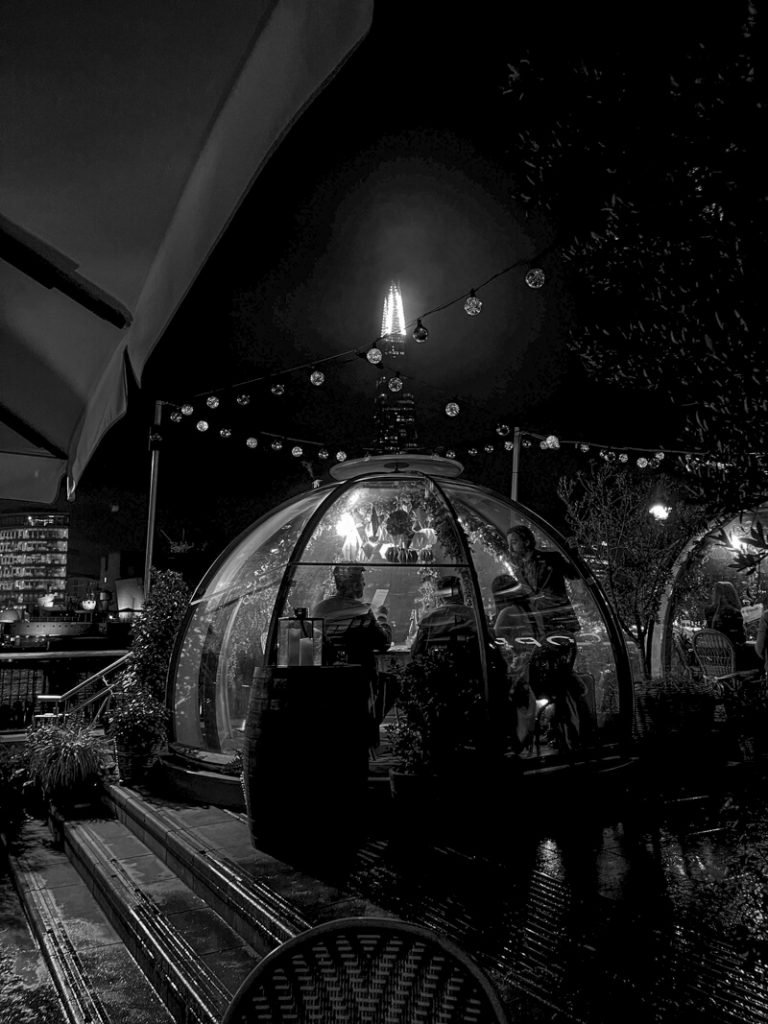
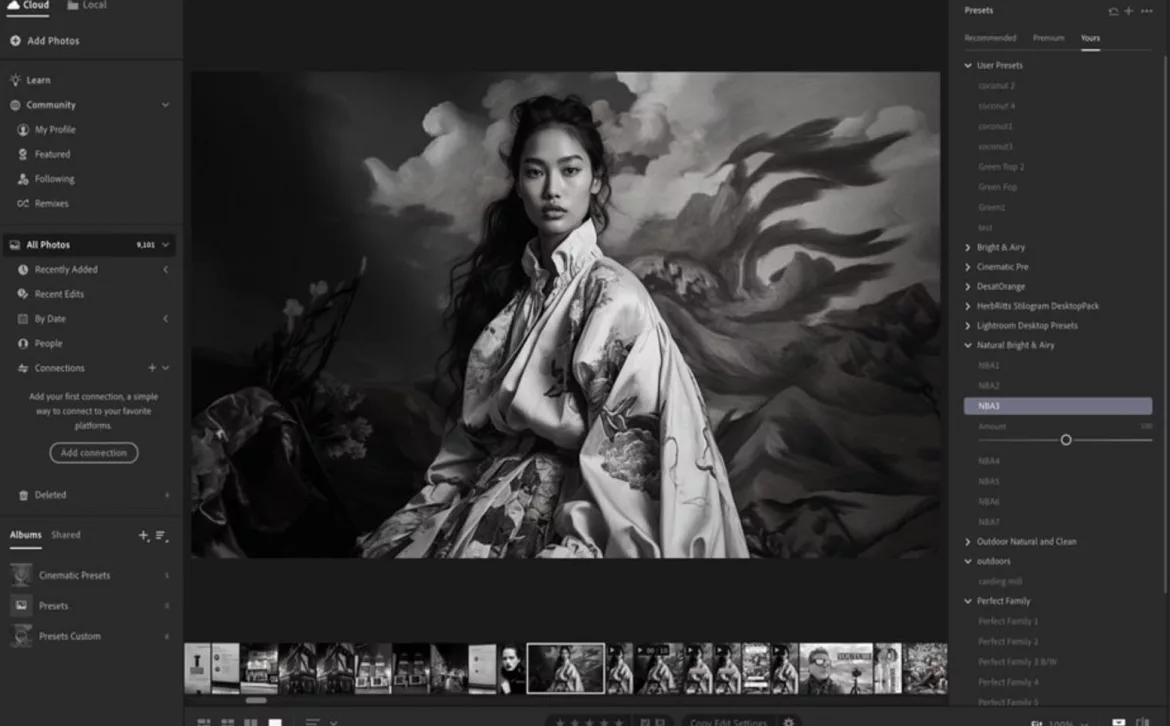
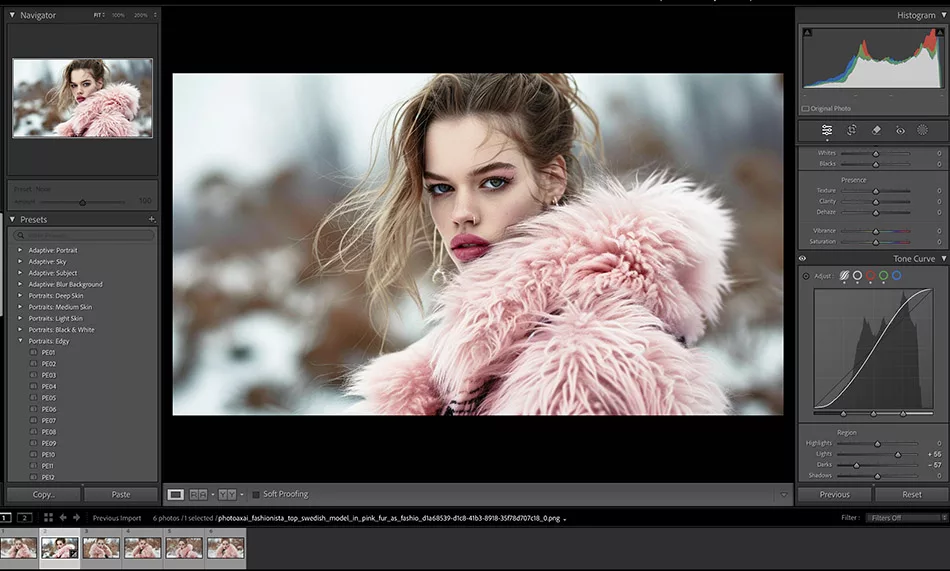
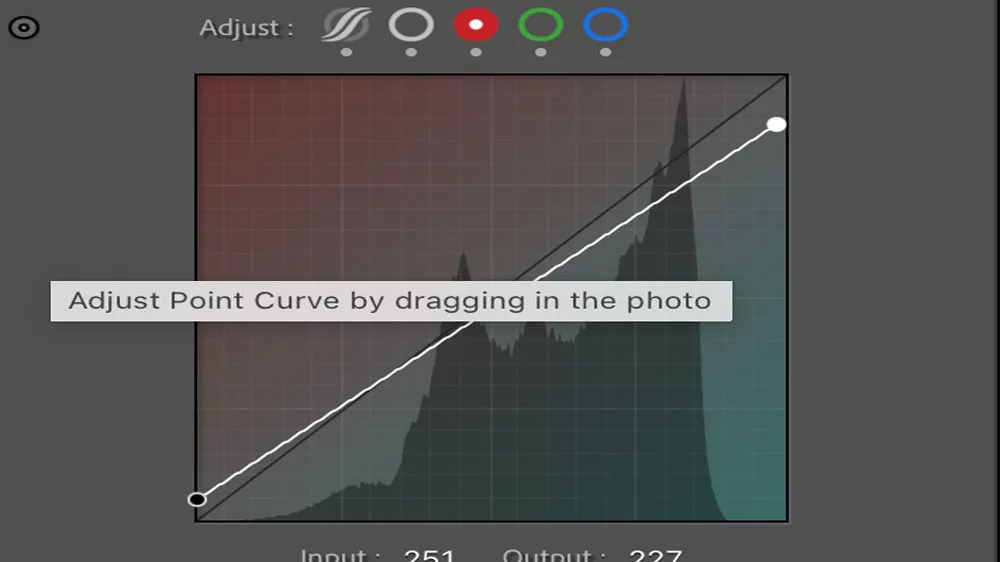
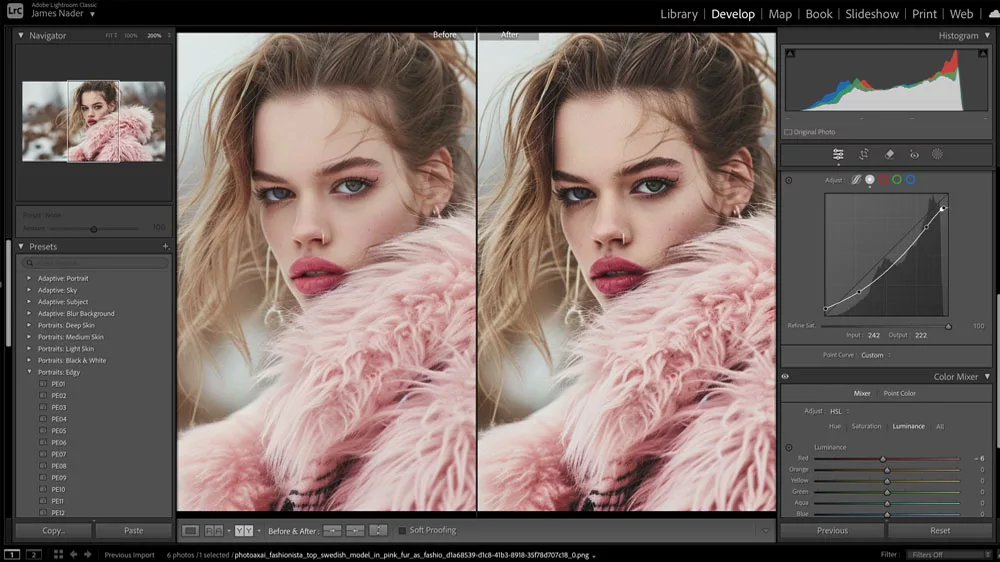
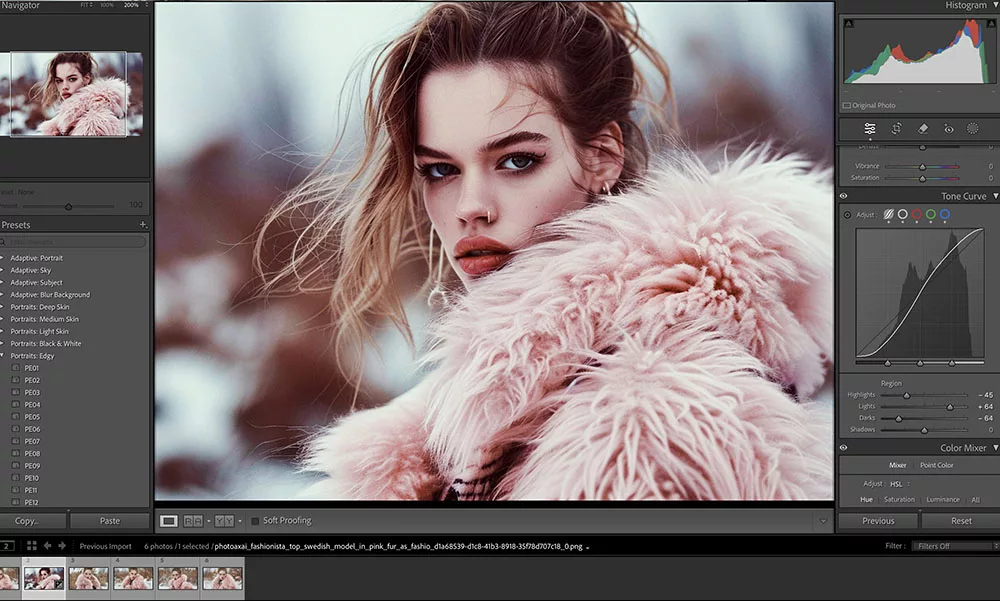
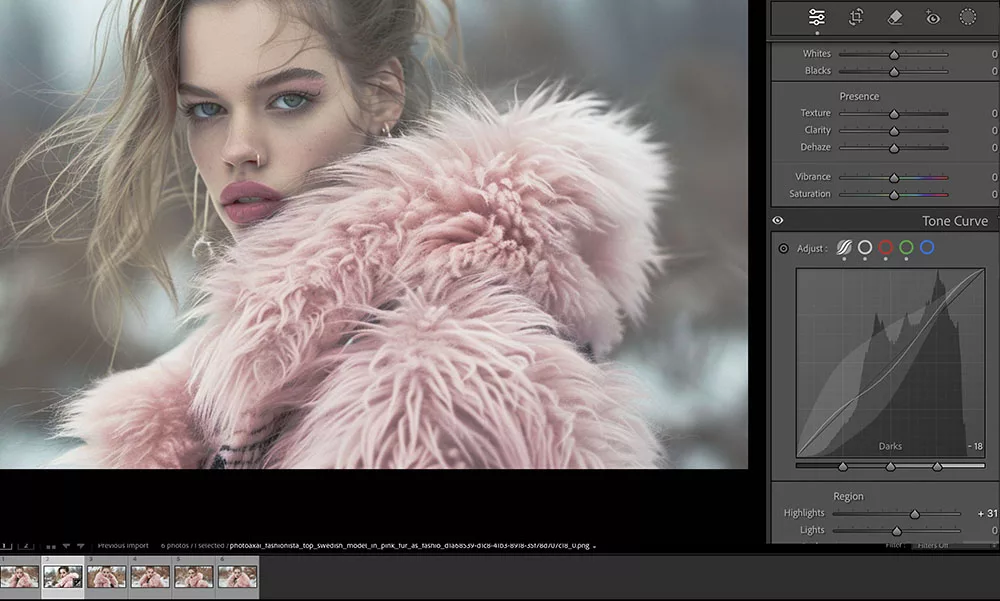


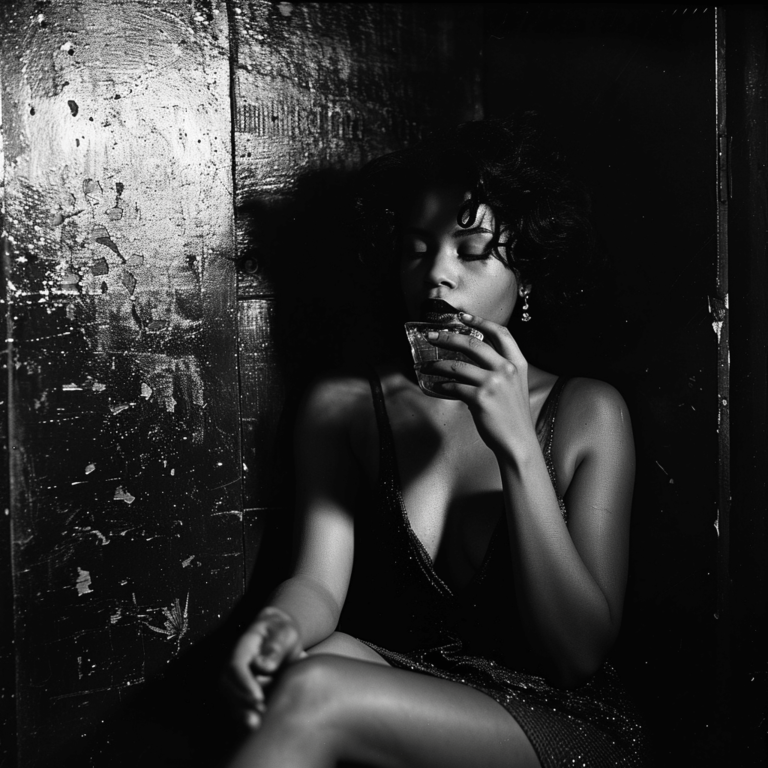
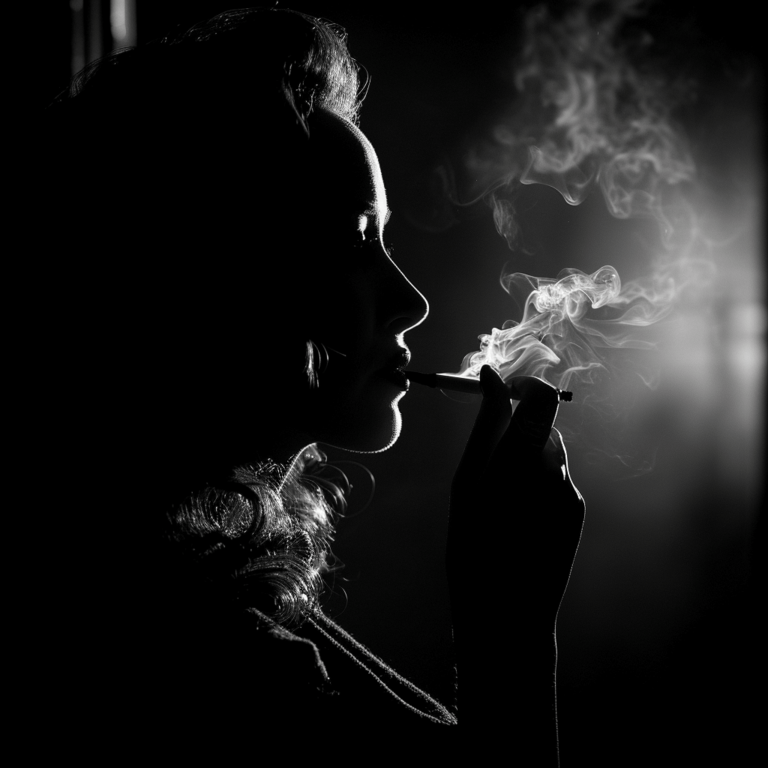

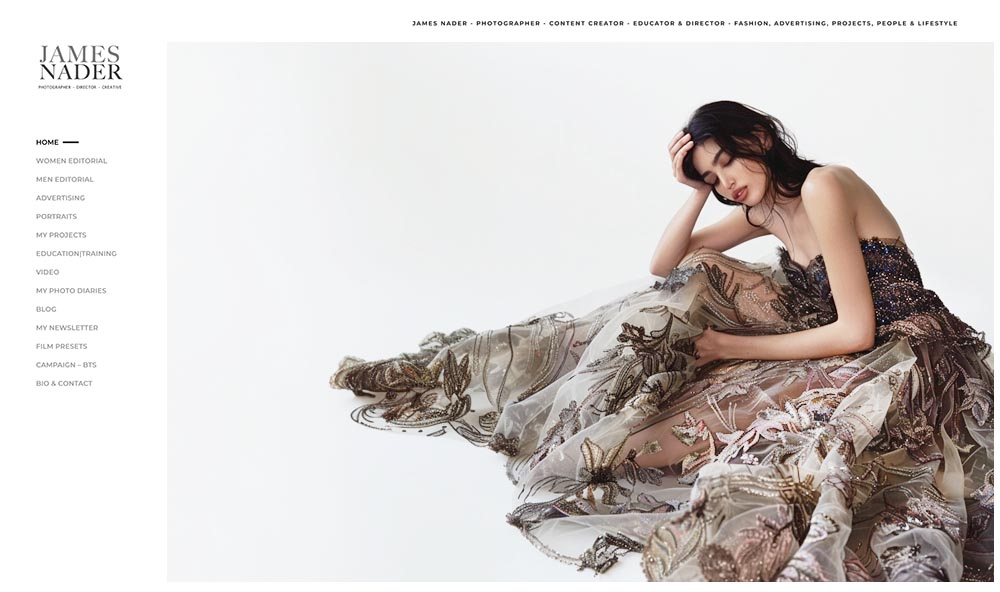
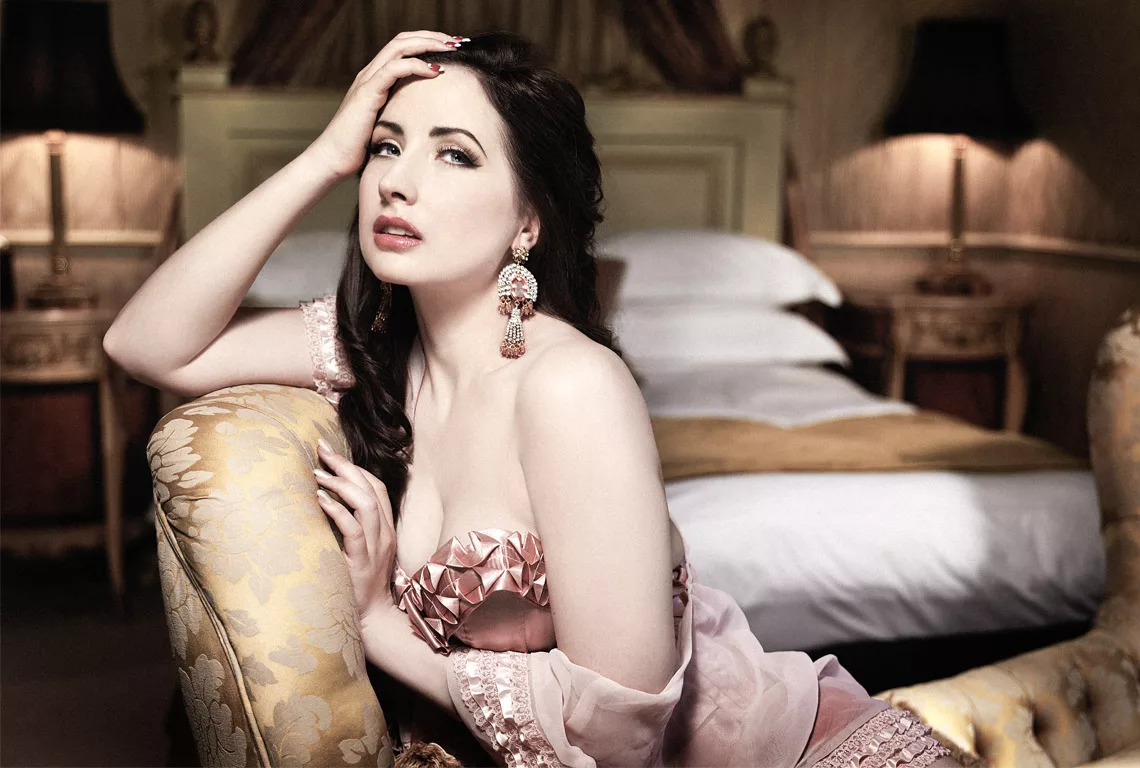
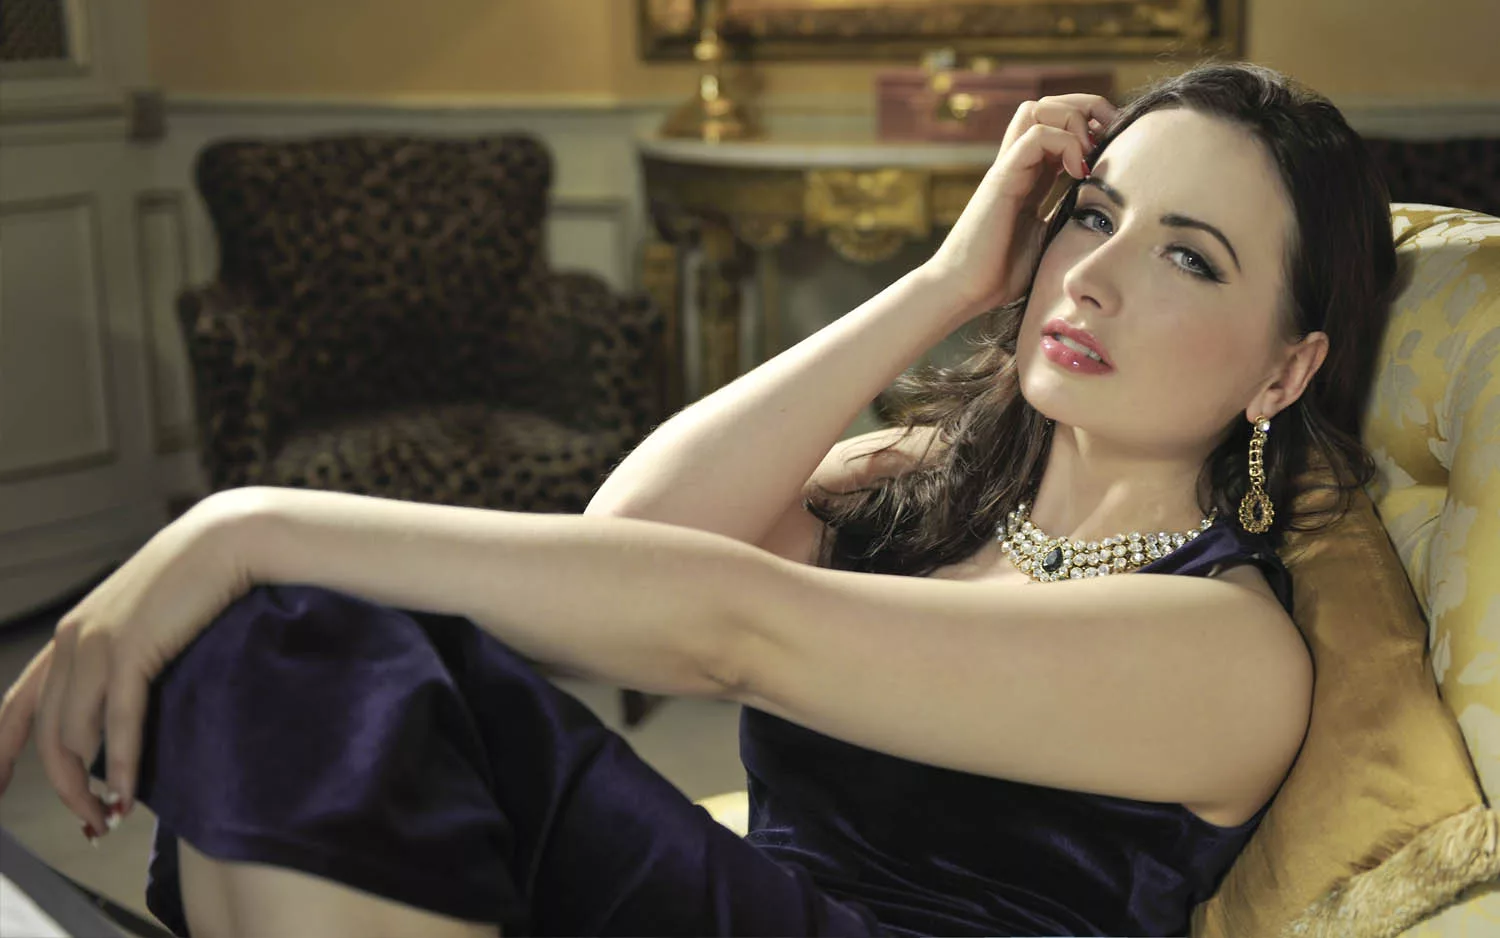
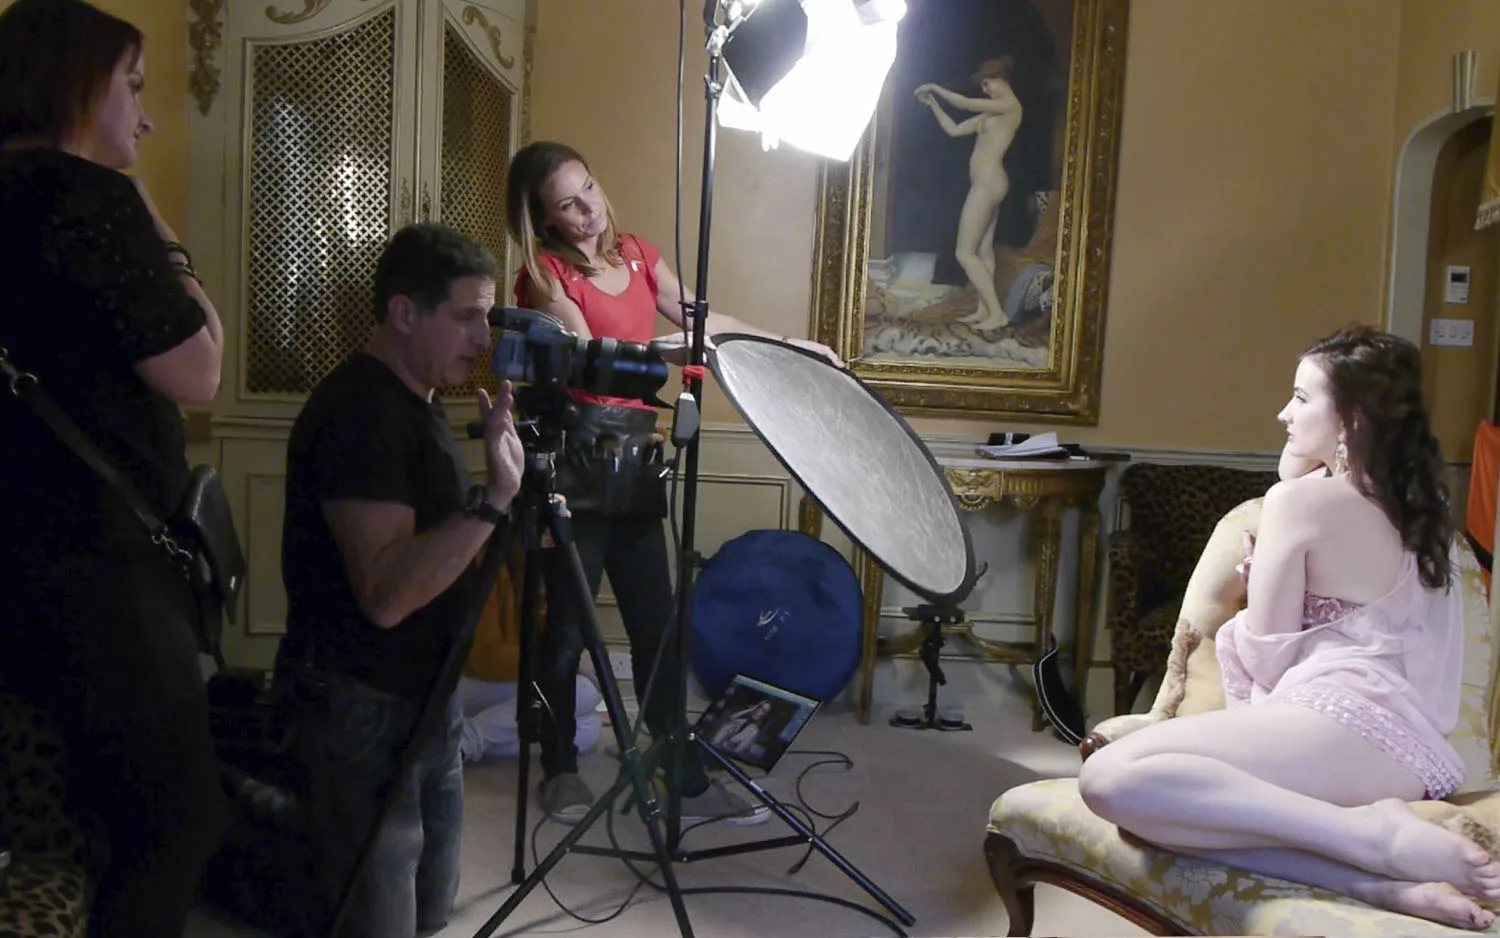
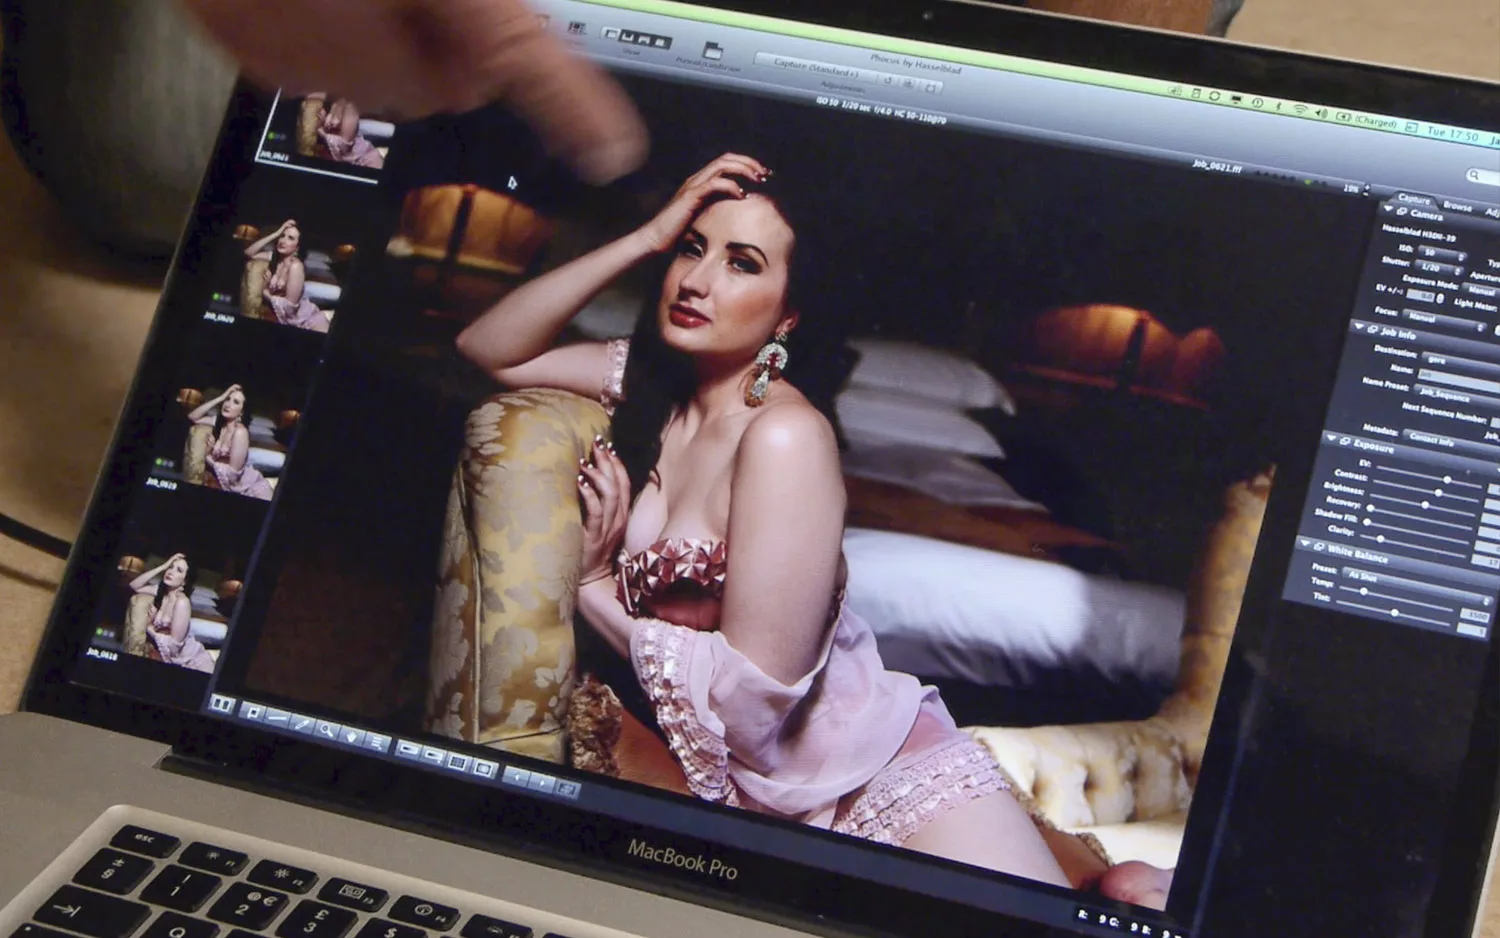
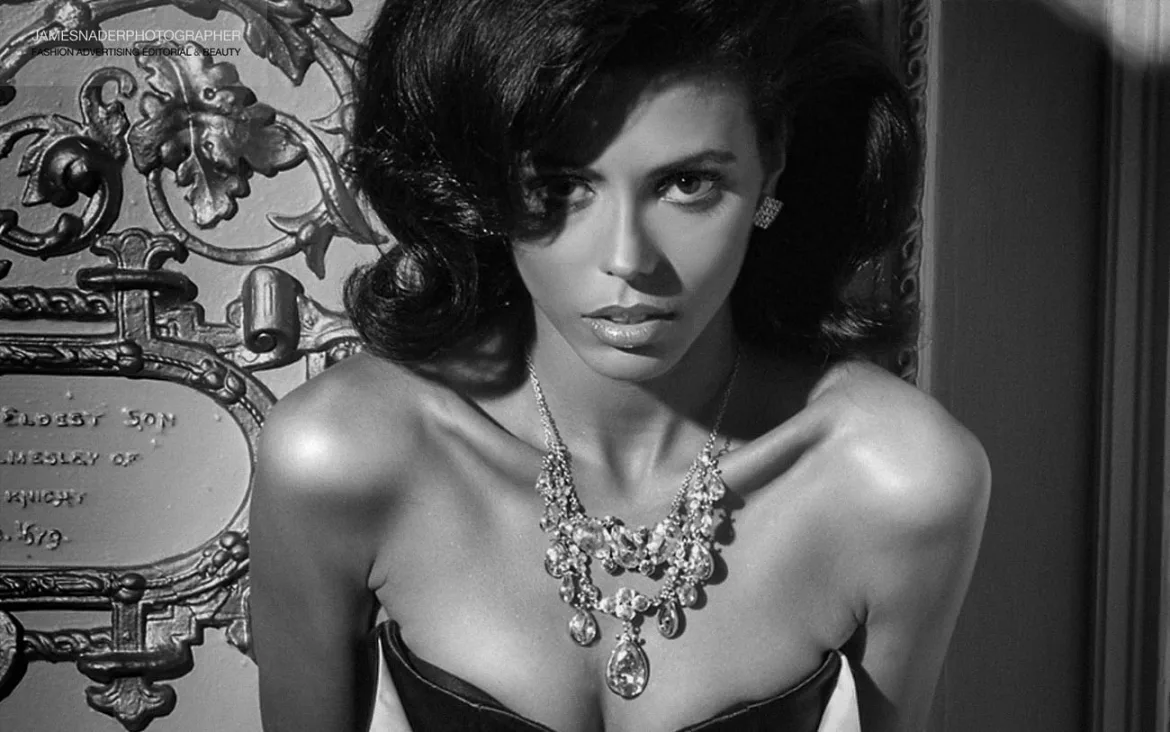
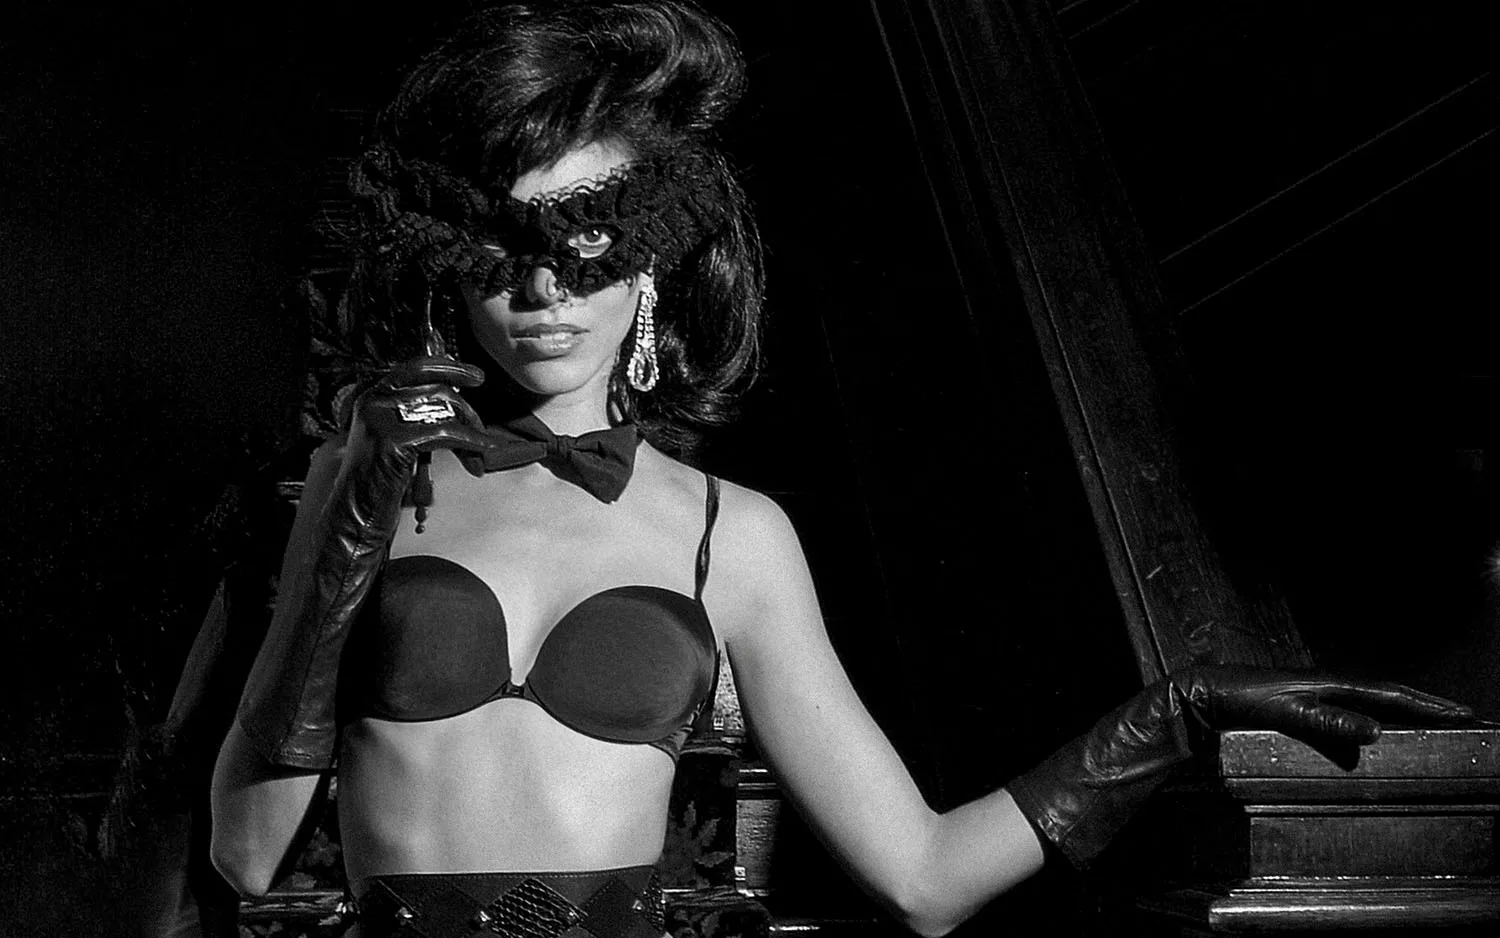
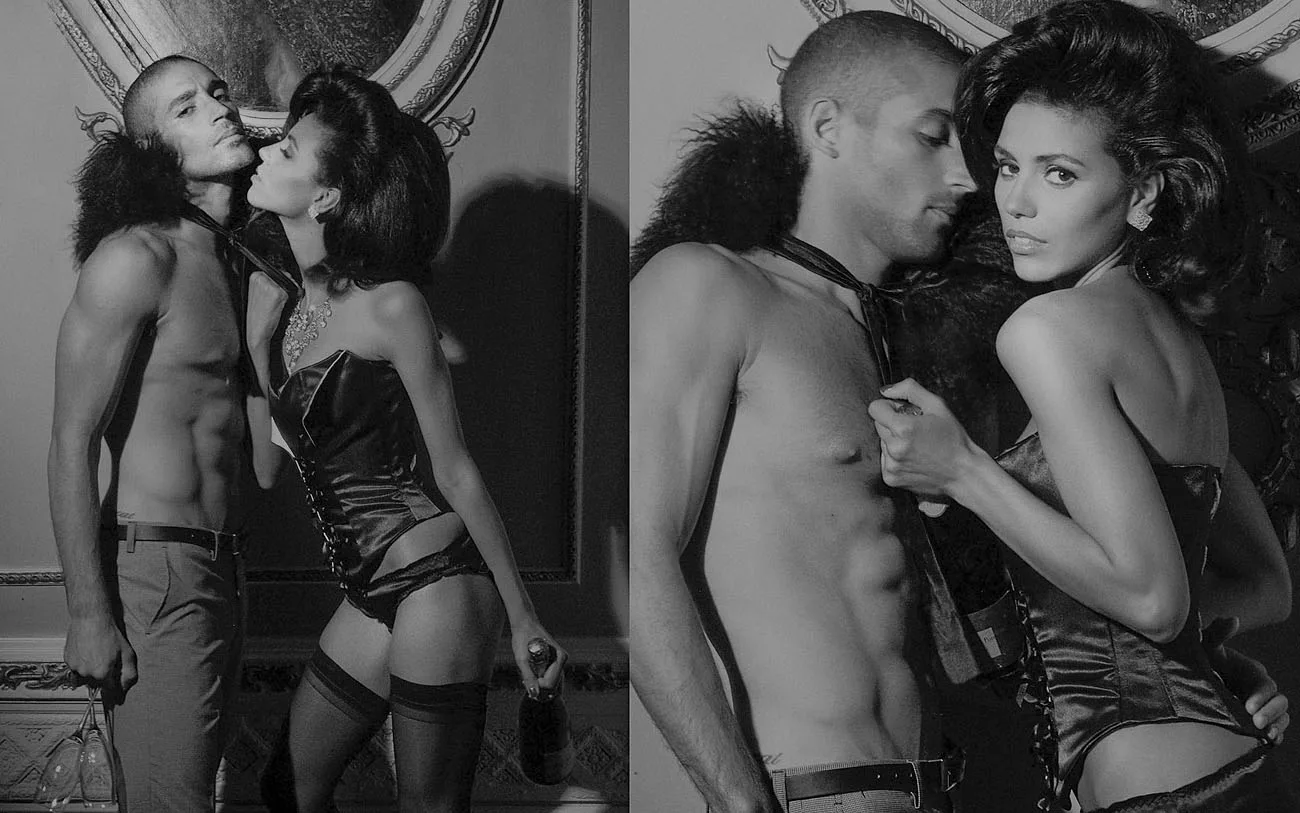
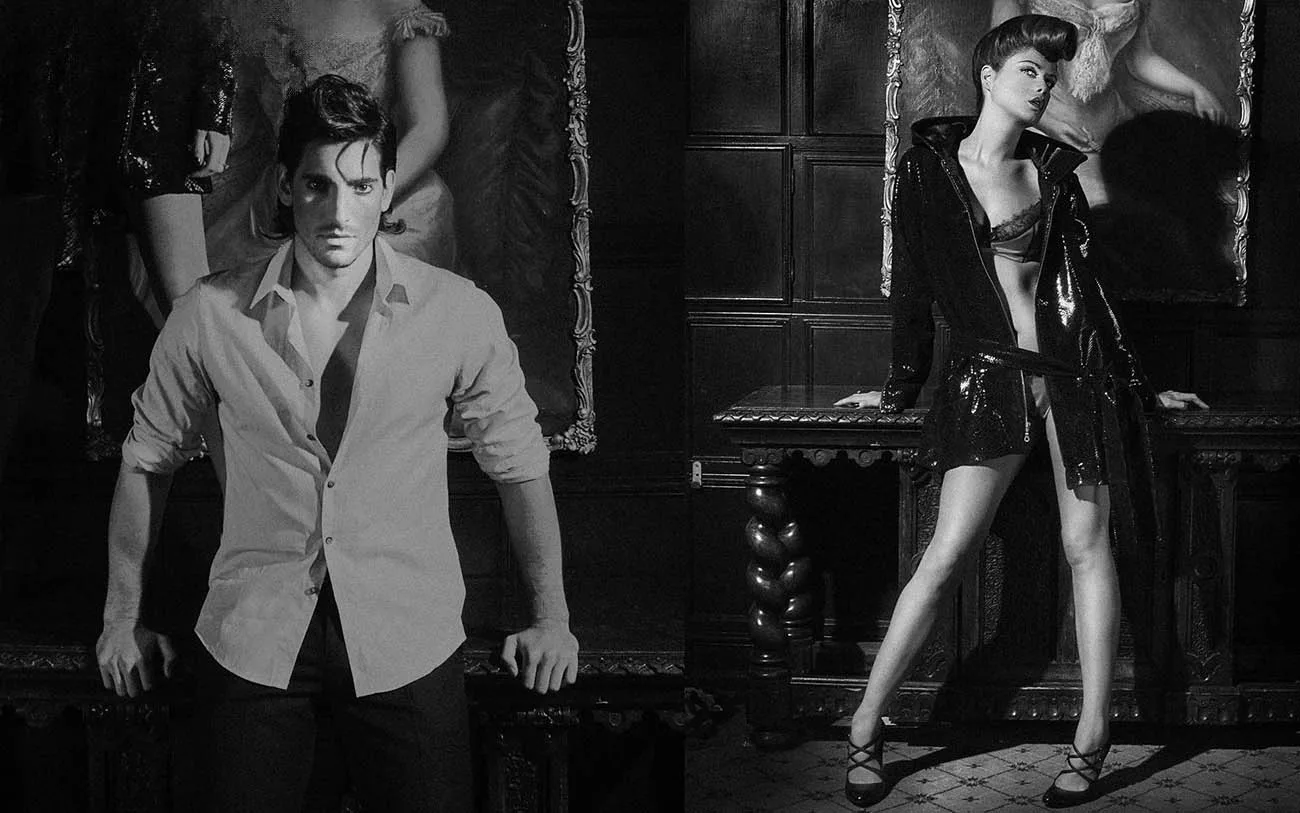
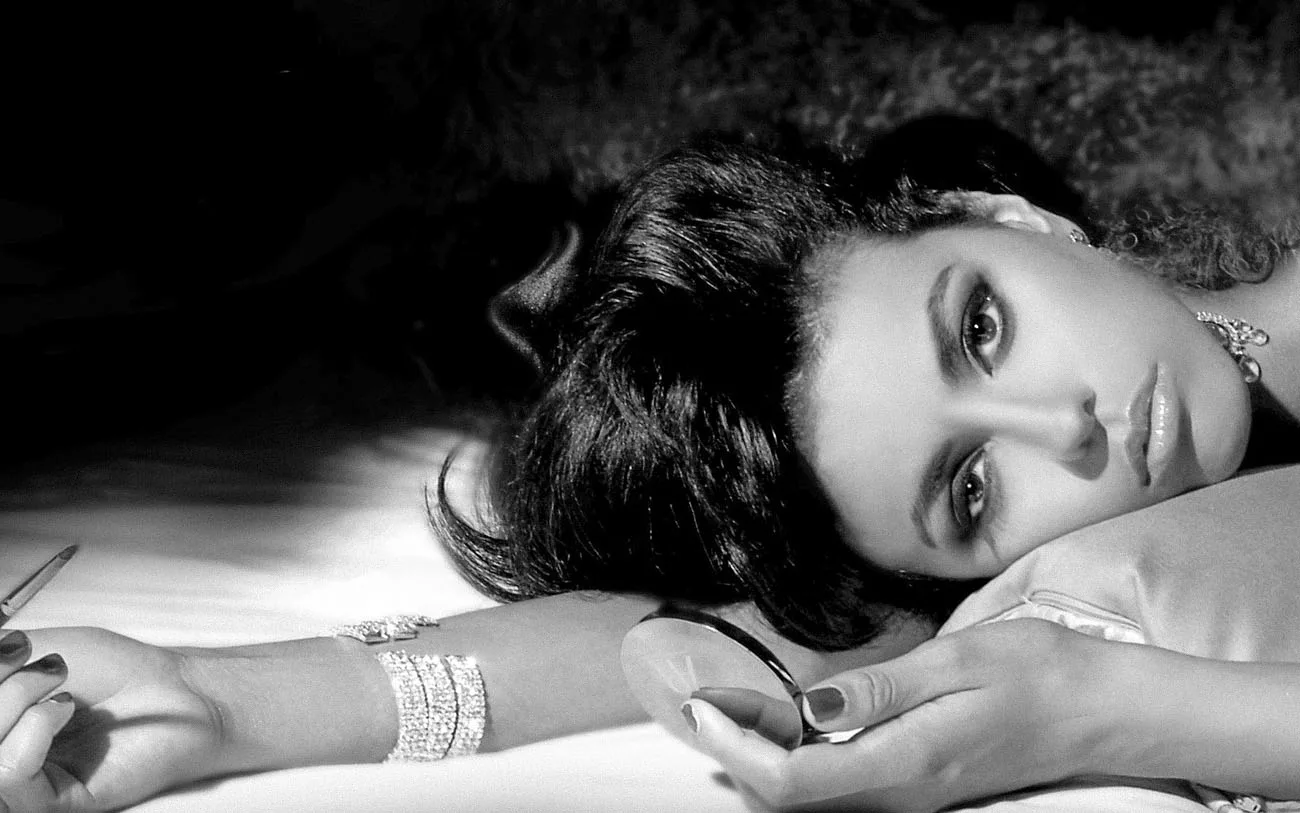
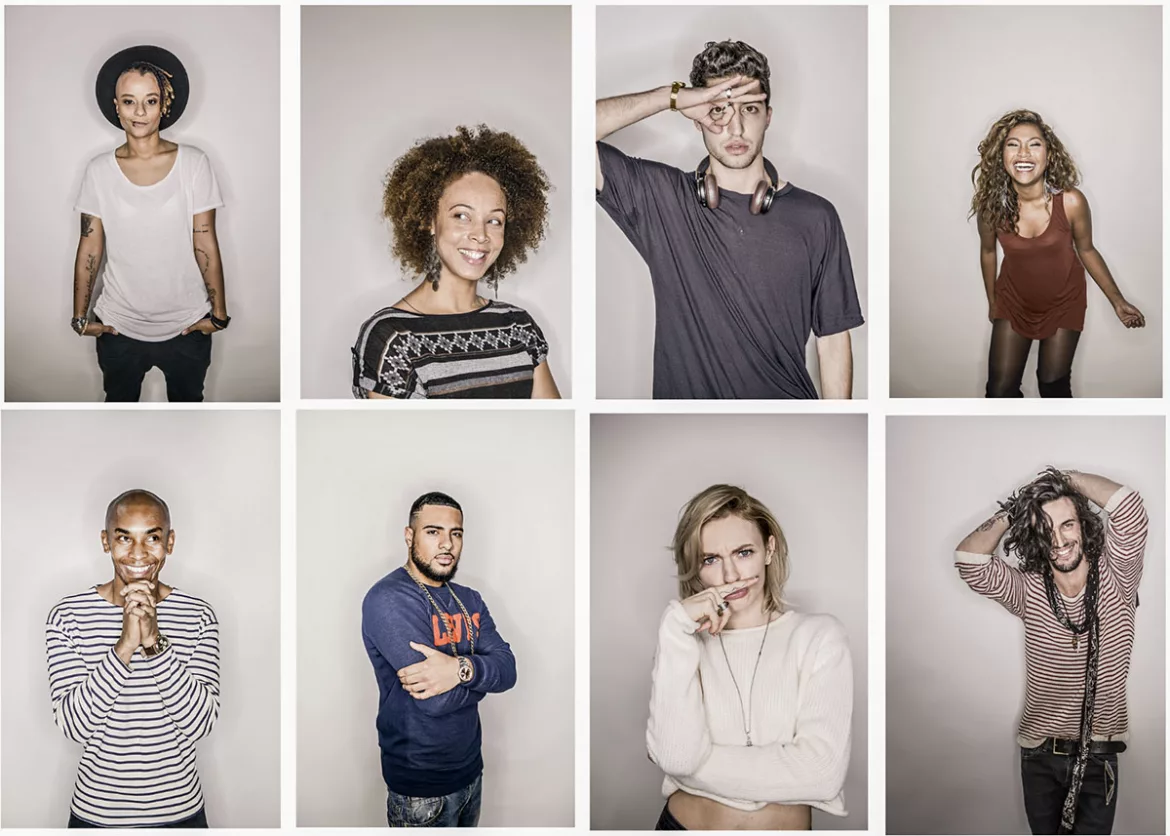
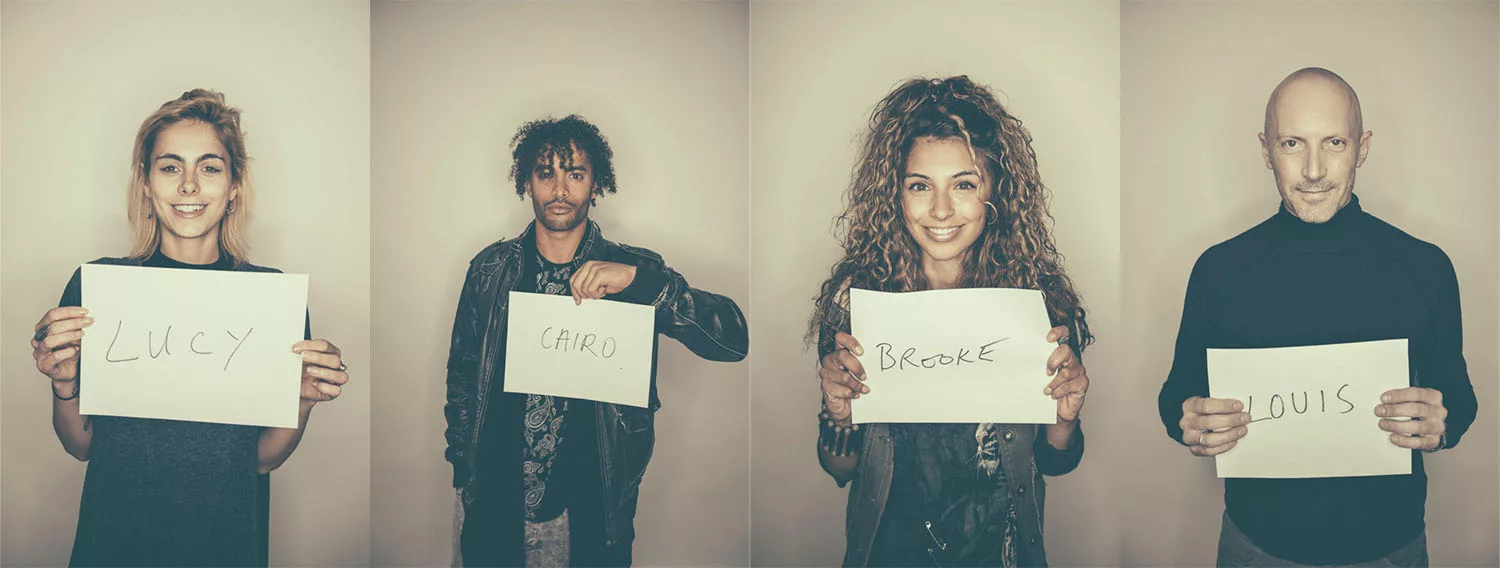
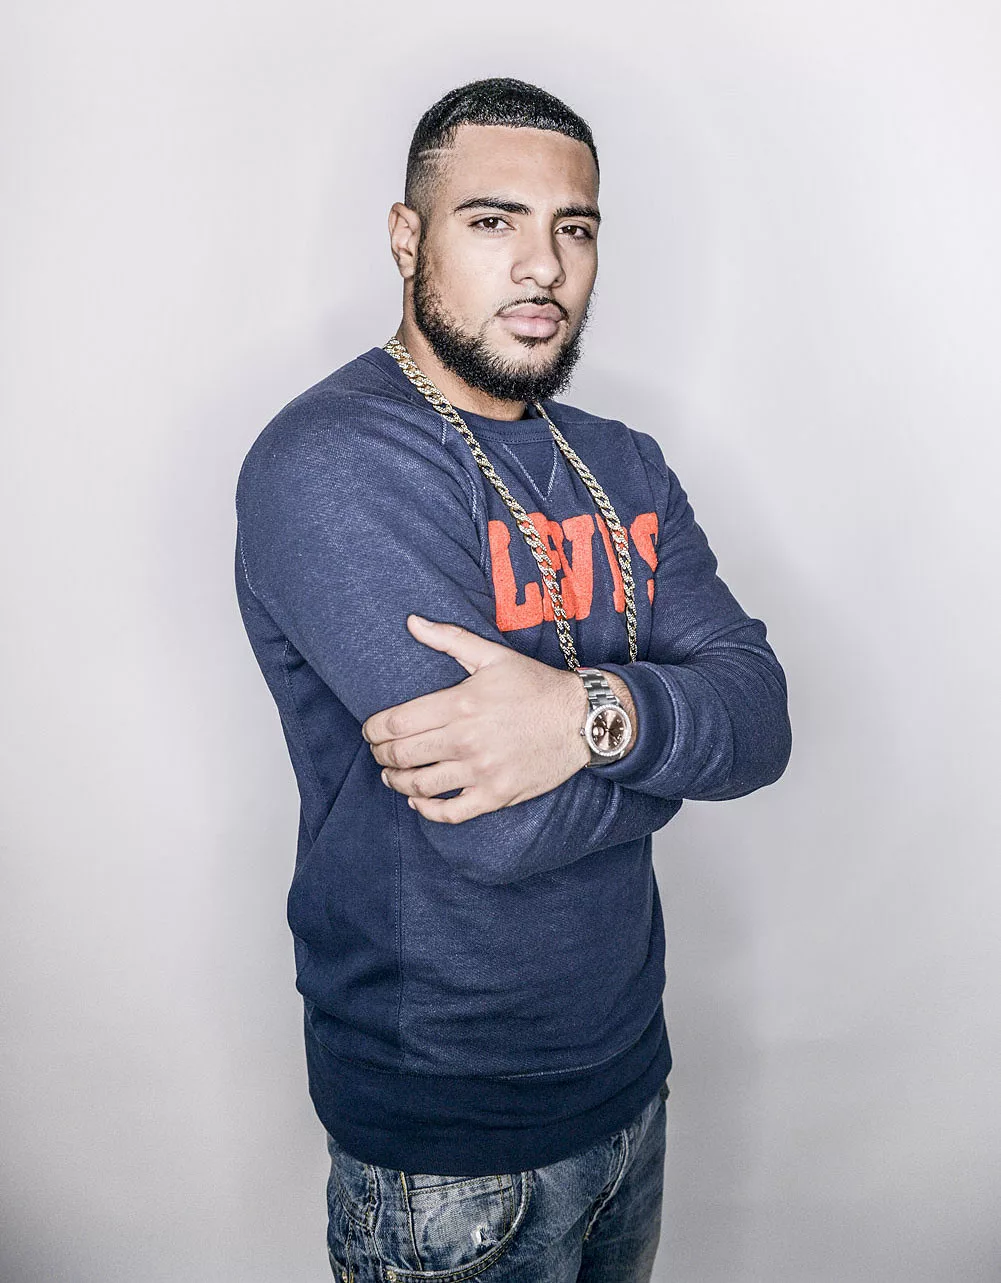
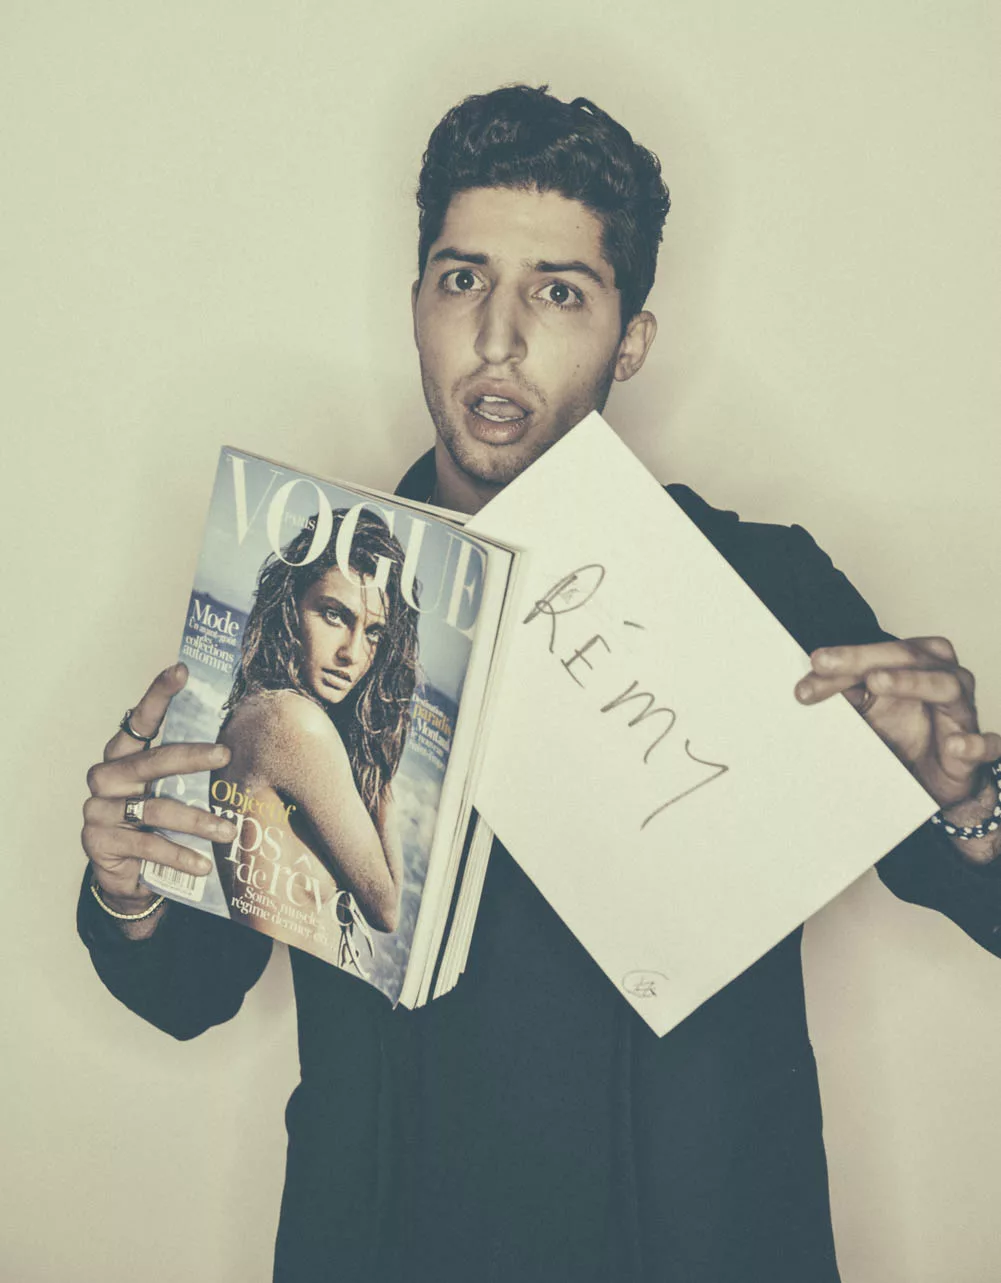
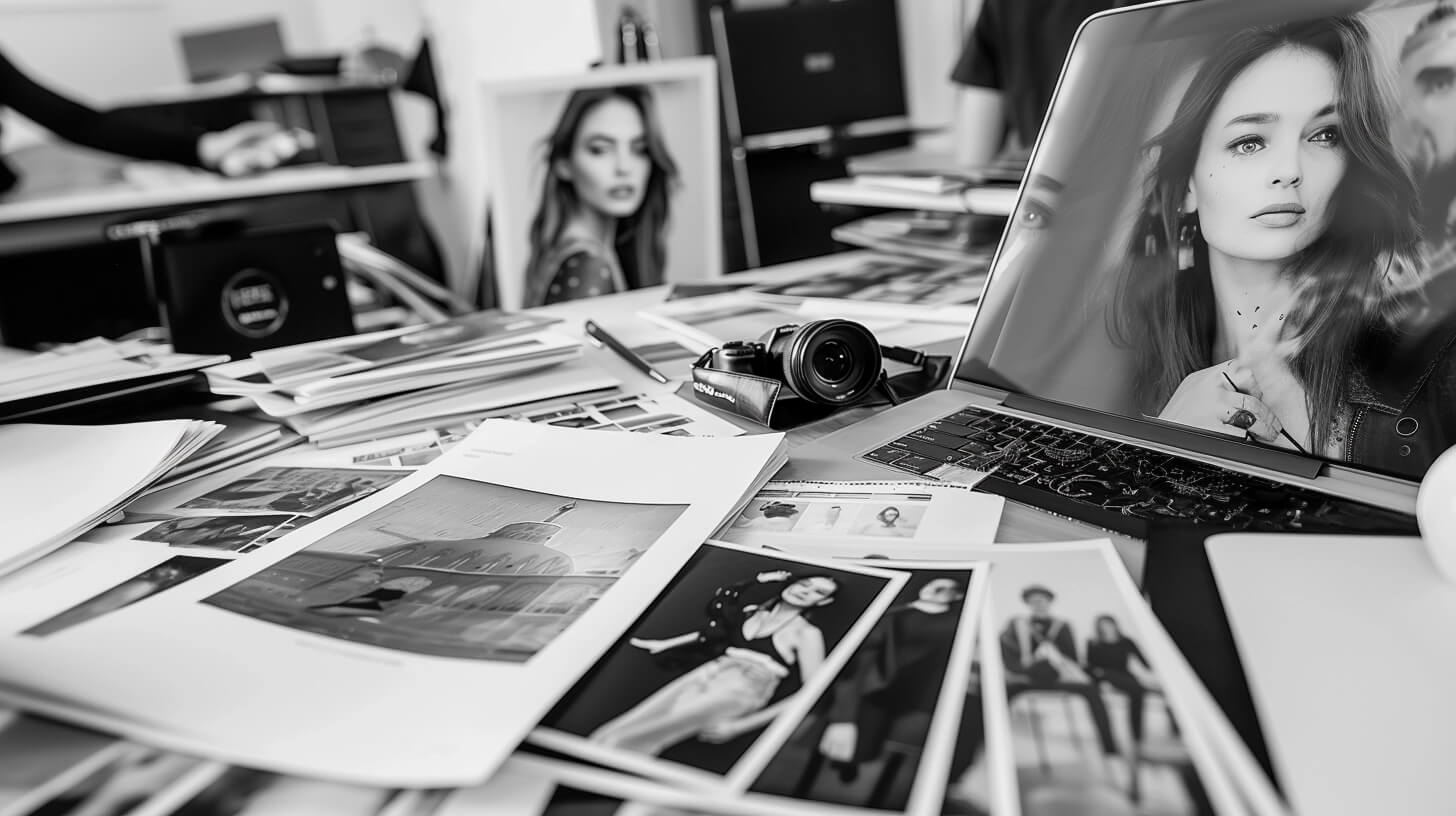
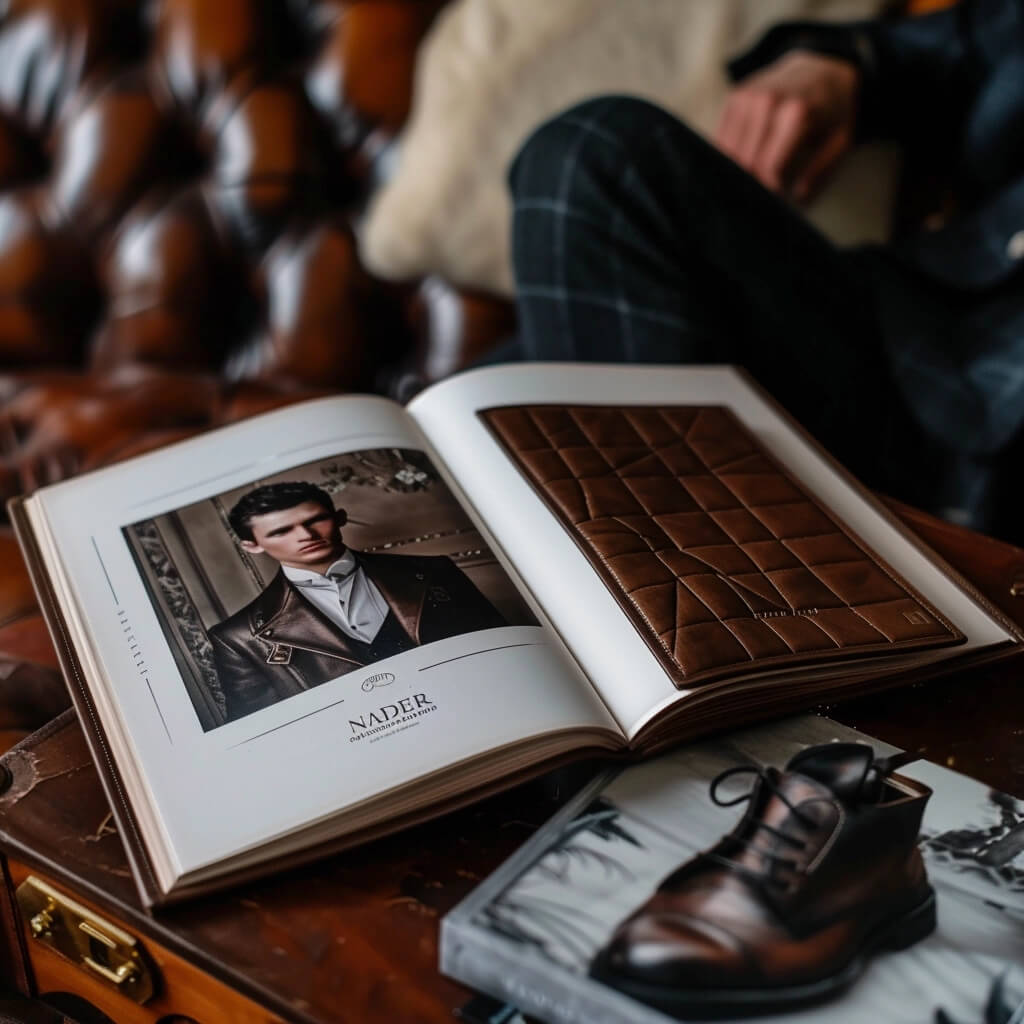
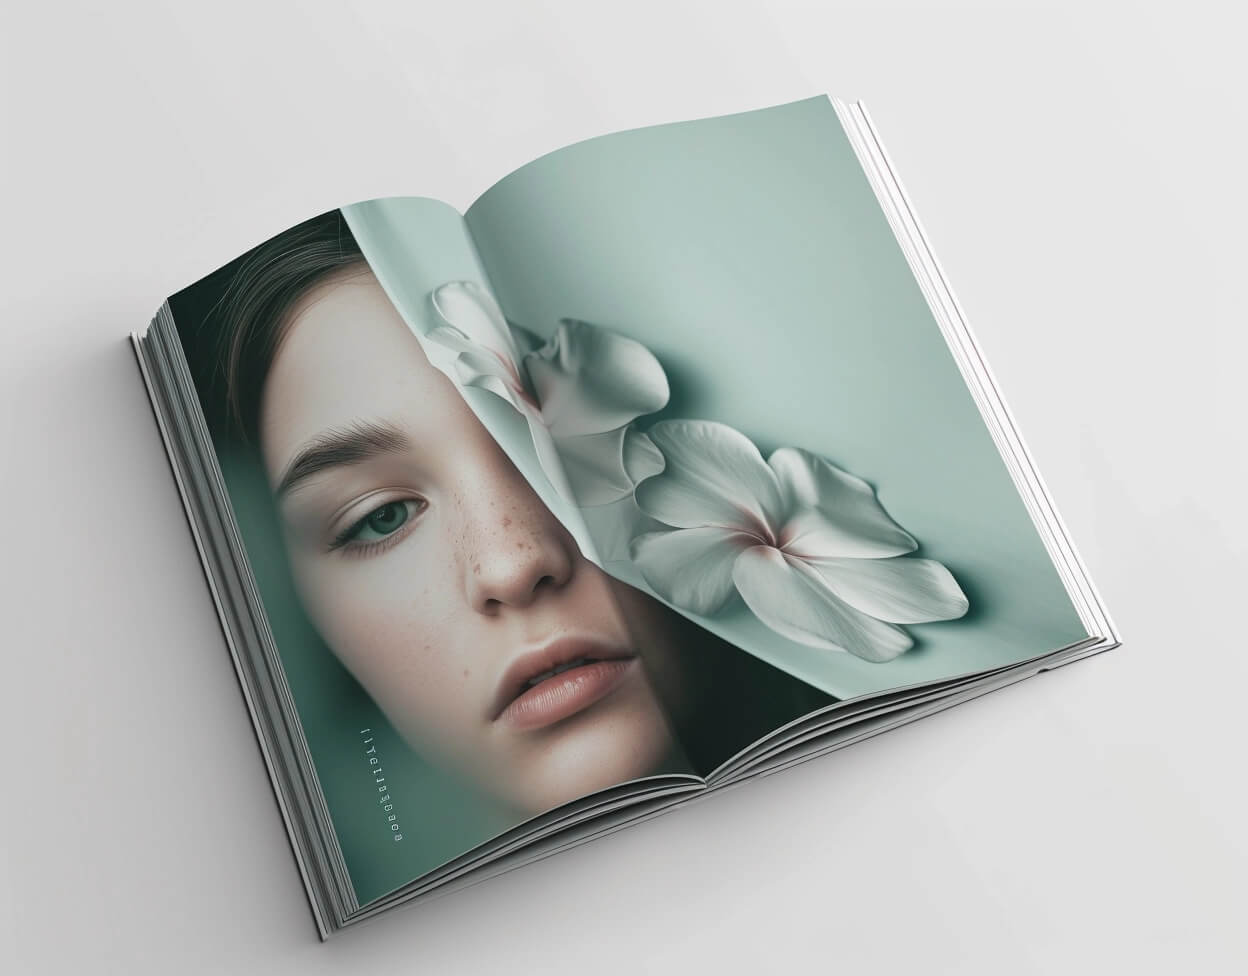
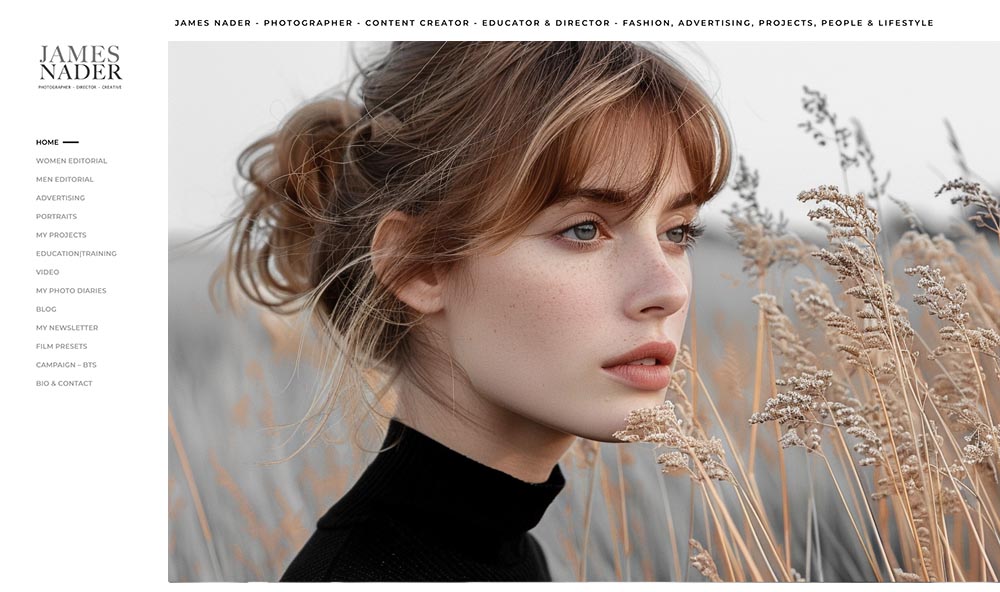
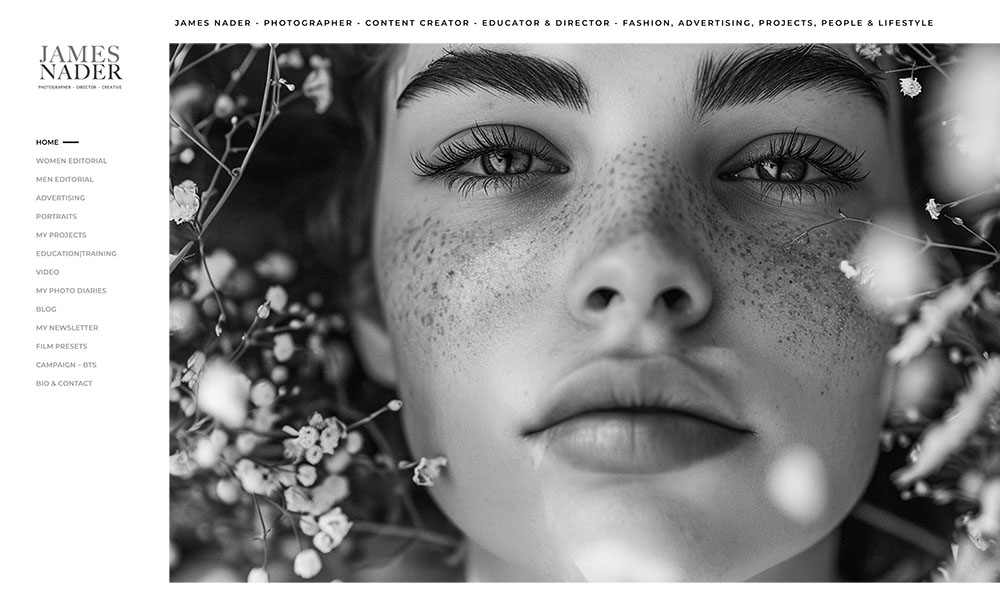 Online, printed, and coffee table book portfolios are just a few alternatives to display your photography skills. To attract clients with your portfolio, you should optimize and optimize captivating photos and descriptions and give a free portfolio to get early traction. Improving your photography portfolio is as simple as adding what you need and figuring out how to showcase your work in the best light for potential clients.
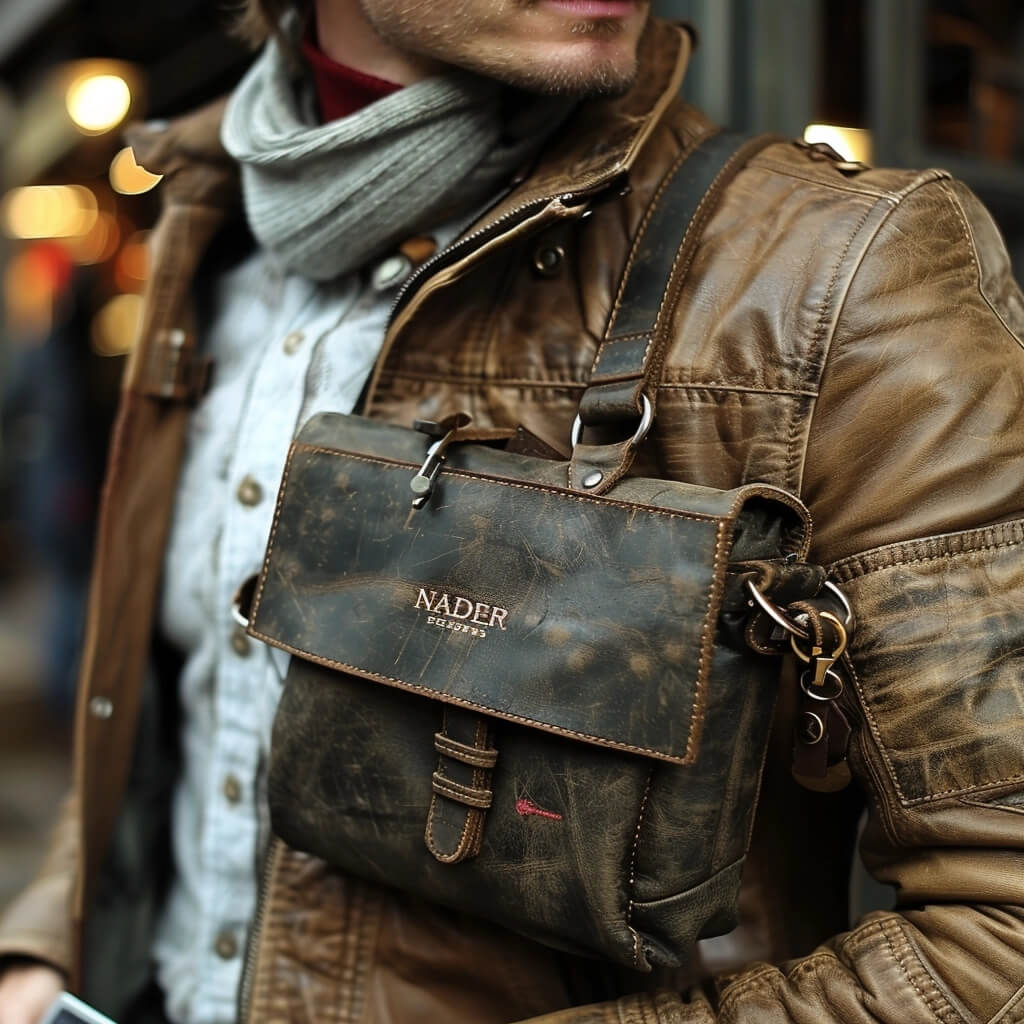 Attracting Clients with a Strong Portfolio

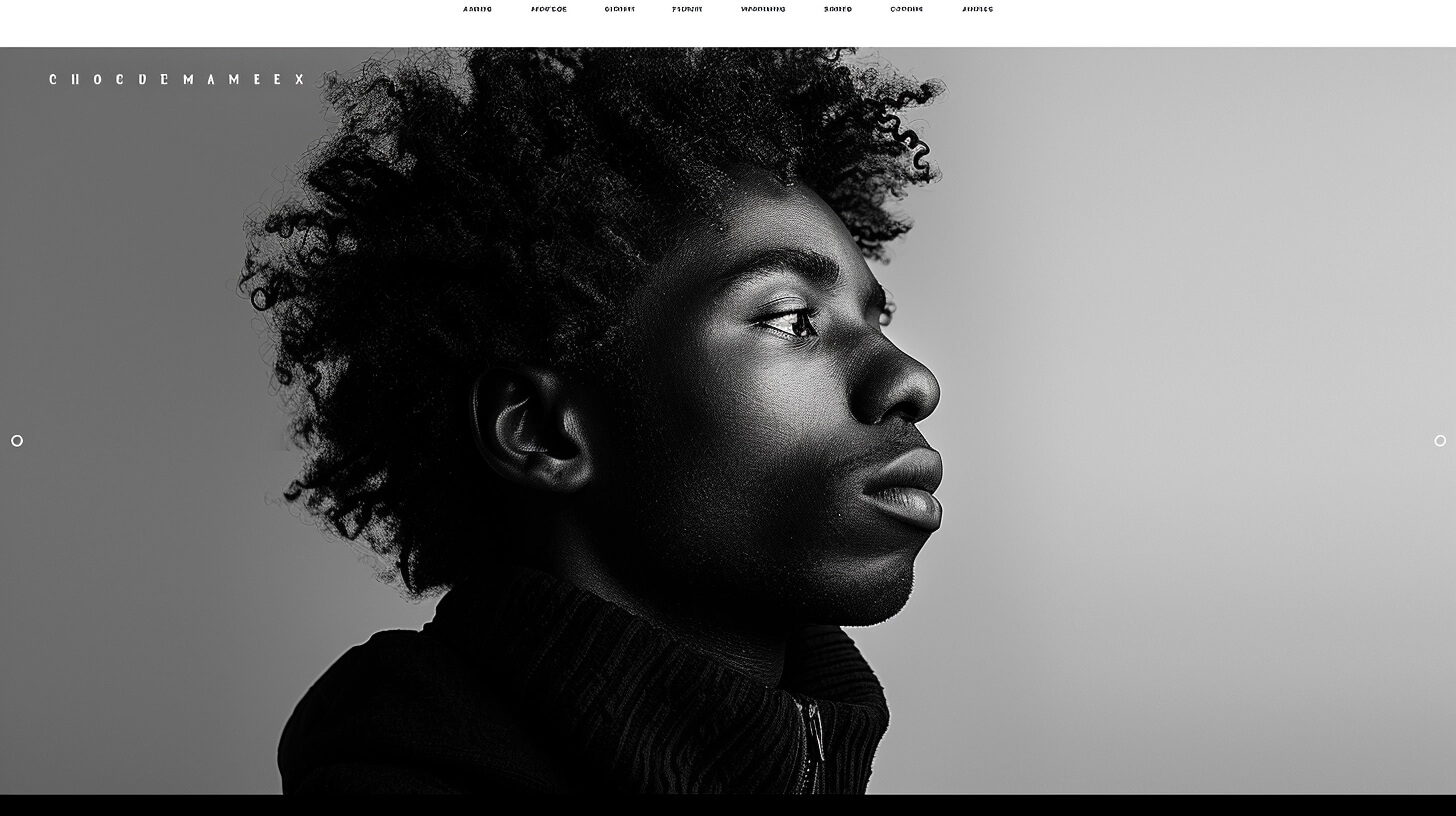
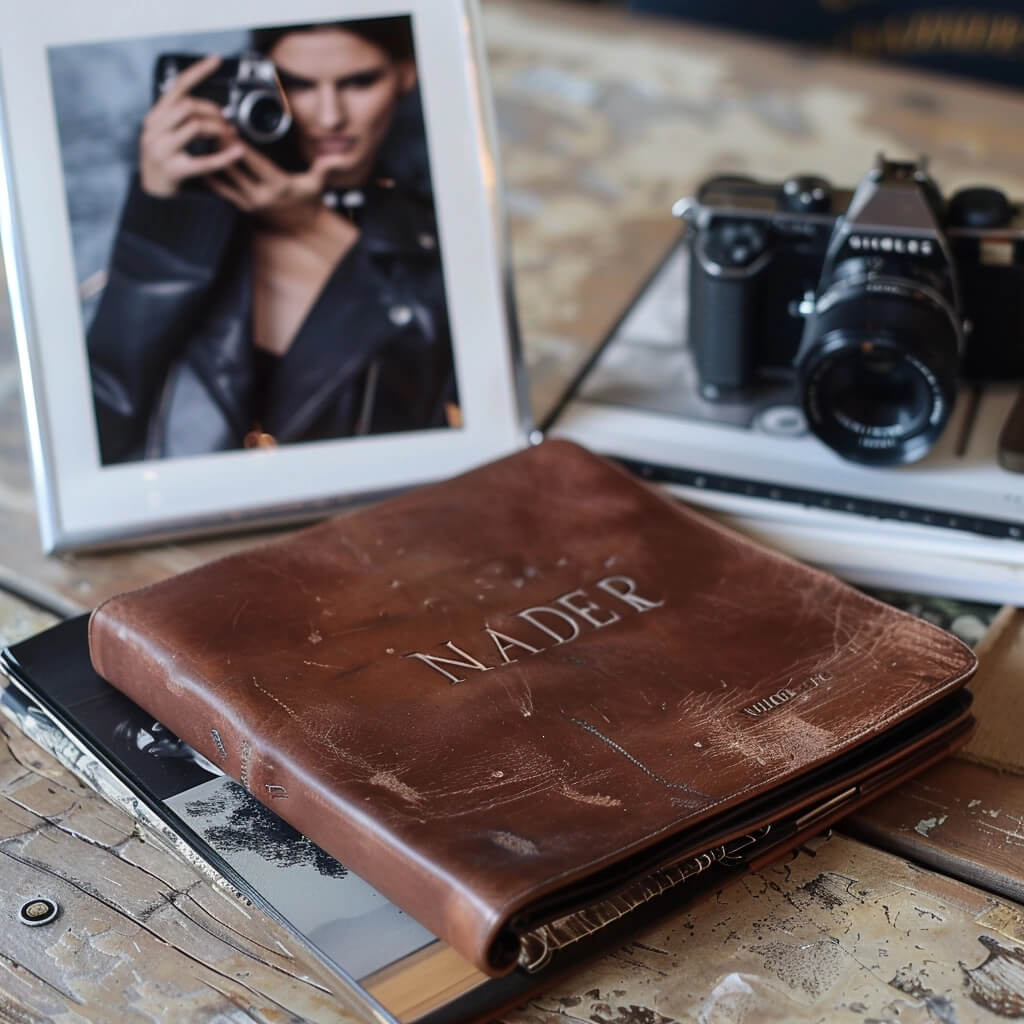 6. Highlight Your Technical Skills



 Understanding the Basics of Beauty Retouching in Photoshop
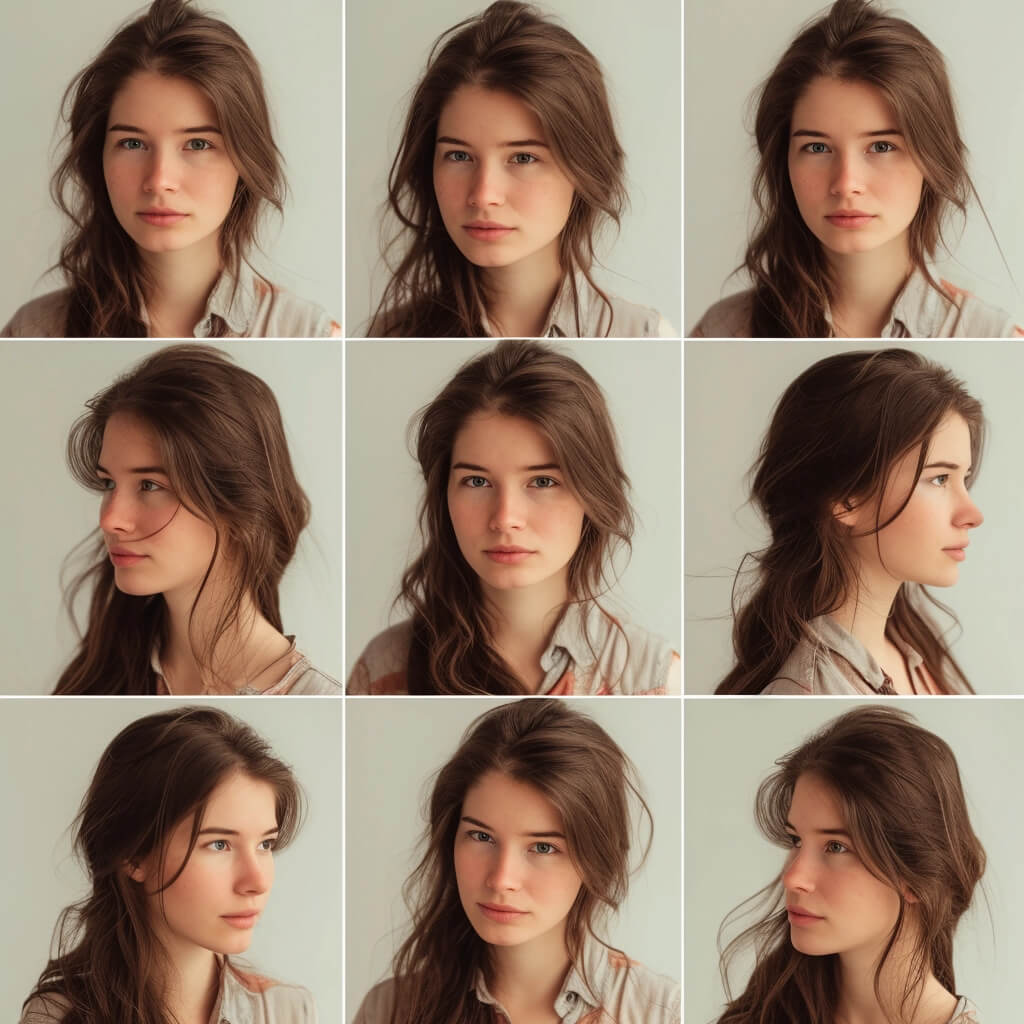

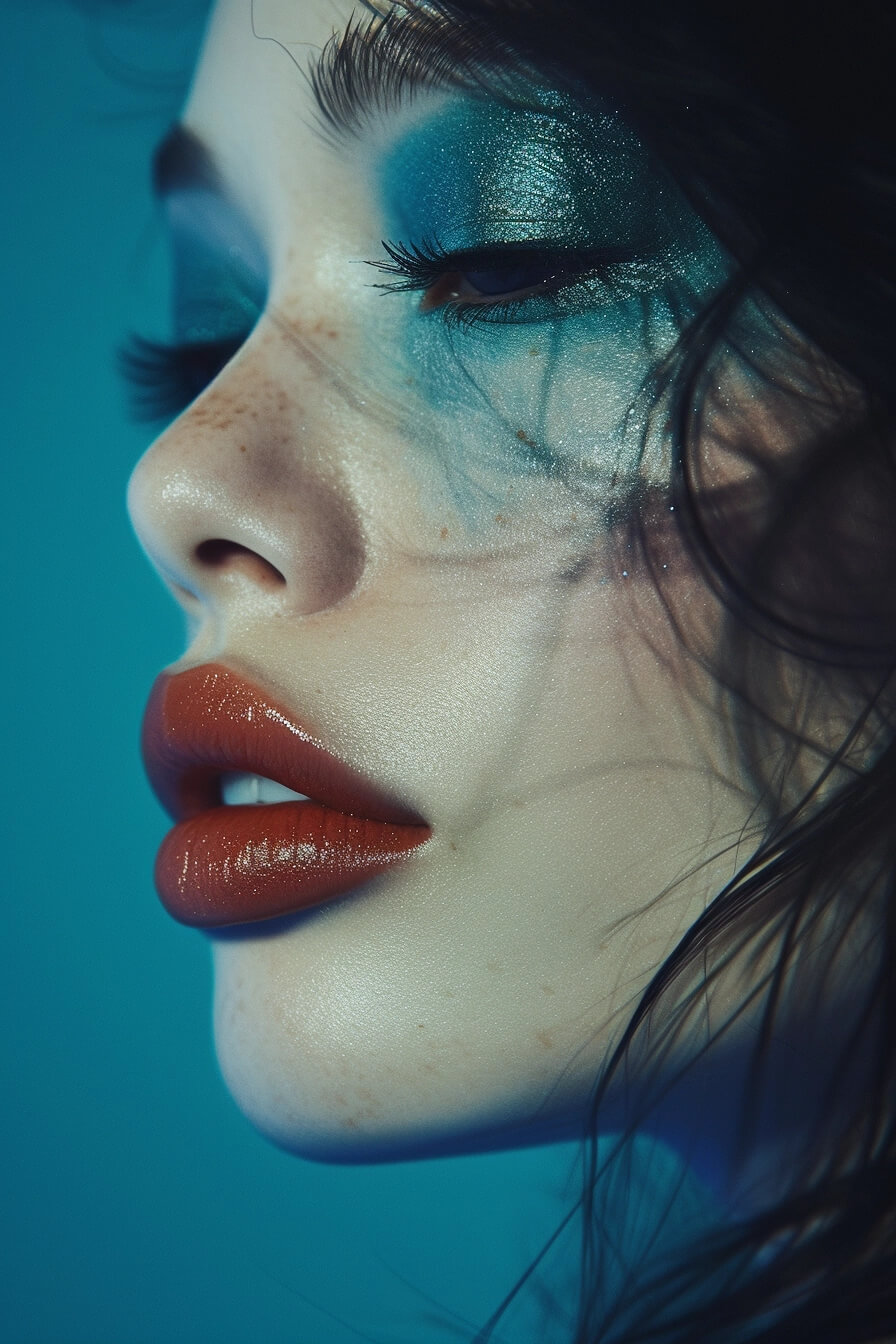 Enhancing Features with Dodge and Burn
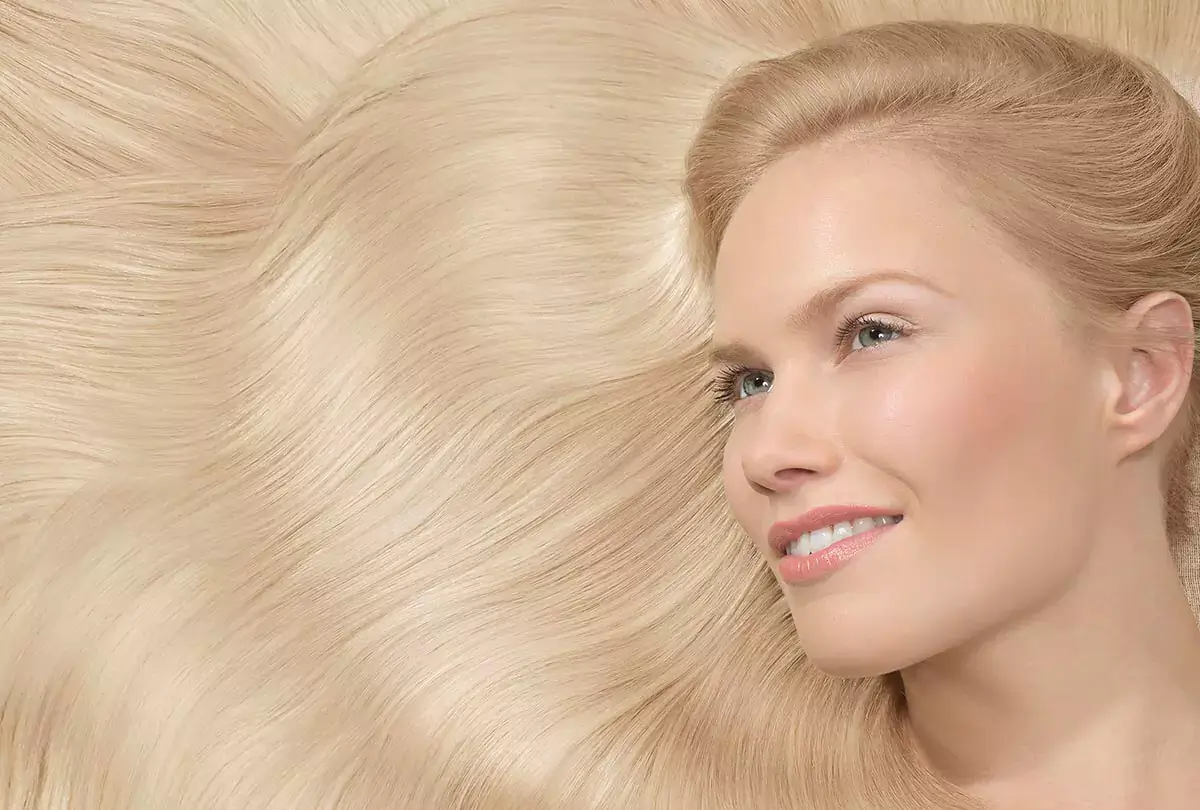
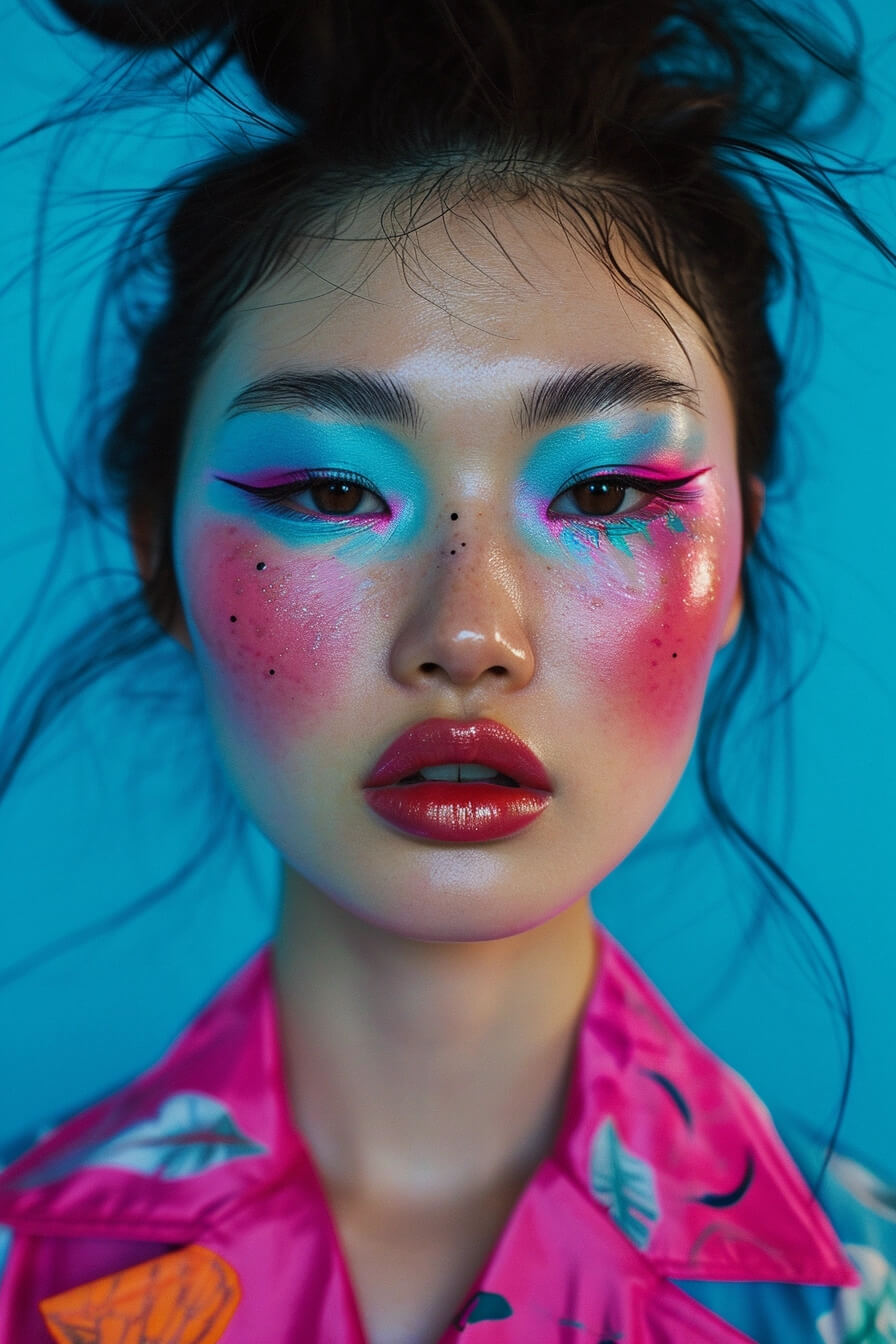 Using Layers to Preserve Image Quality