Like many other professional photographers, I have traditionally relied on beauty retouching. The finished products must mirror the high standard of quality and elegance upon which your reputation is based after you have painstakingly worked to achieve a client’s vision. Retouching is an art form that has evolved; it’s a personal quest to bring out the best in every shot by bringing out its natural beauty and making sure everything fits together to convey the story you want to tell through photography.
Master Beauty Retouching and Skin Retouching
Gaining hands-on experience with retouching has been incredibly beneficial for every job. Knowing the finer points that allow an image to convey a message is more important than refining the visuals. Gaining this skill level has helped me tremendously sharpen my attention to detail and understand the subtleties of professional retouching.
Nevertheless, a change was required due to time and specialisation constraints as the demand for my work increased and the standards for flawless quality heightened. I finally decided to outsource the detailed job of beauty retouching to a professional retouching company in Europe. It guarantees that every image is done efficiently, with the unique expertise these houses offer, and meets your high requirements.
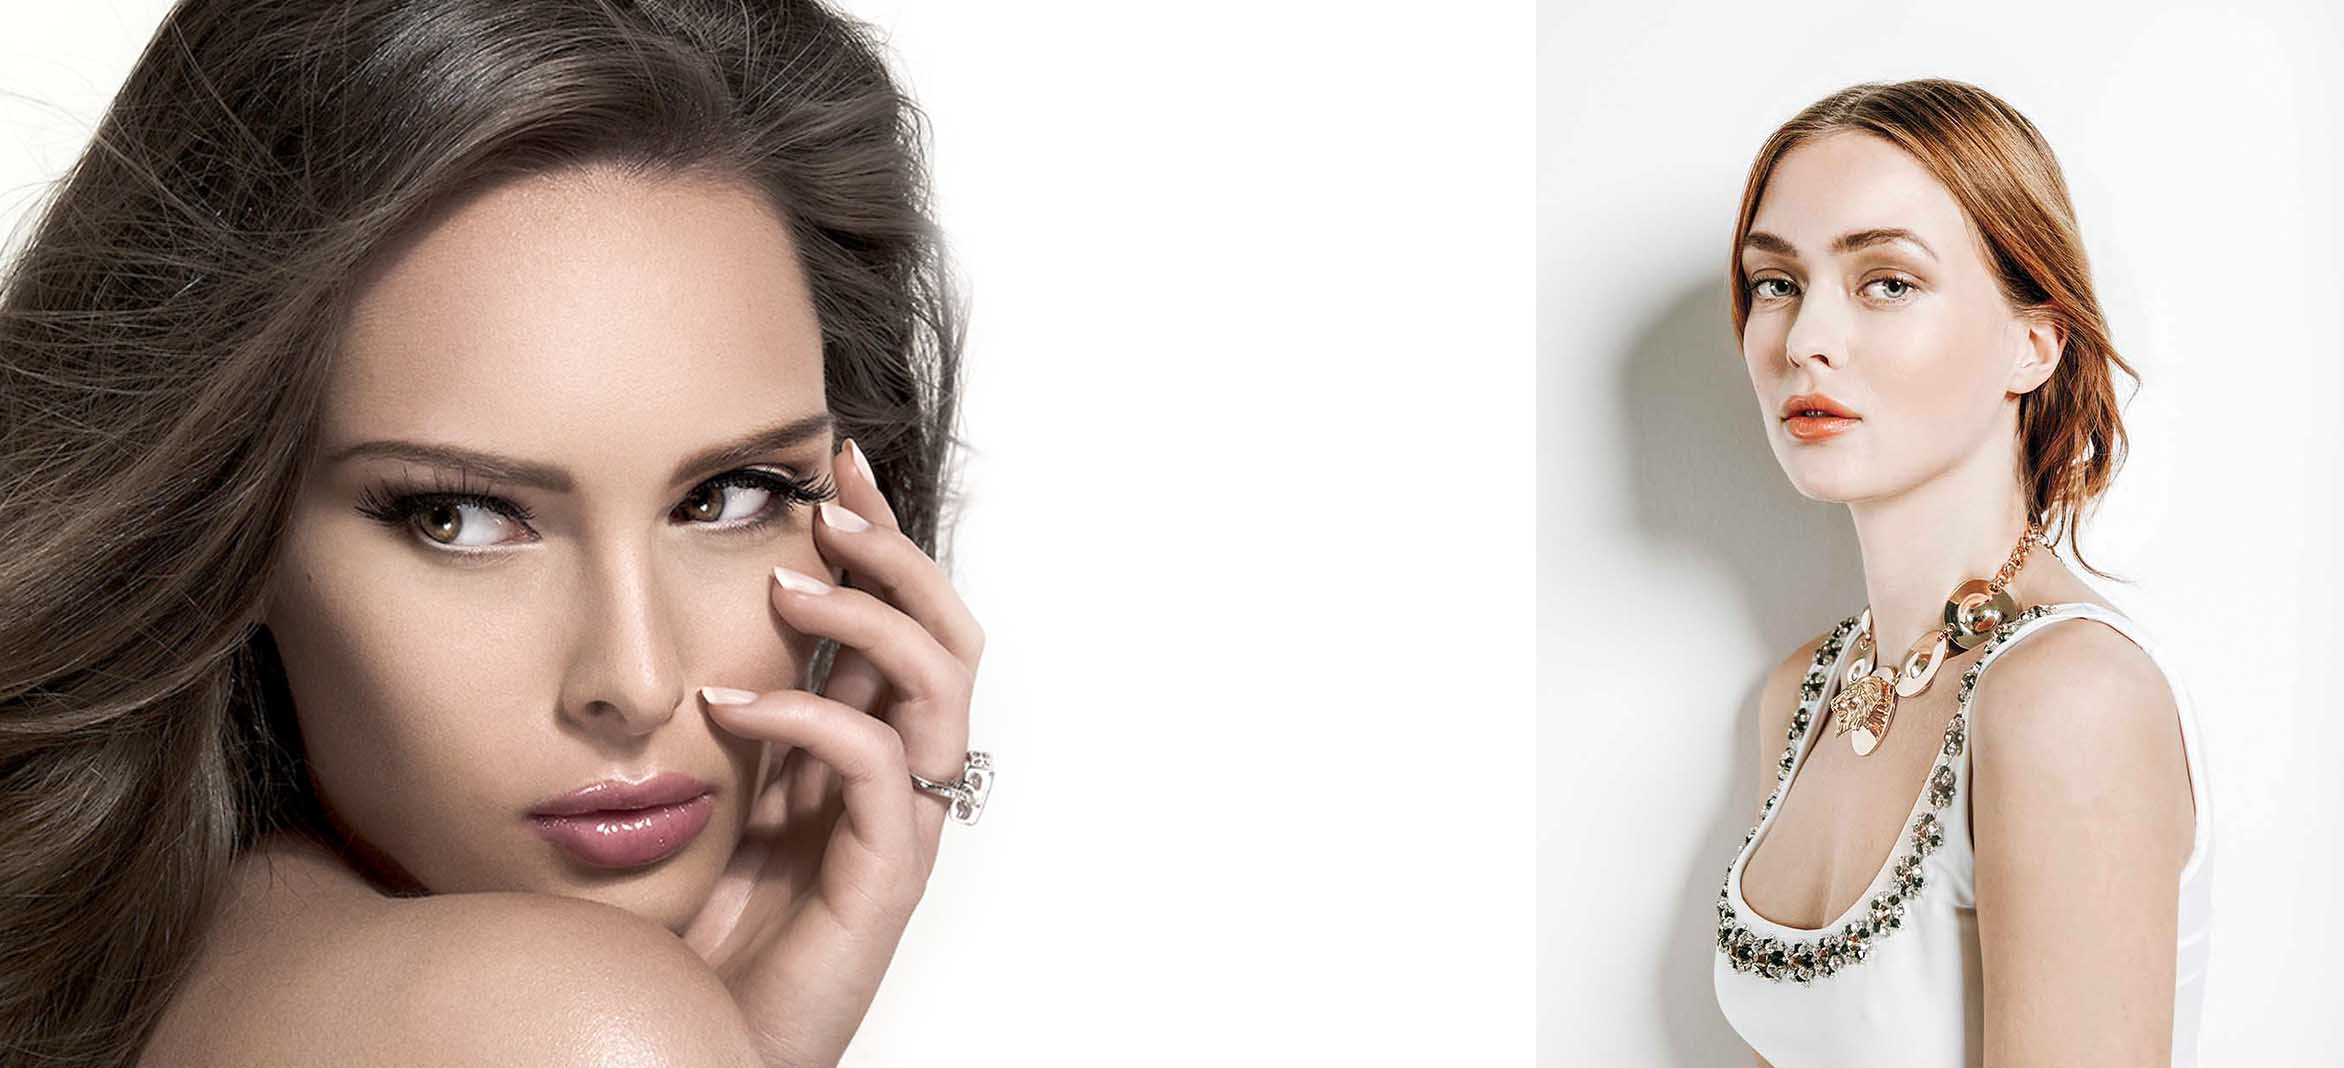
Beauty retouching in Photoshop goes beyond simply smoothing skin or brightening eyes. It is a profound dialogue between artist and subject, where every adjustment is a whisper instead of a shout. This empathetic touch honours the integrity of the original moment, creating professional-quality results while preserving the subject’s natural beauty.
Whether you are retouching photographs for magazines, products, or front-cover campaigns for brands and clients, mastering the art of beauty retouching is essential. With the proper techniques and tools, you can elevate your retouching skills to a new level, achieving flawless yet natural-looking beauty.
Key Takeaways:
- Beauty retouching in Photoshop is a delicate process that requires a balance between enhancing and maintaining the original moment’s integrity.
- Beauty retouching involves understanding the fundamentals of retouching, using essential tools for skin retouching, and mastering natural-looking retouching techniques.
- Perfecting skin in Photoshop requires advanced techniques for smoothing and correcting imperfections, resulting in a flawless complexion.
- To achieve high-end beauty effects, utilise advanced layering and masking strategies and enhance features with dodge and burn techniques.
- When retouching for a captivating cover shot, focus on composing attention-grabbing imagery and editing for magazine-quality results.
 Understanding the Basics of Beauty Retouching in Photoshop
Beauty retouching in Photoshop is a powerful skill that allows you to transform ordinary portraits into stunning works of art. This section will delve into the fundamental concepts and essential tools of beauty retouching, equipping you with the knowledge to achieve professional-quality results.
The Fundamentals of Retouching
To begin your journey into beauty retouching, it’s crucial to understand the core principles. Retouching involves enhancing the natural beauty of your subjects while maintaining a realistic appearance. It’s essential to strike the right balance between improving and preserving authenticity.
Understanding skin retouching is a crucial component of beauty retouching. Techniques such as removing blemishes, reducing wrinkles, and evening out skin tone can give your portraits a flawless finish. However, it’s essential to approach skin retouching carefully to avoid an unnatural, plastic look.
Composition and framing play a significant role in beauty retouching as well. Paying attention to the placement of your subject, background elements, and overall visual balance helps create aesthetically pleasing images.
Essential Tools for Skin Retouching
When it comes to beauty retouching, having the right tools is essential. Photoshop offers a range of tools specifically designed for skin retouching, enabling you to achieve seamless results.
The Healing Brush, Clone Stamp, and Spot Healing Brush tools are indispensable for removing imperfections and evening out skin tone. These tools target specific areas and blend corrections with the surrounding skin.
You can use various techniques to retouch, including frequency separation.
Layer masks are another vital tool in beauty retouching. They allow you to make targeted adjustments while preserving the original image. Layer masks enable you to apply retouching only to specific areas, ensuring a natural-looking final result.
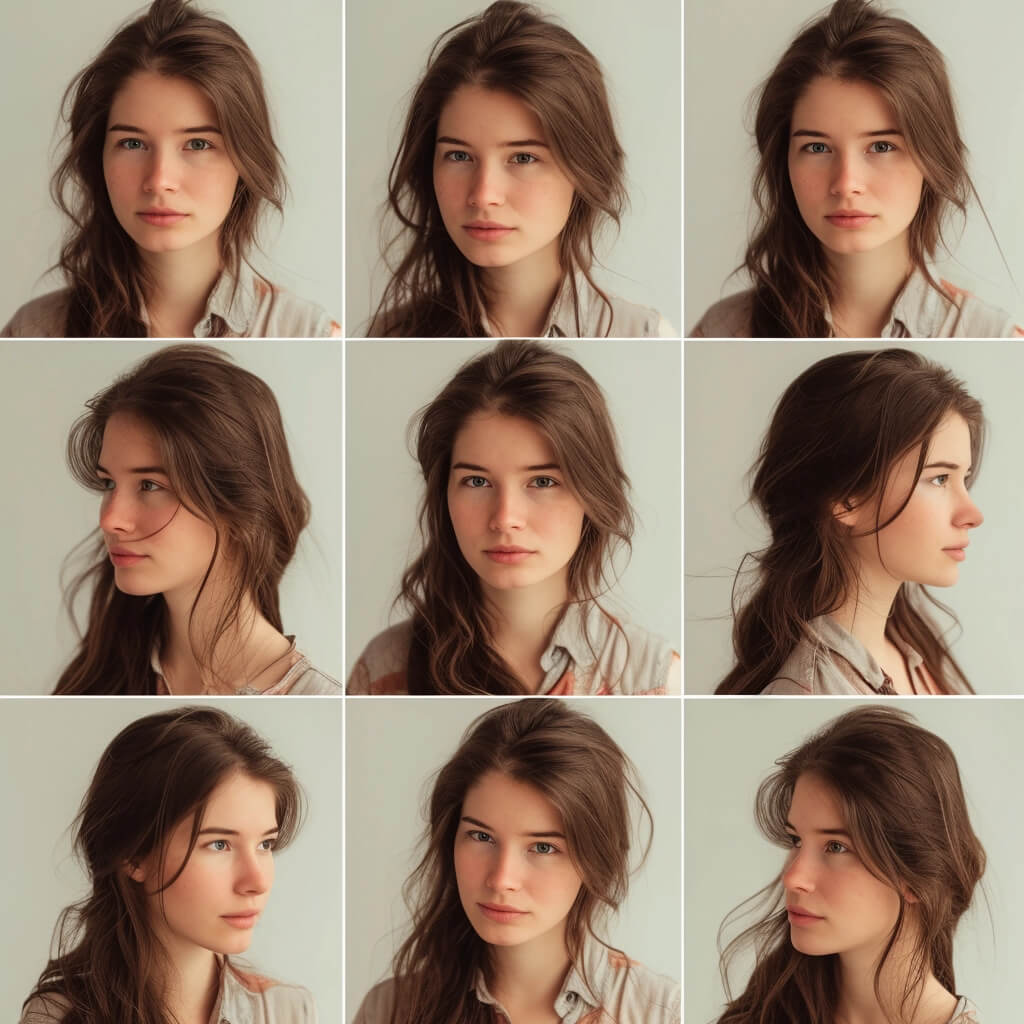
The Do’s and Don’ts of Natural-Looking Retouching
Remember a few crucial do’s and don’ts when aiming for natural-looking retouching.
Do:
- Use a light touch when retouching to avoid excessive alterations.
- Pay attention to details like skin texture and natural contours.
- Enhance but do not reshape or drastically alter facial features.
- Keep skin tones consistent throughout the image for a cohesive look.
Don’t:
- Over-smooth the skin, resulting in a plastic or artificial appearance.
- Remove every wrinkle or imperfection, as some level of realism is desirable.
- Modify the natural proportions and features of your subject’s face or body.
- Apply excessive filters or effects that make the image look heavily altered.
By following these do’s and don’ts, you can ensure that your retouching work maintains a natural and authentic aesthetic.
Now that we have covered the basics of beauty retouching, let’s dive deeper into perfecting skin using Photoshop in the next section.
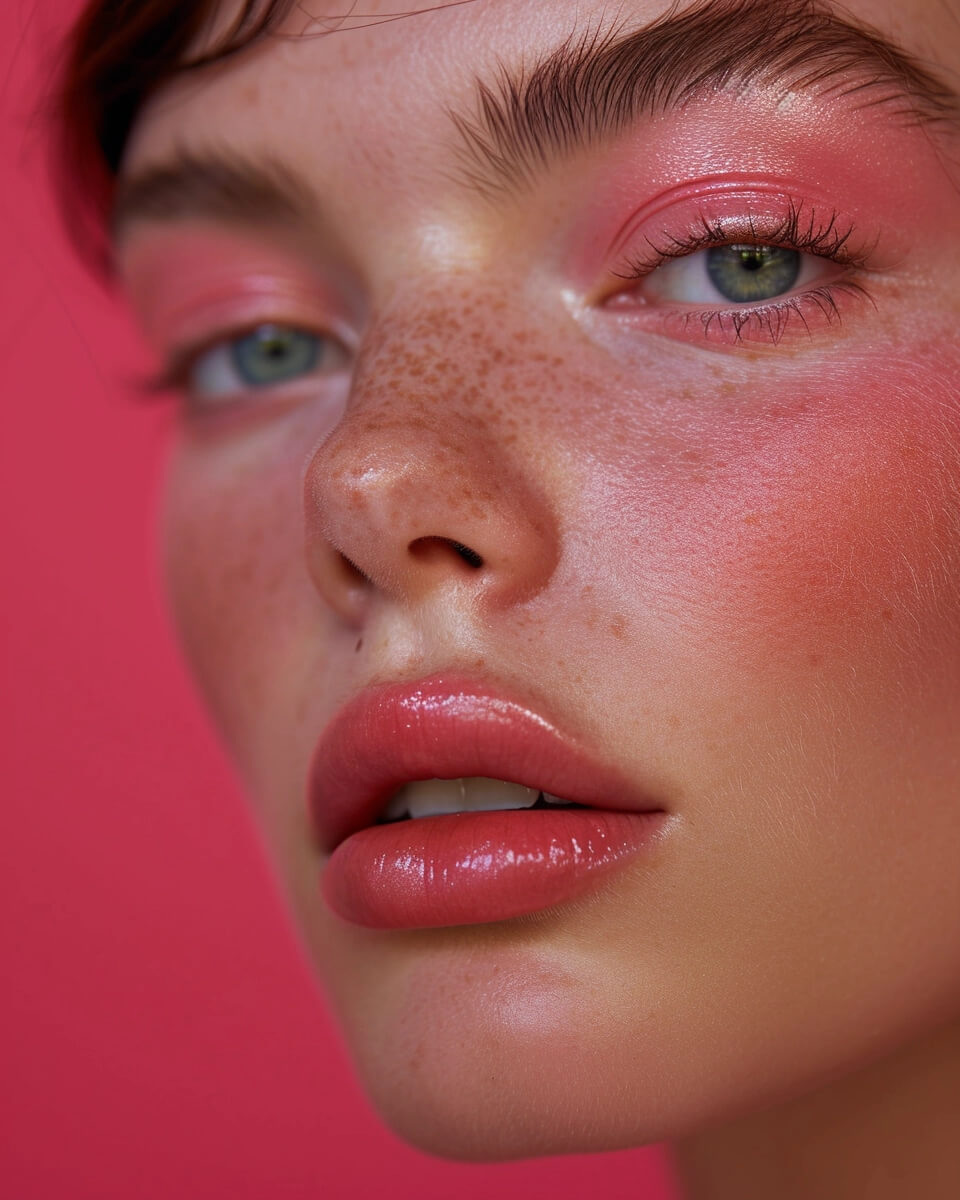
The Art of Perfecting Skin in Photoshop
This section will delve into the art of perfecting skin in Photoshop. You will learn advanced techniques for smoothing and correcting skin imperfections, achieving a flawless complexion. This section will teach you how to transform skin and create a polished look, from blemish removal to texture refinement.
Techniques for Achieving High-End Beauty Effects
In beauty retouching, mastering high-end beauty effects can elevate your work to the next level. You can create stunning images that captivate and inspire by employing advanced layering and masking strategies and enhancing features with dodge and burn techniques.
Advanced Layering and Masking Strategies
One of the essential techniques for achieving high-end beauty effects is advanced layering and masking. Using Photoshop layers, you can make targeted adjustments to specific areas of an image without affecting the entire composition.
To start, create separate layers for your retouching, such as skin, eyes, lips, and hair. This allows you to apply specific adjustments to each layer, ensuring every element looks flawless and perfectly enhanced.
When masking, use precise selections to isolate the areas you want to edit. This could be the skin, where you can smooth out imperfections or even out tones, or the eyes, where you can enhance the colour and brightness.
By combining advanced layering and masking techniques, you have complete control over the retouching process, allowing you to create seamless and natural-looking results.
 Enhancing Features with Dodge and Burn
Another powerful technique for achieving high-end beauty effects is enhancing features with Dodge and Burn. Dodge and burn are non-destructive editing tools that allow you to lighten or darken specific areas of an image selectively. These tools are handy for adding dimensionality and emphasising the natural contours of a subject.
With Dodge, you can lighten areas like the cheekbones, forehead, or nose to create a subtle glow and highlight the face’s natural beauty. On the other hand, burns can darken shadows and create depth, drawing attention to specific features like the eyes or lips. By strategically using these tools, you can sculpt and enhance facial features to create a captivating and polished look.
The keys to a successful Dodge and Burn are subtlety and control. Use a low-opacity brush and gradually build the effect, blending the adjustments seamlessly with the rest of the image. This ensures the changes remain natural and don’t appear overly edited or unrealistic.
By employing advanced layering and masking strategies and enhancing features with dodge and burn techniques, you can achieve high-end beauty effects in your retouching. These techniques give you the power to create stunning and natural-looking results that impress your clients and audience.
Photoshop Retouching for Captivating Covershots
In fashion and magazines, captivating covers are essential for grabbing attention and enticing readers. Photoshop retouching is crucial in creating visually stunning covers that stand out on newsstands and online platforms. This section will explore techniques and strategies for Photoshop retouching specifically tailored to captivate audiences with cover-worthy imagery.
Composing Attention-Grabbing Imagery
Composing attention-grabbing imagery is the key to creating a captivating cover. It involves carefully arranging elements within the frame to create a visually stunning composition. One effective technique is the rule of thirds, where the image is divided into a grid of nine equal parts, and essential elements are placed along the grid lines or at the intersecting points. This creates a visually balanced and dynamic composition that draws the viewer’s eye.
Another technique to consider is the use of leading lines. These lines or shapes within the image naturally guide the viewer’s gaze towards the subject or focal point. By strategically positioning leading lines, you can create a sense of depth and perspective, adding visual interest and depth to your cover shot.
Editing for Magazine-Quality Covers
Editing plays a crucial role in achieving magazine-quality cover shots. It involves fine-tuning the image’s colours, tones, and overall aesthetic to create a visually appealing and polished final result.
One key aspect of editing for magazine-quality covers is ensuring consistent skin tones. Skin retouching techniques can help smooth imperfections while maintaining a natural and realistic appearance. Balancing flawless-looking skin and keeping the individual’s unique features intact are essential.
In addition, enhancing colours and creating vibrant contrasts can make your cover shots visually appealing and eye-catching. Selective colour adjustments, adjusting levels and curves, and enhancing highlights and shadows can create a lively and striking image.
By applying these Photoshop retouching techniques and focusing on composing attention-grabbing imagery, you can elevate your cover shots to a magazine-quality standard. The boost in visual appeal and professionalism will attract viewers and make your covers stand out. Ready to take your cover shots to the next level? Let’s dive into the fascinating world of Photoshop retouching for a captivating cover.
Beauty Retouching in Photoshop for Brands and Clients
Understanding your client’s specific requirements and preferences is crucial in the world of beauty retouching in Photoshop. Whether you’re working with established brands or individual clients, tailoring your retouching techniques to meet their needs will ensure that you deliver exceptional results that align with their vision and brand identity.
When working with brands, it’s essential to familiarise yourself with their aesthetic and brand guidelines. Take the time to study their previous campaigns and understand the specific style and image they want to portray. This will allow you to confidently apply the appropriate retouching techniques to enhance their products or models while maintaining consistency with their brand image.
For individual clients, communication is critical. Take the time to listen to their expectations, understand their insecurities, and discover the aspects they want to highlight or downplay. Creating a collaborative space to discuss ideas and preferences openly will help you tailor your retouching process to their unique vision.
Remember that beauty retouching should always enhance a person’s natural beauty rather than completely altering their appearance. Clients will appreciate your ability to maintain a realistic and authentic representation of their brand or themselves.
Throughout your retouching journey, be open to experimenting with different techniques and approaches. Each client and brand will have their own distinct style and aesthetic, so adapting your retouching is essential. Stay up-to-date with the latest trends and techniques in beauty retouching, and constantly strive to improve and refine your skills.
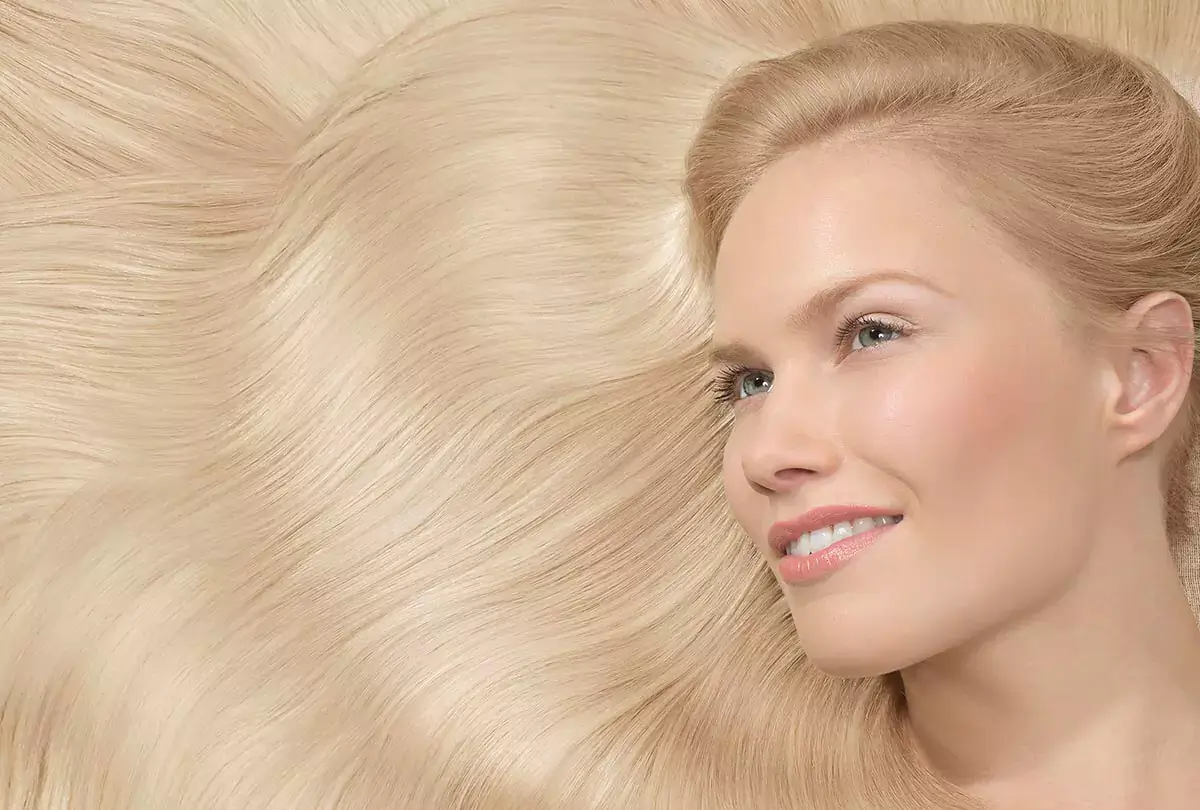
To help you visualise the impact of beauty retouching in Photoshop for brands and clients, take a look at the example image below:
You can become a sought-after beauty retouching professional with the right combination of technical skill, creative flair, and a deep understanding of your client’s needs. Remember, each retouching project is an opportunity to showcase your expertise and create stunning visuals that leave a lasting impact on brands and clients alike.
Mastering Makeup Enhancement in Photoshop Retouching
In digital photography and beauty retouching, mastering makeup enhancement techniques in Photoshop is essential to creating stunning and flawless portraits. By applying digital makeup realistically, you can enhance the features of your subjects and achieve professional-level results.
Realistic Application of Digital Makeup
Regarding digital makeup, the key is to achieve a natural look that seamlessly blends with the original image. You can carefully enhance the eyes, lips, cheeks, and other facial features to create the desired effect. Using Photoshop’s tools and brushes, you can apply foundation, eyeshadow, lipstick, and other makeup elements with precision and control.
Subtlety is vital when applying digital makeup. Avoid going overboard and strive for a realistic yet enhanced look. Pay attention to details like texture, shading, and highlights to ensure the makeup appears seamless and natural. By mastering the art of realistic application, you can create portraits that stand out and captivate viewers.
Balancing Colour and Contrast for a Flawless Look
In addition to makeup application, achieving a flawless look in your retouched portraits involves balancing colour and contrast. By carefully adjusting these elements, you can enhance the overall appearance of the image and create a harmonious and visually appealing result.
Start by assessing the colour balance and correcting any imbalances that may exist. Adjust the saturation, hues, and tones to achieve a natural and pleasing colour palette. This step is crucial in ensuring that the makeup blends seamlessly with the subject’s skin tone and other elements in the image.
Next, focus on contrast. Enhancing contrast helps to bring out details, improve definition, and create a sense of depth in the image. Adjust the highlights, shadows, and mid-tone levels to achieve the desired balance and ensure that the final result looks polished and professional.
By mastering the art of balancing colour and contrast, you can achieve a flawless look that elevates your retouched portraits to the next level.
Tweaking Light and Shadow for Dramatic Beauty Portraits
If you want to create visually striking beauty portraits, one of the essential techniques to master is tweaking light and shadow. Adjusting the lighting and shadows in your images can add depth and dimension to your photographs, resulting in dramatic and captivating portraits.
There are several ways to tweak light and shadow in your beauty portraits. Here are a few techniques to get you started:
- Backlighting: Positioning the light source behind your subject can create a beautiful halo effect and add a sense of drama to your portraits. Experiment with different angles and intensities of backlighting to achieve the desired effect.
- Rembrandt Lighting: This classic lighting technique involves creating a triangular patch of light on one side of your subject’s face, typically with a shadow on the other. It adds a sense of moodiness and depth to your portraits.
- Split Lighting: In this technique, the light source is placed on one side of the subject, dividing the face into equal halves of light and shadow. Split lighting can create a bold and edgy look, perfect for dramatic beauty portraits.
- High Contrast Lighting: You can create impactful and dynamic beauty portraits by using robust and directional light and emphasising the contrast between light and shadow. This technique works particularly well for capturing texture and details.
Remember, the key to tweaking light and shadow is to experiment and find the right balance that enhances the beauty of your subjects. Don’t be afraid to play with different lighting setups and techniques to achieve the desired dramatic effect in your portraits.
By mastering the art of tweaking light and shadow, you can take your beauty portraits to the next level, capturing the attention and admiration of viewers. The interplay of light and shadow adds depth, dimension, and drama to your images, creating visually stunning portraits that stand out.
Non-Destructive Beauty Retouching Practices in Photoshop
When it comes to beauty retouching in Photoshop, preserving image quality is crucial. Non-destructive editing techniques allow you to adjust without permanently altering the original image, ensuring professional-quality results and flexible edits.
 Using Layers to Preserve Image Quality
One of the essential techniques for non-destructive beauty retouching is utilising layers. By working with layers, you can separate your edits from the original image, making it easier to refine your adjustments and maintain the integrity of the image quality.
With layers, you can apply different retouching techniques to specific image areas, such as smoothing skin, enhancing features, or adjusting colour and contrast without affecting the entire image. This level of control allows you to achieve a polished, natural-looking result.
In addition, the use of adjustment layers provides even greater flexibility. Adjustment layers allow you to make non-permanent changes to various aspects of the image, such as brightness, saturation, and hue, without permanently altering the pixels.
Smart Objects for Flexible Edits
Another powerful tool for non-destructive beauty retouching in Photoshop is intelligent objects. Smart objects enable you to edit flexibly, even after applying multiple adjustments and filters.
By converting your layers into smart objects, you can preserve the original image data and apply edits non-destructively. This means you can go back and fine-tune your retouching at any point in your editing process without losing image quality.
The benefit of using smart objects extends to working with multiple layers. Placing various smart objects on separate layers allows you to easily adjust and refine each element individually, maintaining optimal control over the final result.
Smart objects also enable you to apply non-destructive filters, such as blurring or sharpening effects. You can adjust the filter settings and even remove or change the filters used while retaining the flexibility to refine your edits.
Incorporating non-destructive editing practices into your beauty retouching workflow in Photoshop allows you to preserve image quality, make precise adjustments, and maintain flexibility throughout the editing process.
Workflow Tips for Efficient Beauty Retouching in Photoshop
To achieve efficient beauty retouching in Photoshop, you must streamline your editing process and utilize time-saving techniques. By implementing workflow tips and taking advantage of the available presets and actions, you can save time and work more efficiently, allowing for a smoother and faster retouching workflow.
Streamlining Your Editing Process
One of the critical aspects of efficient beauty retouching is optimizing your editing process. Here are some workflow tips to help you streamline your retouching process:
- Organise your files and folders. Keep your images organised by creating a clear folder structure. This will allow you to locate and quickly access necessary files during retouching.
- Create a customised workspace: Customise your Photoshop workspace to fit your retouching needs. Arrange the panels and tools for quick and easy access to the most frequently used features.
- Use keyboard shortcuts: Familiarise yourself with keyboard shortcuts for everyday tasks in Photoshop. This will save you time and allow you to perform actions more efficiently.
- Batch process when possible: If you have many similar images to retouch, consider using batch processing techniques to simultaneously apply the same adjustments to multiple files. This can significantly speed up your workflow.
Time-Saving Presets and Actions
Another valuable tool for efficient beauty retouching in Photoshop is presets and actions. These time-saving features automate repetitive tasks and speed up your retouching workflow. Here are some ways to utilise presets and actions:
- Save your presets: Once you have achieved the desired look for a particular adjustment, save it as a preset. This way, you can apply the same settings to other images with just a few clicks.
- Download and install pre-made presets. There are many resources online where you can find pre-made presets for specific retouching effects. These presets can be a great starting point and save you time by providing a base for your adjustments.
- Create and use actions: Actions are recorded steps that can be repeated on multiple images. By recording actions for everyday retouching tasks, you can easily apply them to other images, saving you valuable time.
By implementing workflow tips and utilising time-saving presets and actions, you can enhance your efficiency in beauty retouching and achieve professional-quality results in less time. As you become more comfortable with these techniques, you can streamline your editing process and complete retouching tasks more efficiently.
Continual Learning and Perfecting Your Retouching Craft
In the ever-evolving world of beauty retouching, continual learning is essential for perfecting your craft. As trends and techniques constantly change, staying up-to-date with the latest advancements is crucial to ensuring your retouching skills remain top-notch. By dedicating yourself to ongoing learning, you can continue to evolve and refine your abilities, setting yourself apart as a skilled beauty retoucher.
There are various resources available that can help you further improve your retouching skills. Online tutorials, courses, and workshops offer valuable insights into new techniques and best practices. By actively seeking out these resources, you can stay ahead of the curve and continually enhance your retouching craft.
Moreover, keeping an eye on the latest trends in beauty retouching can also greatly benefit your work. Following industry-leading retouchers, studying their techniques, and analysing popular beauty campaigns can inspire you to incorporate fresh ideas into your retouching. Adapting to the latest trends will allow you to meet the ever-changing demands of brands and clients.
Remember, perfecting your retouching skills is an ongoing process that requires dedication and passion. By embracing continual learning and staying updated on the latest trends and techniques, you can continue to sharpen your craft and create stunning beauty retouching work.

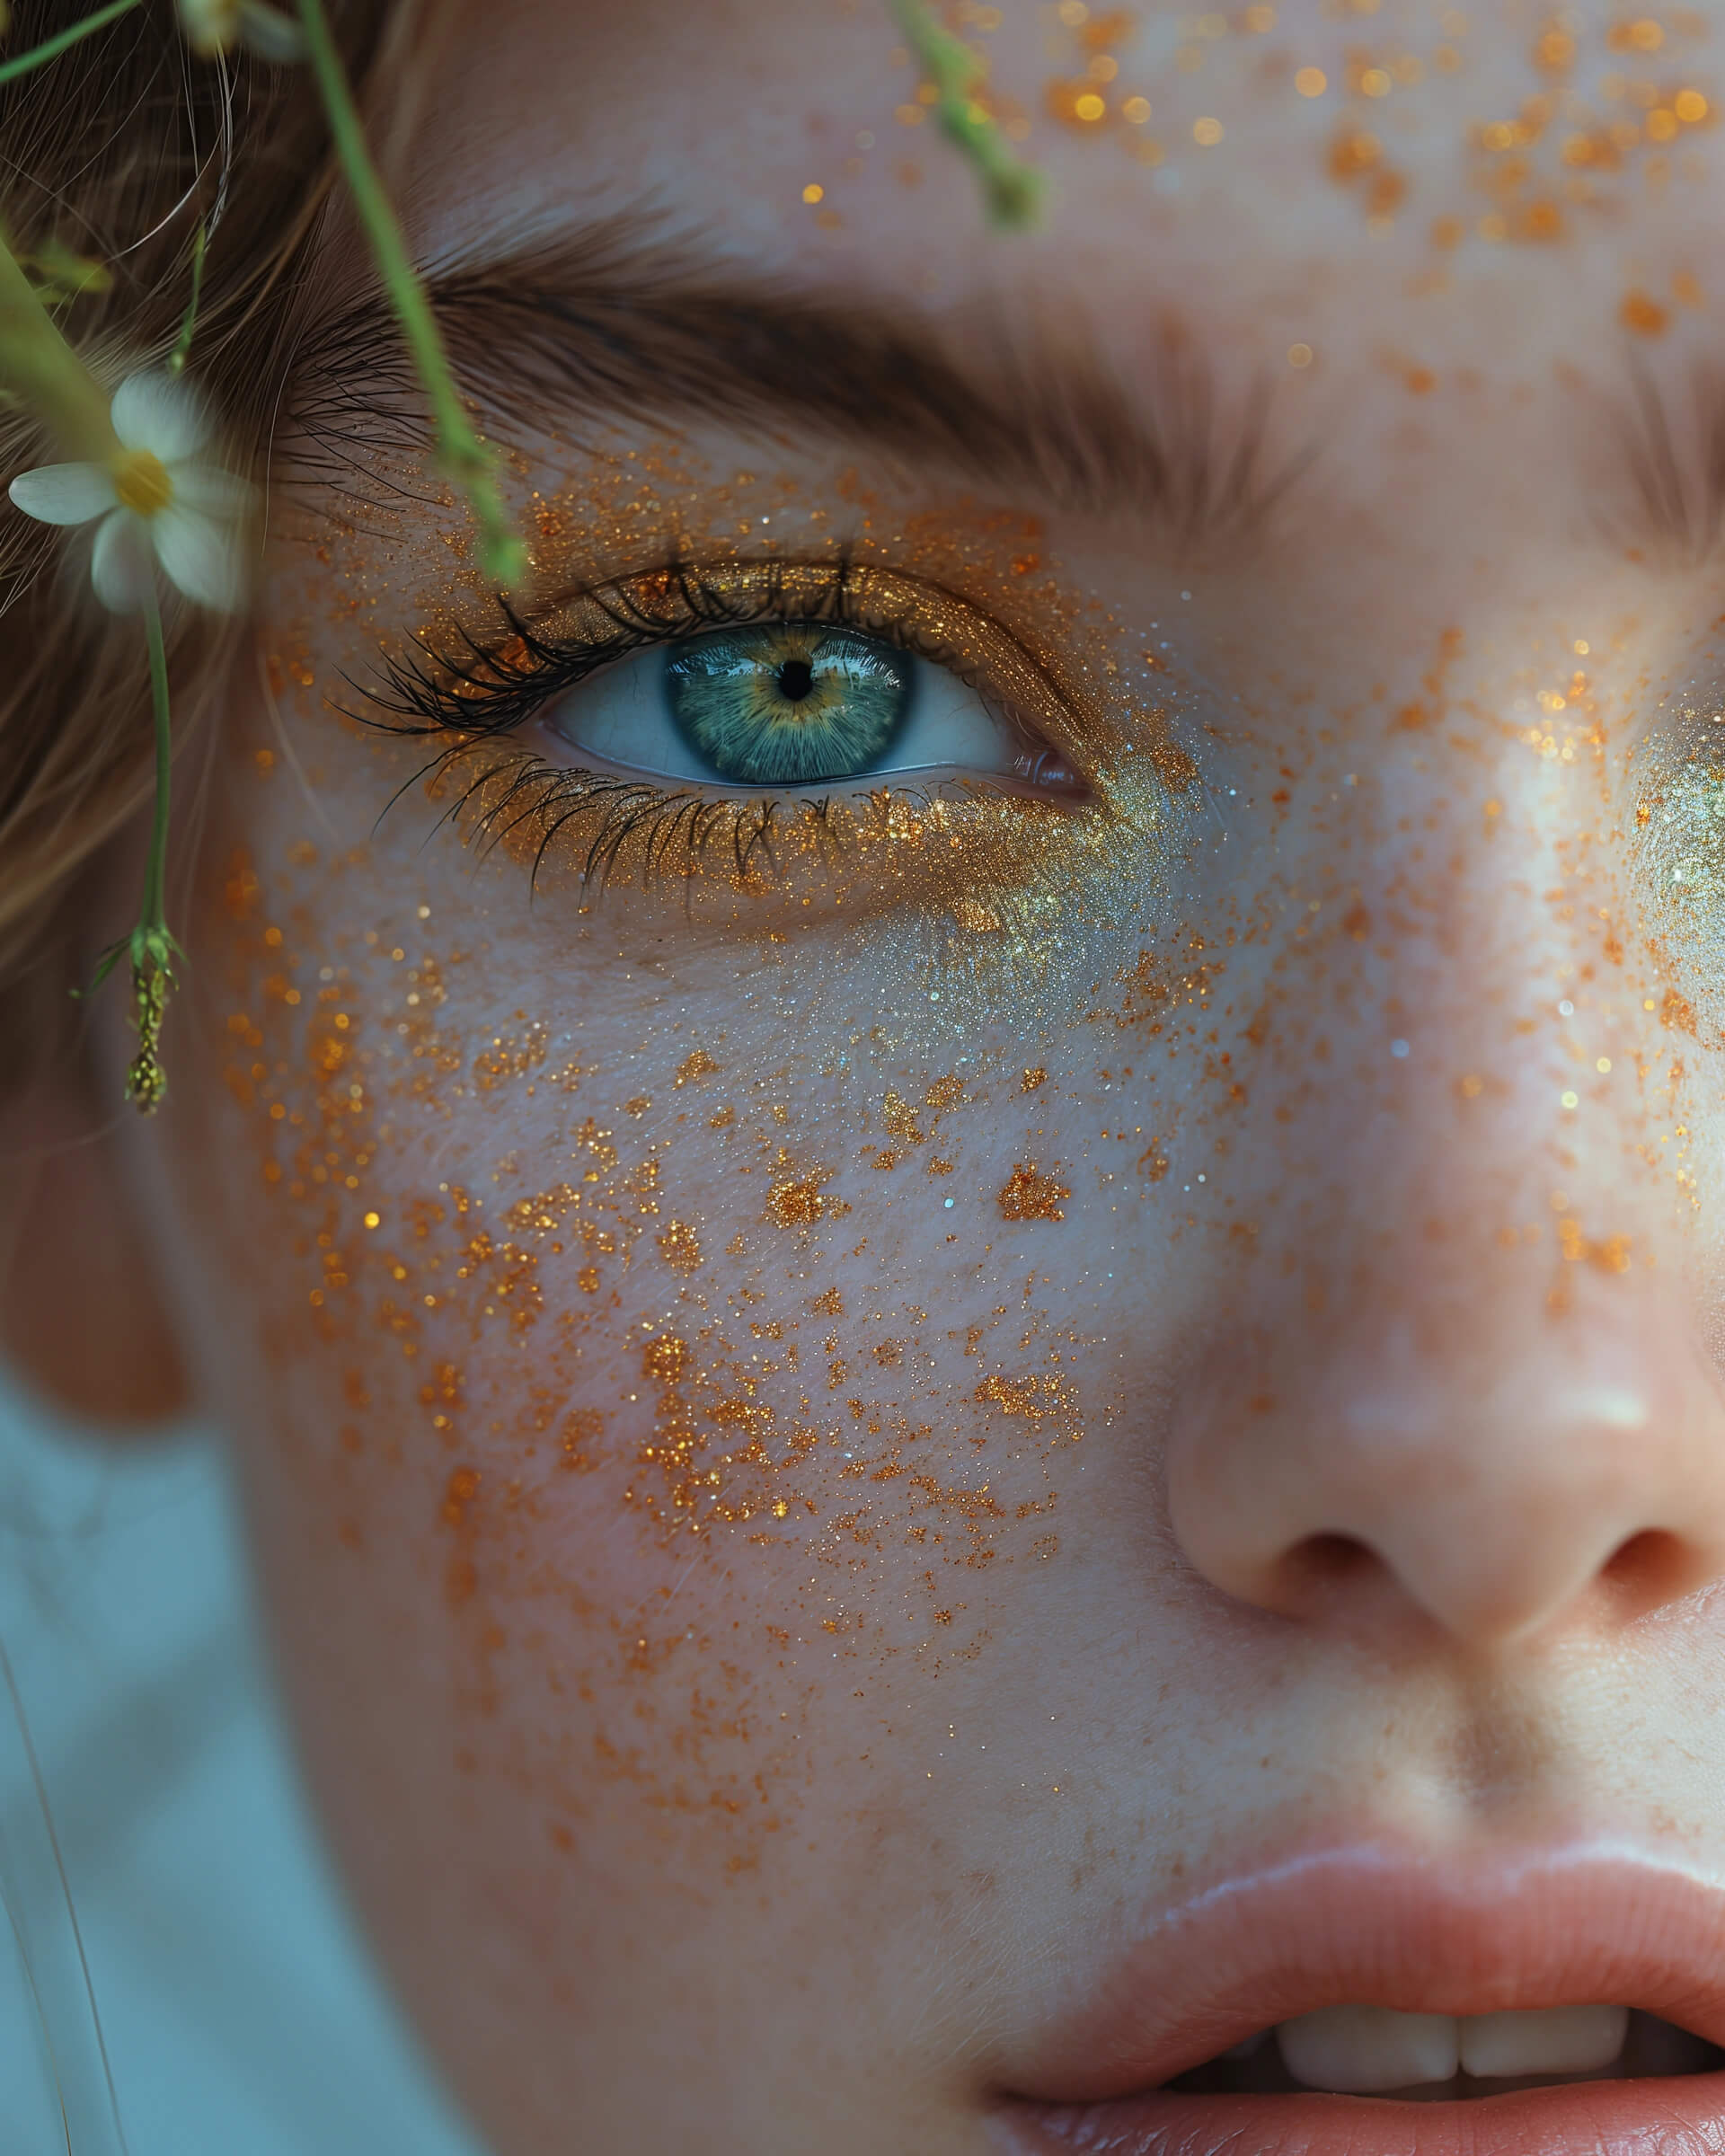 Understanding the Basics of Beauty Retouching in Photoshop
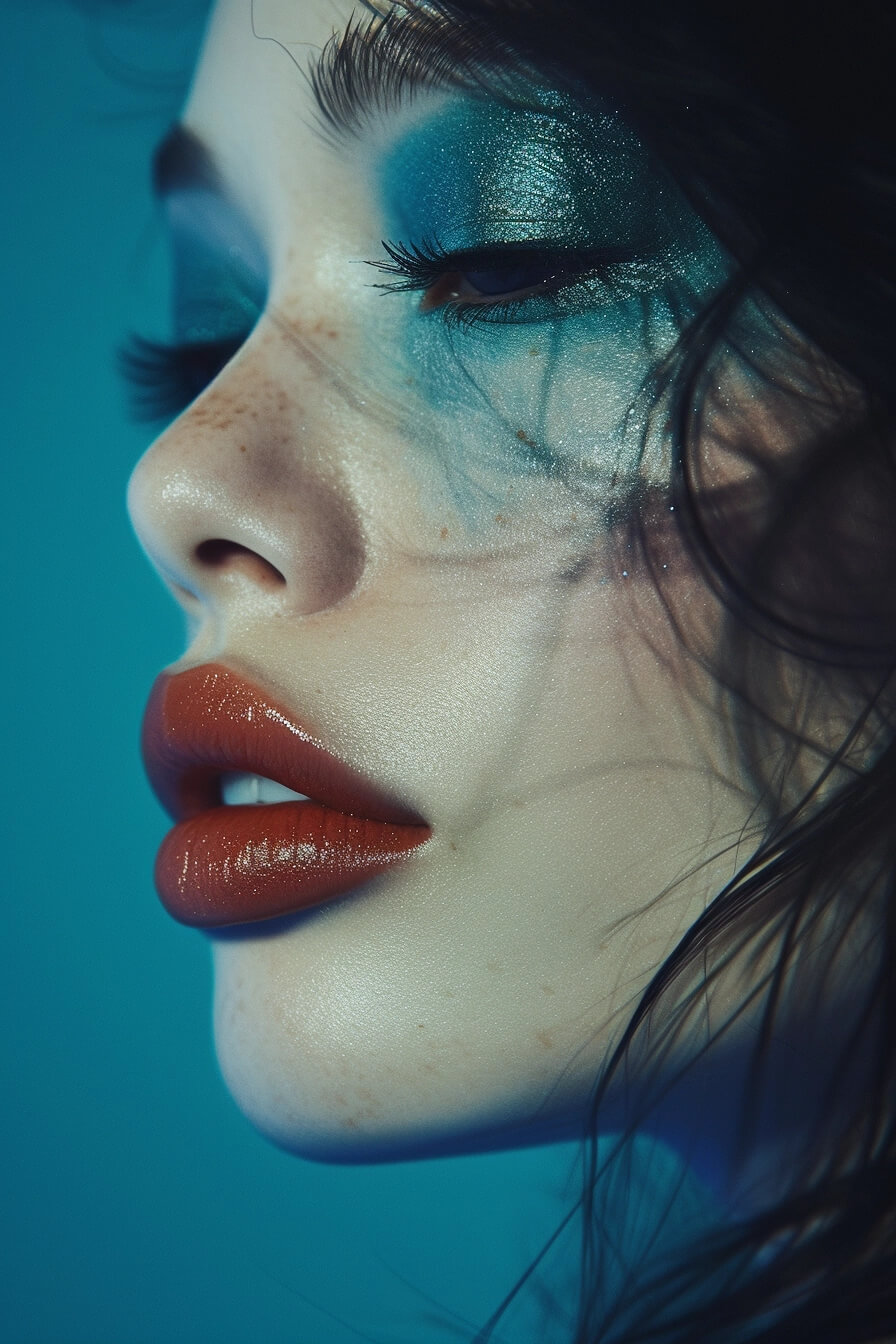 Enhancing Features with Dodge and Burn
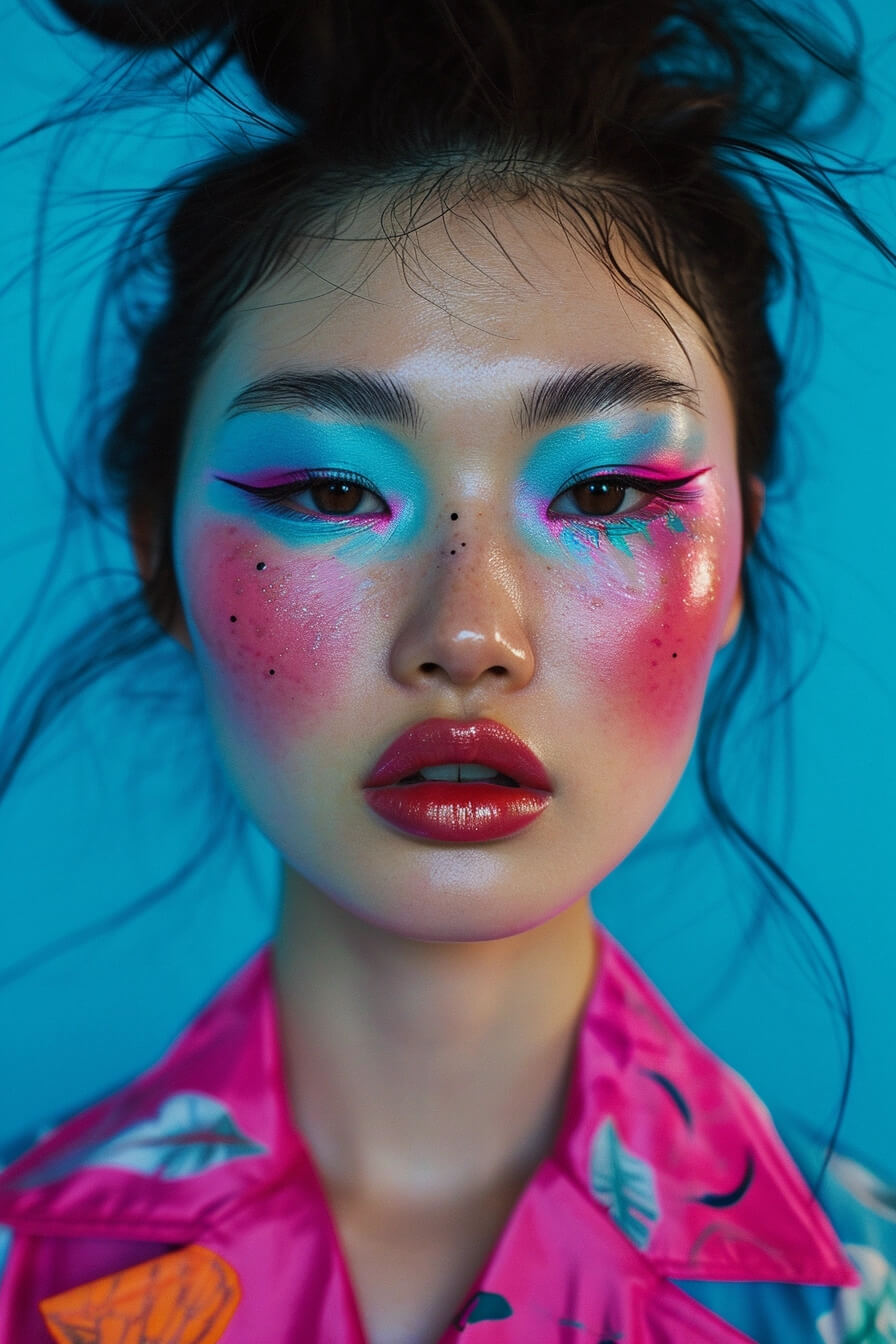 Using Layers to Preserve Image Quality