Household Portrait Lighting Setup – Are you tired of bland and uninspiring home photos?
Whether you’re capturing precious moments with your loved ones or showcasing your interior design skills, having stunning Household Portrait Lighting Setup portraits is essential. But here’s the secret: you don’t need a professional studio or expensive equipment to achieve captivating results. With a few household items and some simple lighting techniques, you can enhance your home photos and unlock the true potential of your interior spaces.
So, how can you transform your ordinary home photos into professional-looking portraits? It all starts with understanding how to manipulate light to your advantage. By utilising natural light, incorporating reflectors and diffusers, and implementing intelligent photography tips, you’ll be able to bring out the best in your home portraits. Get ready to transform your photography skills and capture beautiful memories that will last a lifetime!
Key Takeaways
- Enhance your home photos using simple lighting techniques.
- Utilise natural light by observing and optimizing the lighting conditions in your home.
- Use reflectors and diffusers to create balanced lighting and achieve a softer, more flattering look.
- Implement additional photography tips, such as controlling depth of field and choosing the right lens for portrait photography.
- Paying attention to background details and removing distractions can elevate the overall impact of your home portraits.
 Natural Light for Indoor Portraits – Household Portrait Lighting Setup
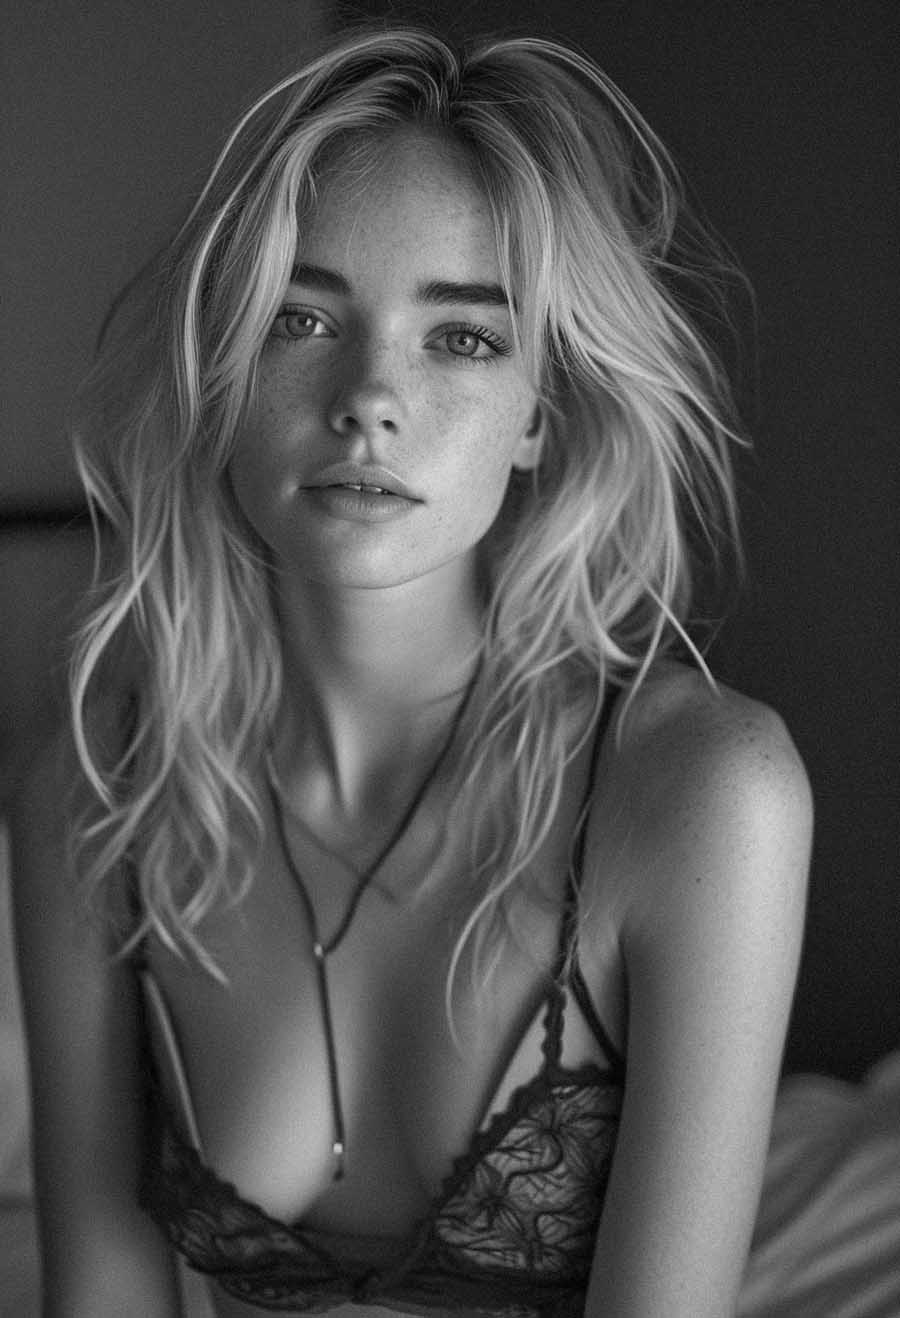
One of the best ways to create beautiful indoor portraits is by harnessing the power of natural light. You can easily capture stunning images by using the light windows that are available.
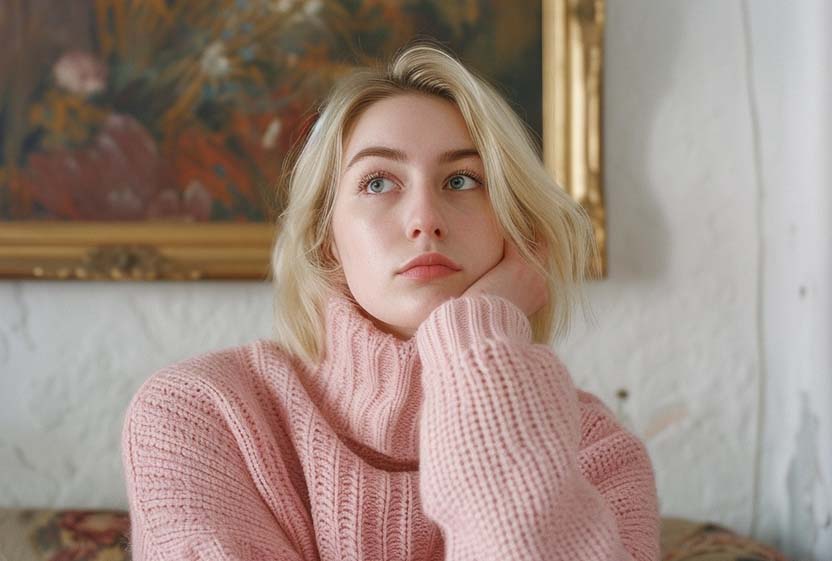
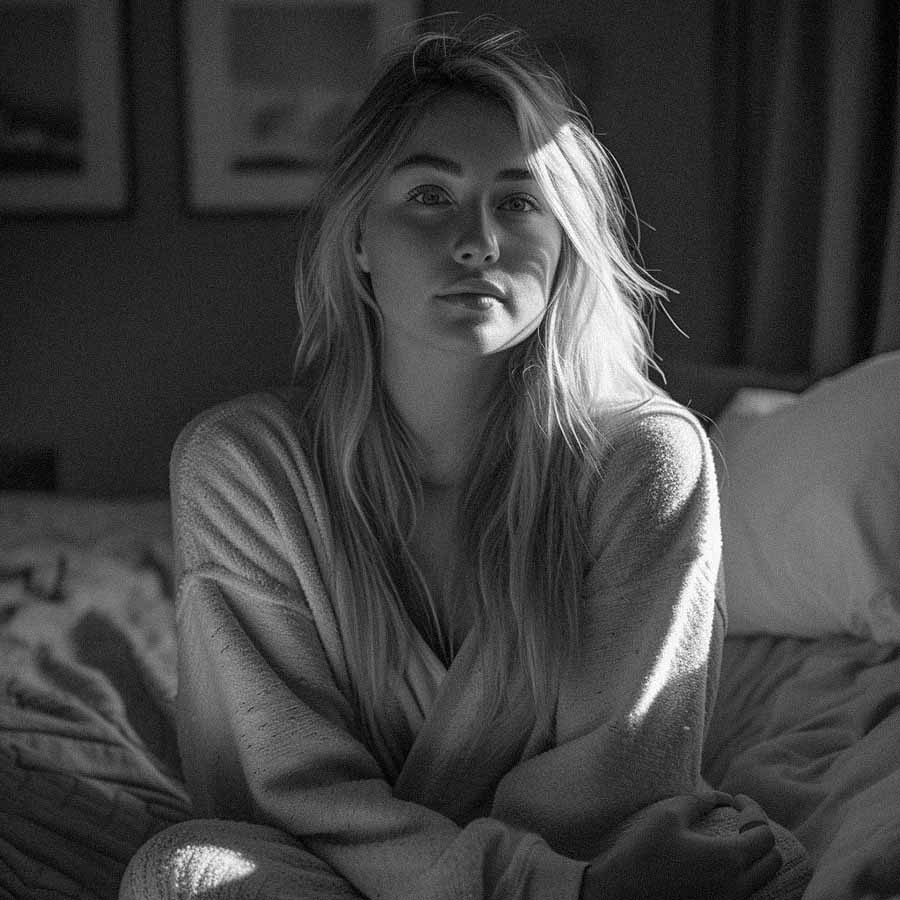
Start by walking around your home and observing each room’s lighting conditions. Look for windows that provide soft, diffused light and create interesting patterns. These windows are ideal for natural light photography and can help you achieve a more flattering and captivating portrait.
Experiment with different times of day to see how the light changes throughout your home. You’ll notice that the angle and intensity of the sunlight can vary, so it’s essential to find the window that offers the best lighting for your portraits.
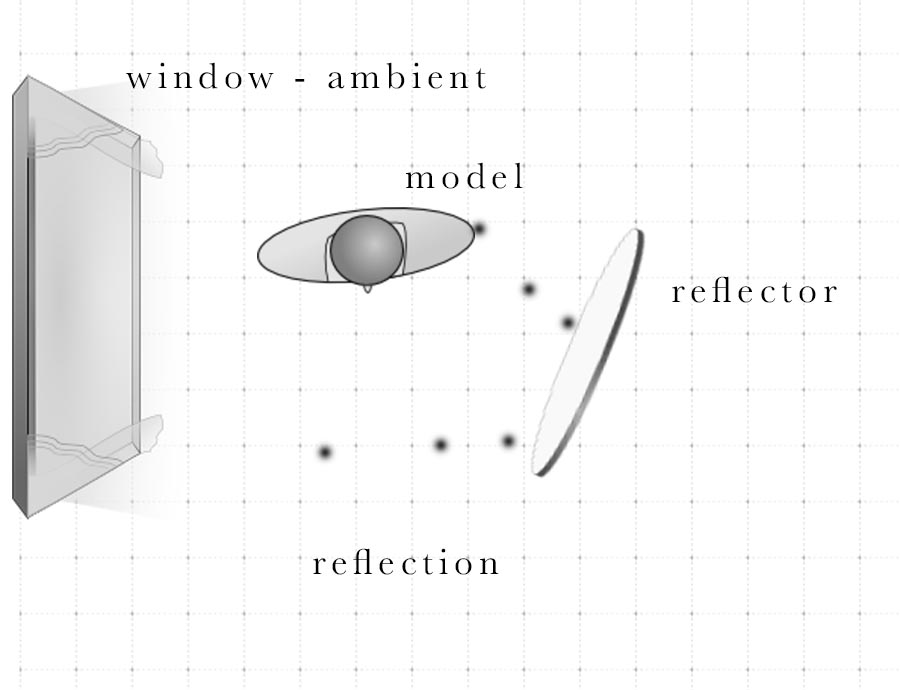 Once you’ve identified the ideal window, position your subject near it. This allows the natural light to serve as your primary light source, illuminating your subject softly and pleasingly. Avoid placing your subject too close to the window, which may result in harsh shadows or uneven lighting.
Remember that it can change throughout the day when working with natural light. The angle and intensity of the sunlight can create beautiful effects, so don’t be afraid to experiment and adapt to the changing conditions.
By using windows for portraits and understanding how to make the most of natural light, you can achieve stunning results that truly capture the essence of your subject. So, embrace the power of natural light in your indoor photography and watch your portraits come to life.
 Using Reflectors and Diffusers for Balanced Lighting for Household Portrait Lighting Setup
If your home’s natural light is too harsh or uneven, you can employ various portrait lighting techniques to create a more balanced and flattering look. One effective method is to use reflectors and diffusers.
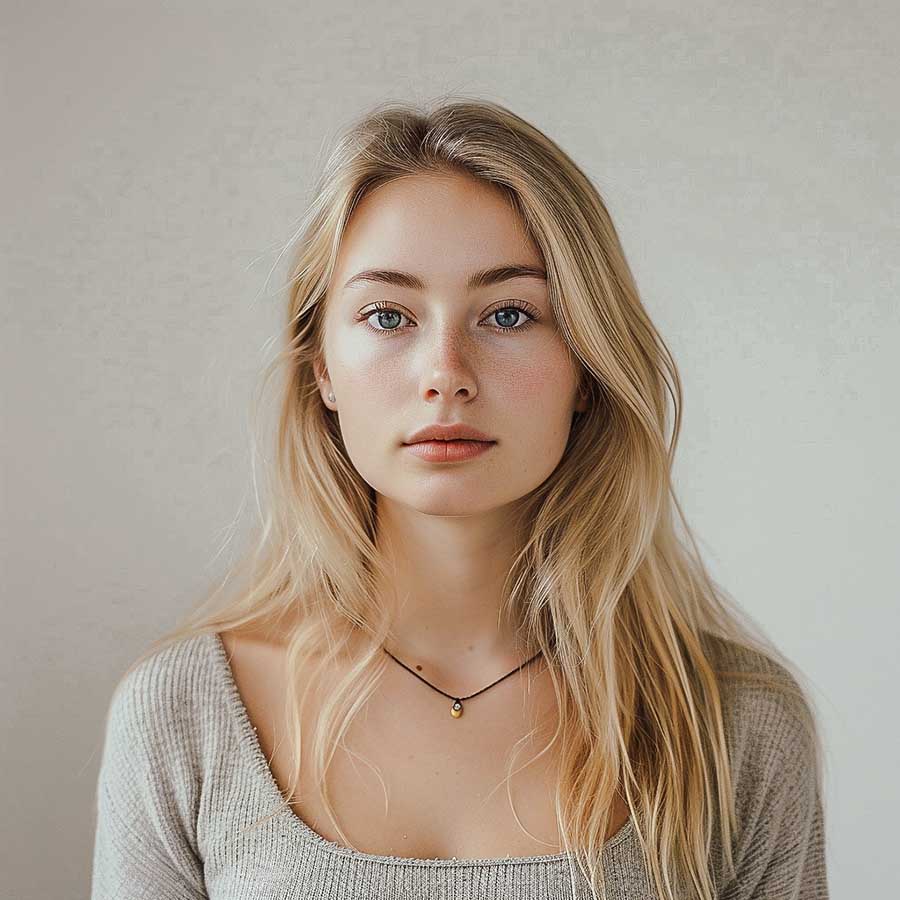
Reflectors are handy tools that bounce light back onto your subject, minimizing harsh shadows and creating a softer illumination. You can achieve this effect using purpose-made reflectors or everyday household items like white bedsheets. Position the reflector opposite the primary light source, directing the reflected light toward your subject’s face. This will help fill in shadows and create a more even complexion.
If the natural light coming through the windows is too harsh and produces strong shadows, you can use diffusers to soften the light and achieve a more gentle glow. Consider utilizing curtains or blinds to diffuse the incoming light, creating a more pleasing and flattering illumination for your portraits. This diffused light can help even out skin tones and minimise harsh features or textures.
Experiment with different angles and positions for the reflectors and diffusers to achieve the desired effect. Each lighting situation may require a different approach, so don’t be afraid to try various techniques until you find the perfect balance of light and shadow.
By incorporating reflectors and diffusers into your home portrait setup, you can overcome lighting challenges and capture stunning images with enhanced clarity and visual appeal.
 Tips for Enhancing Indoor Portraits
To take your indoor portraits to the next level, try these portrait photography tips. First, use the aperture priority mode on your camera to control the depth of field. This allows you to create a pleasing background blur, bringing focus to your subject while creating a sense of depth in the photo.
Another essential factor to consider is choosing the right lens. For portrait photography, an 85mm lens is a popular choice as it helps to create a beautiful bokeh effect and provides a flattering perspective for your subject.
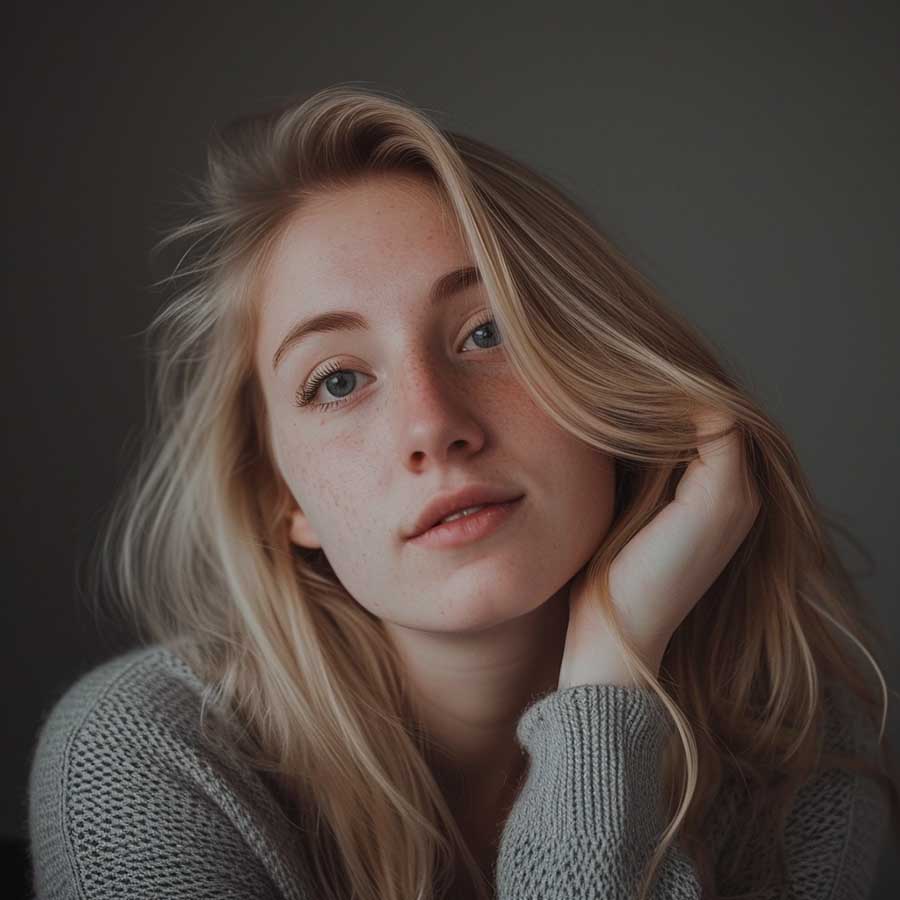
When capturing indoor portraits, don’t forget to check for catchlights in the eyes. These tiny reflections add life and sparkle to the subject’s eyes, making them appear more engaging in the photo.
Lastly, pay attention to the background of your indoor portraits. Remove any distractions that may detract from your subject, and consider using a plain or complementary backdrop to create a clean and professional look.
FAQ
What is a household portrait lighting setup?
A household portrait lighting setup uses simple lighting techniques and equipment found in most homes to enhance your home photos and create beautiful portraits. It typically involves utilizing natural light, reflectors, and diffusers to create a balanced and flattering lighting setup.
How can I use natural light for indoor portraits?
To use natural light for indoor portraits, you can position your subject near a window that provides soft, diffused light. You can achieve stunning results by using the window as your primary light source. Observing the lighting conditions in each room and experimenting with different times of day is essential to finding the best window for your portraits.
What are reflectors and diffusers, and how can I use them for portrait lighting?
Reflectors bounce light back onto your subject, filling in shadows and creating a softer, more flattering look. Household items like white bedsheets or dedicated reflectors can achieve this effect. Diffusers, on the other hand, are used to soften harsh light. If the natural light coming through the windows is too harsh, you can use curtains or blinds to diffuse the light and create a softer glow for your portraits.
What are some tips for enhancing indoor portraits?
Some tips for enhancing indoor portraits include using aperture priority mode to control your depth of field and create a pleasing background blur. Additionally, experimenting with different lenses, such as an 85mm lens for portrait photography, can help you achieve the desired look. It is also essential to check for catchlights in the eyes to bring your portraits to life and remove any distractions from the background that may take away from your subject.

 Natural Light for Indoor Portraits – Household Portrait Lighting Setup
 Using Reflectors and Diffusers for Balanced Lighting for Household Portrait Lighting Setup
 Tips for Enhancing Indoor Portraits
 Source Links