50 Cameras Angles Every Film Maker and Photographer Needs to Know
A camera shot refers to a series of frames composed from the moment the director goes “lights, camera, action” and continues until the camera stops rolling. Being aware of your camera shot is an essential part of filmmaking.
Shot size refers to how big or small the frame is around the subject. Does your subject fill the frame, or is your subject barely there? Are there multiple characters, or just one? Do you want to show the entire landscape surrounding the characters, or should the audience only see one specific detail in the shot?
Let’s go through what the different shot sizes are and what they will do to your footage.
Extreme Close-Up
Use extreme close-ups to emphasise certain features of your subject, like their eyes or mouth. The extreme close-up shot is about getting all those small objects and details on display and letting that be the focal point of the audience’s attention. Think of a classic Western movie: two cowboys duel at dawn. To intensify the situation, you use extreme close-ups, only showing their eyes.
Close-Up
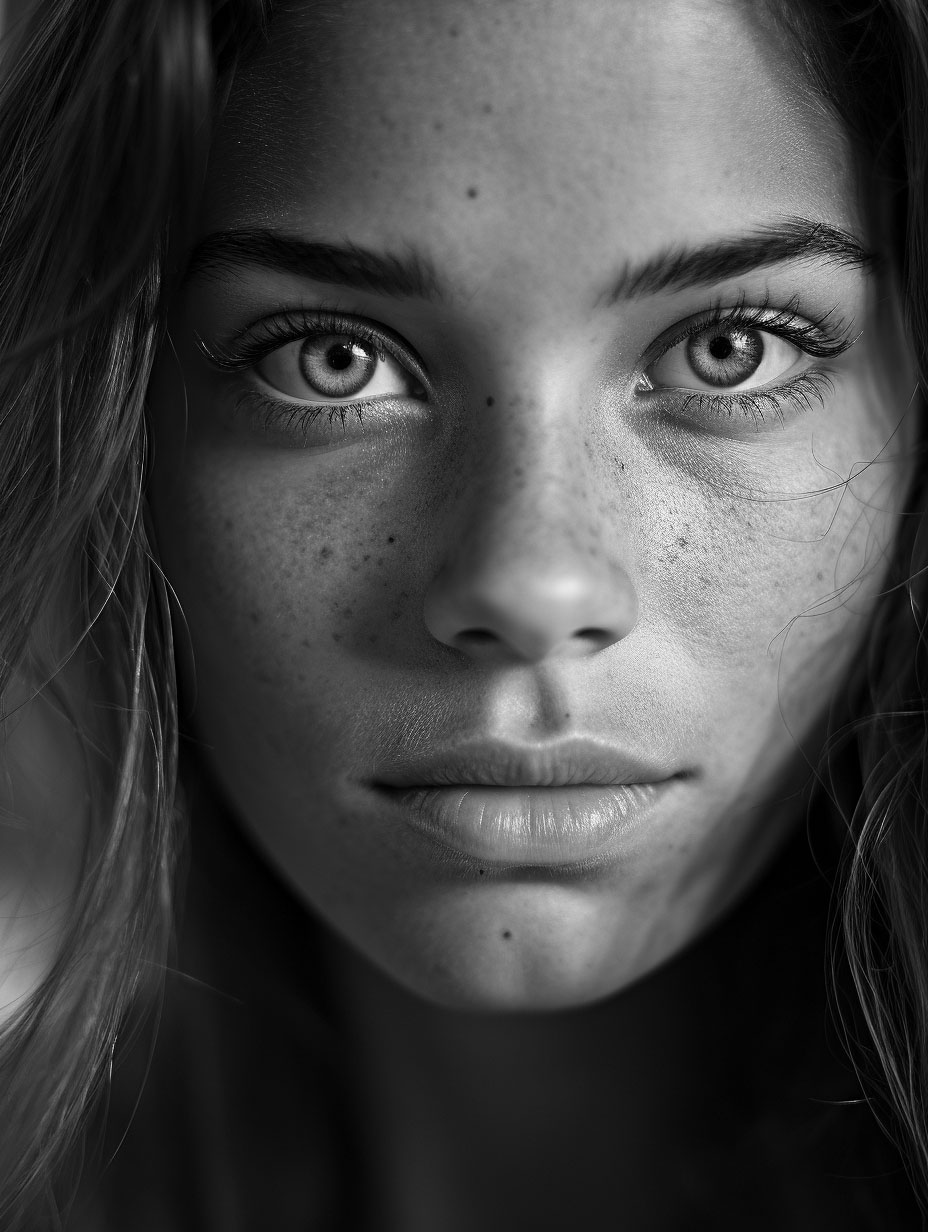
This shot is used to highlight your subject’s facial features without any distractions bumping in. This makes it great to frame the subject’s emotions or reactions. Typically, it will mean showing the subject’s face from their forehead to their chin.
It’s the perfect shot for those crucial moments. You know, when our lead realises this, she’s reached the point of no return. When that happens, the audience should be able to take it all in—everything she’s feeling at that very moment. The great thing about a close-up is that it’s close enough to register even little emotions but not so close that we lose visibility.
Long shot or Wide shot
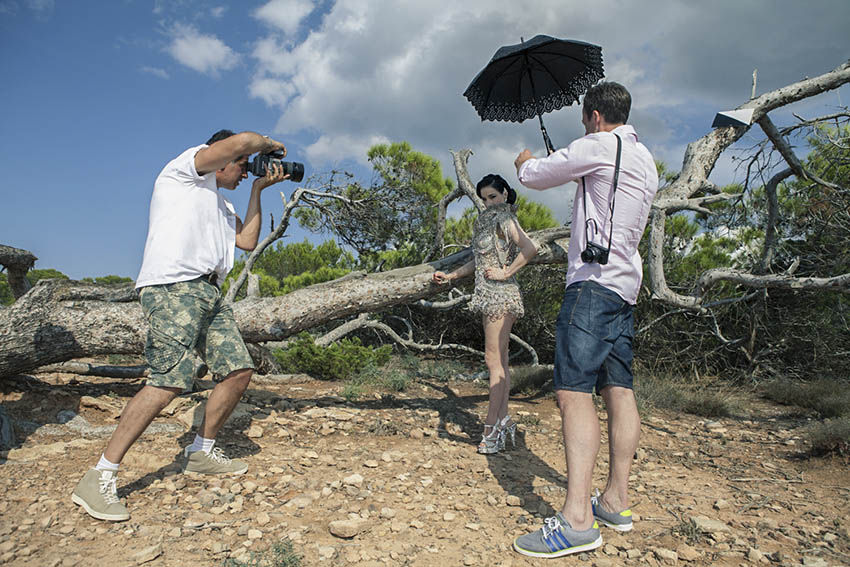
This shot allows the audience to see the subject’s entire body in the frame, head to toe. Using a long shot gives the audience a sense of the subject’s surroundings and gives a better idea of why the character is there in the first place. You’ll often see this shot in action scenes, at times when it’s essential to know how the character is moving in that specific environment. The nice thing about using a long shot or wide shot is that it lets the audience look at the beautiful background imagery while filming in the Maldives. We, the audience, don’t want to miss that (it might be the closest thing we get to a vacation this year)
Extreme long shot or Extreme wide shot
These shots will make the subjects appear tiny compared to their surroundings, as the audience sees the location’s full breadth. They work excellently to create a scope and scale of measurement and help emphasise a specific tone and mood. Think of the ending of any romantic Disney movie (obviously all of them) where the princess finally gets her prince. They ride off into the sunset in their magic pumpkin. As they ride away, the characters get smaller and smaller the further away they get from the camera. And we all get the idea that they lived happily ever after. It doesn’t have to be romantic, though; extreme long shots also work great for conveying a sense of distance or unfamiliarity with the character’s surroundings.
Medium shot or mid-shot
The medium shot is sort of the middle child between its close-up and long-shot siblings. The typical medium shot will show the subjects from their head down to their waist. While it is close enough to see their faces, it also captures the characters’ body language while showcasing the subject’s environment without the audience getting disoriented.
Medium Close-Up Shot
The medium close-up shot will typically show the subject from the chest and up. That means it favours the subject’s face but still manages to keep a certain distance.
Single, two-shot, three-shot

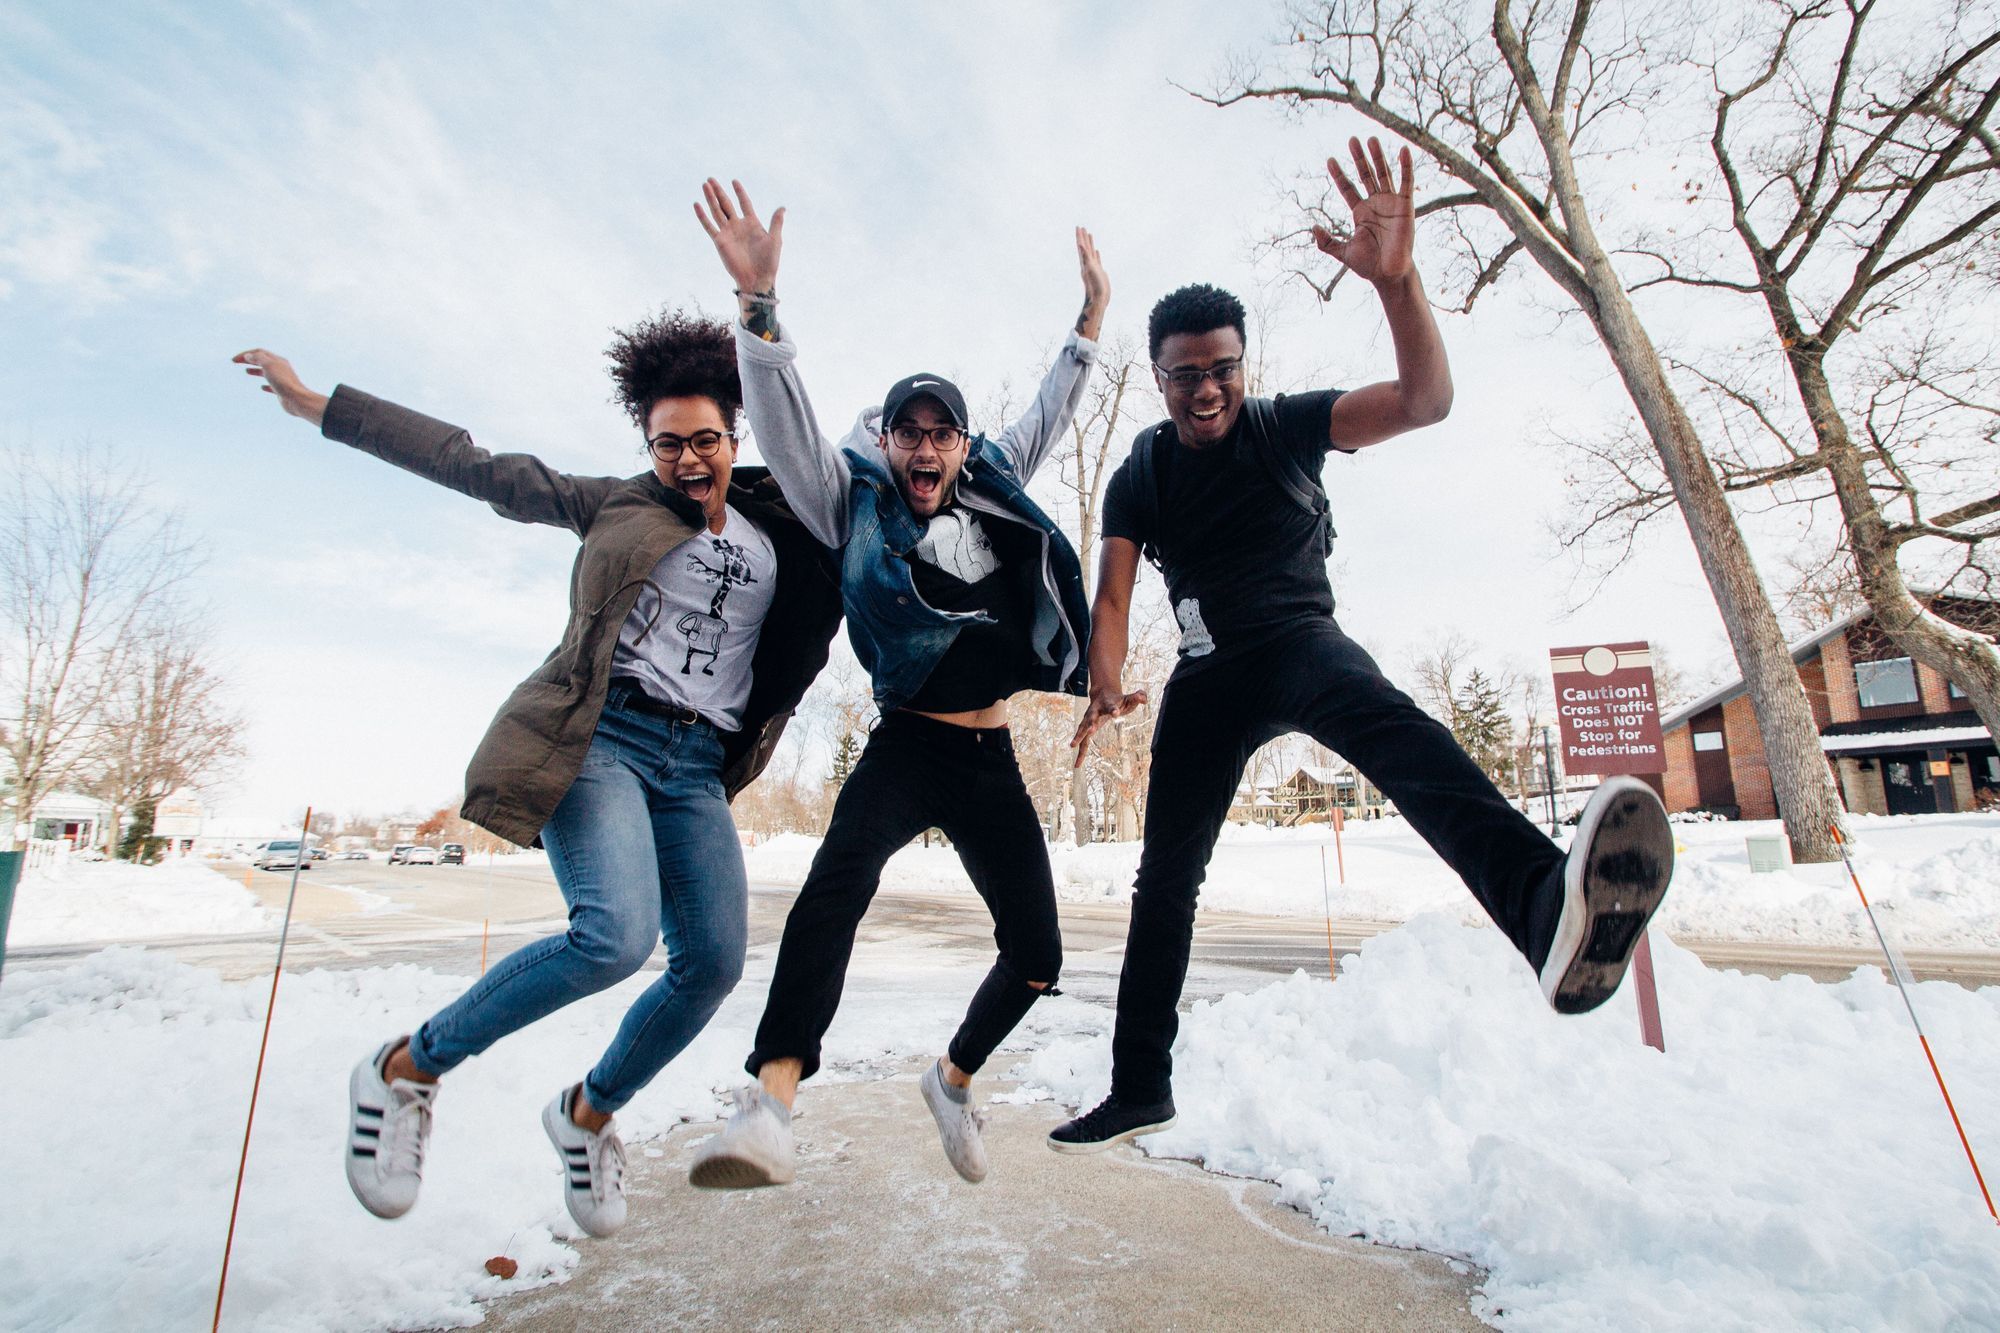
Whether you choose the single–, two-, or three-shot depends on how many characters there are in the frame and how you want the audience to see them. Let’s say you use a three-shot; this means you’re choosing a shot size that manages to keep three people in that one frame.
Point-of-view shot
POV is the type of shot you use when you want the audience to see what the character sees. You’re letting the audience walk a mile in their shoes, putting them directly into the character’s head. It can either be a static shot or a combination of different camera movements.
 Camera Shots
- Extreme Close-Up: Focus on small details like eyes or mouths, making them the focal point of the audience’s attention.
- Close-Up: Highlights facial features and emotions, typically showing the subject’s face from forehead to chin.
- Long Shot/Wide Shot: Shows the subject’s entire body within their environment, often used in action scenes.
- Extreme Long Shot/Extreme Wide Shot: Subjects appear small against their surroundings, emphasising scale and mood.
- Medium Shot/Mid-Shot: Balances close-up and long-shot elements, showing subjects from head to waist.
- Medium Close-Up Shot: Focuses on the subject from the chest up, maintaining a balance between detail and environment.
- Single, Two-Shot, and Three-Shot: Depends on the number of characters in the frame, maintaining all in one shot.
- Point-of-View Shot (POV): Shows what the character sees, putting the audience in their perspective.
- Full Shot: Displays the whole character and their surroundings, ideal for featuring multiple characters.
- American Shot/Cowboy Shot: A variation of the medium shot frames the subject from mid-thigh up.
- Reaction Shot: Frames a character’s reaction to an action.
- Establishing Shot: Sets the scene, showing the location and timeframe.
- Over-the-Shoulder Shot: Shows a character’s perspective from behind their shoulder.
- Medium Wide Shot/Medium Long Shot: Frames from about the knees up, offering a focused view of the character.
- Hip Level Shot: Focuses from the waist up, useful in scenes involving actions near the hip.
- Knee-level shot: camera height at the subject’s knees, emphasising the character’s presence.
- Ground-Level Shot: Camera on the ground level, often used to feature characters without revealing their faces.
- Shoulder-Level Shot: Aligns with the subject’s shoulder for intimate portraits.
- Birds-Eye-View Shot/Overhead Shot: The camera is positioned almost 90 degrees above the subject, providing scene information.
- Aerial Shot/Drone Shot/Helicopter Shot: High-elevation shots for showcasing landscapes or large-scale scenes.
Camera Angles
- Eye-Level Shot: neutral angle, maintaining objectivity.
- Low Angle Shot: emphasises power dynamics with the camera looking up at the subject.
- High-Angle Shot: Creates a sense of vulnerability by shooting from above.
- Dutch Angle Shot: Conveys disorientation by tilting the camera to one side.
- Over-the-Shoulder Shot: Offers a view of another character’s face from over a shoulder, indicating conflict or confrontation.
Camera Movement
- Pan or Tilt: Simple movements, rotating the camera side to side or up and down.
- Tracking Shot/Dolly Shot/Crane Shot: Moves with the subject, adding a dynamic element.
- Zoom Shot: Changes the focal length to create a sense of movement.
- Random Motion: Creates energy and intensity, especially in action scenes.
- Single Take: Combines various movements, shot sizes, and angles into one extended shot.
Camera Focus
- Rack Focus/Focus Pull: Shifts focus from one subject to another.
- Shallow Focus: emphasises a detail with a small depth of field.
- Deep Focus: Everything in the scene is in focus.
- Tilt-Shift Focus: Changes the lens position for selective focus.
- Soft Focus: Creates a dreamy or memory-like effect.
- Split Diopter: Allows two focal lengths simultaneously for a unique focus effect.
 Camera Equipment
- A tripod is a must-have for steady shots, particularly when using pans and tilts.
- Slider Shot: Moves the camera smoothly on a horizontal or vertical axis.
- Steadicam Shot: stabilises handheld shots.
- Gimbal Shot: Provides stable footage in tight spaces.
- Crane Shot: Sweeps over a scene, emphasising scale.
- Jib Shot: Similar to a crane but more compact.
- Drone Shot: Captures high-elevation shots for a broad perspective.


 Camera Shots