James Nader Photo Diaries
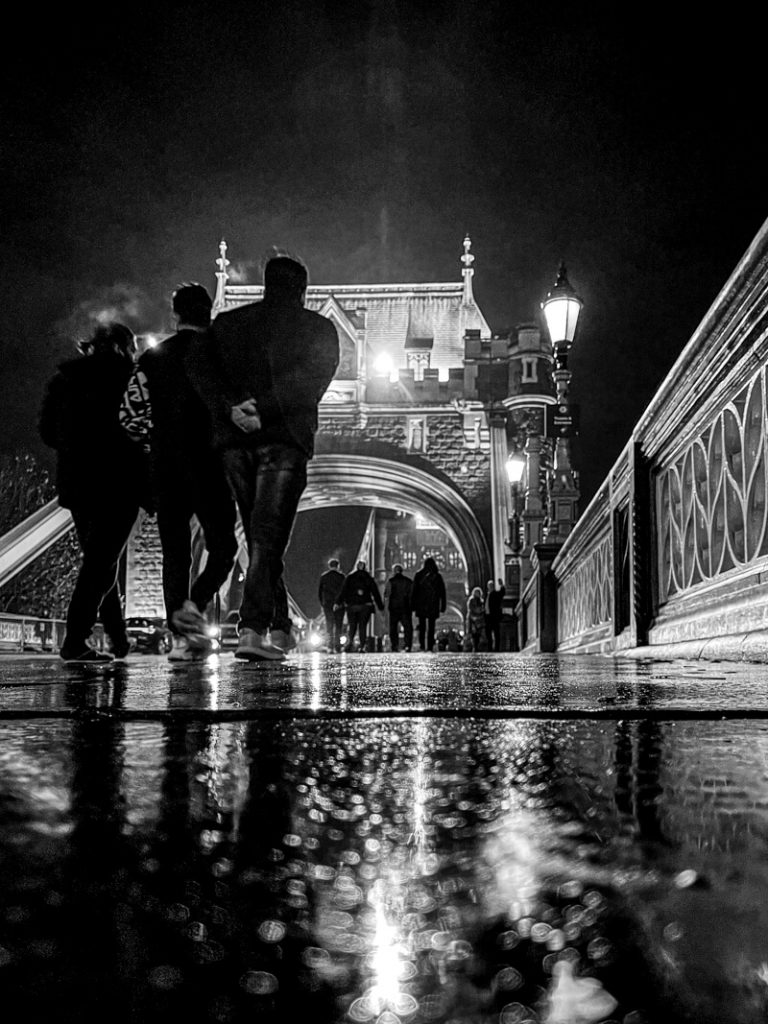
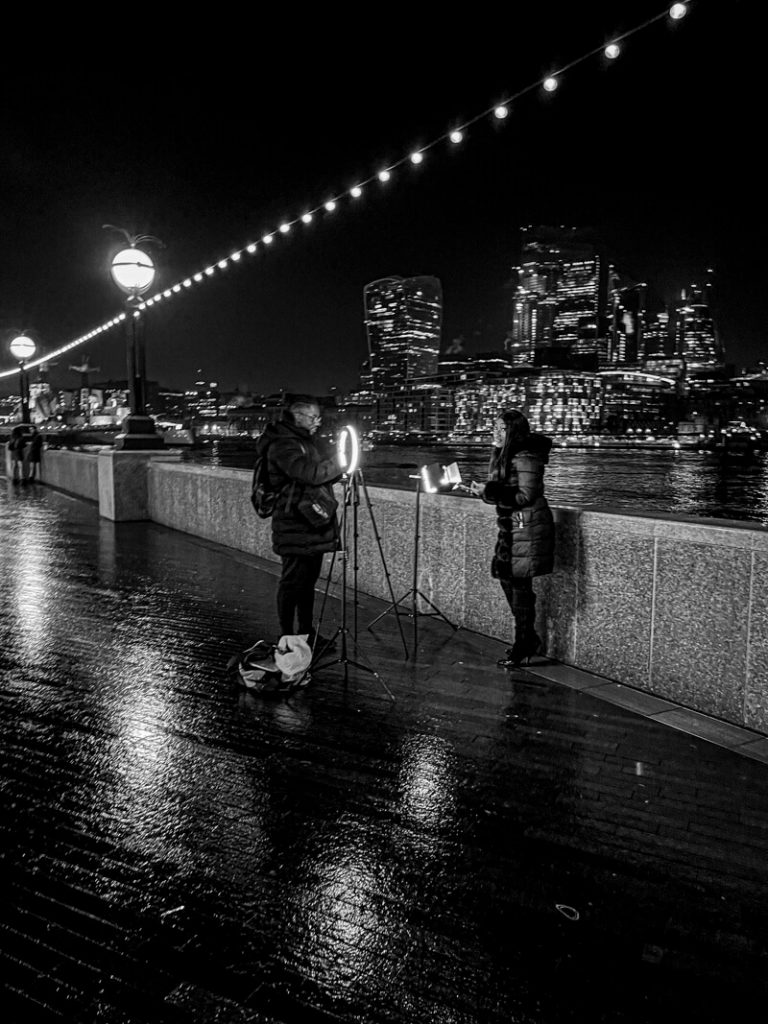
I have recently dabbled with monochrome Street photography within my shoot work outside my main branded work and a little more in the street photography genre. I have for many years shot pictures and put them into hibernation on my various hard drives, never to see the light of day again. However, after speaking with Kieron Beard, I decided to post more pictures of subjects that caught my eye. I now have a new Instagram account called @naderpersonal, where these are posted and not [art of my branded content but purely my observations and diversions.
All Pictures were captured on iPhone 12 Pro Max and edited in Lightroom Mobile.
So here are a few of my very own tips for street photography based on my very early adventures.
Getting started is the challenge, as is overcoming the fear of taking pictures of strangers. A good street photographer is not only fearful initially, but they also don’t want to do anything that will change how the subject is behaving. Picking the optimum moment and the precise composition is a good way. I was almost setting up your idea. For example, a perfect location is one that people can either move into or away from. Alleys, tunnels, and entrances are great for this, as you can pre-compose your shot. Most times, you won’t be pulling shots with 50mm or even 80mm or rather, I don’t think this has not been my technique so far. At this time, I don’t need to get up close, as this is what I usually do within my branded shoots www.jamesnader.com. I would think about this, and next month; we have a super interview with David Gleave, who does this all the time.
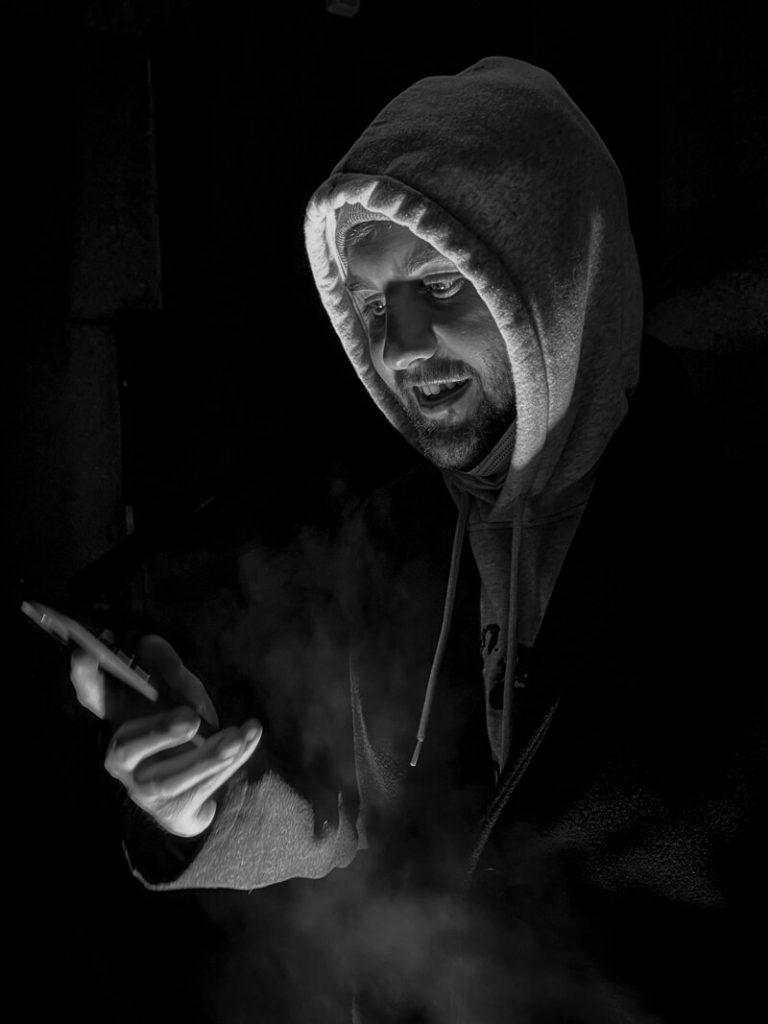
DO NOT REMOVE YOUR EYE FROM THE CAMERA AFTER YOUR SHOT
You may not find anyone worth shooting, but this is an easy way to start. It shouldn’t be terrifying, and you will find that even while standing close to your subjects, you can take their pictures without arousing suspicion. You can employ the same techniques at street fairs or parades, and just about any crowded area filled with tourists is a good place to practice.
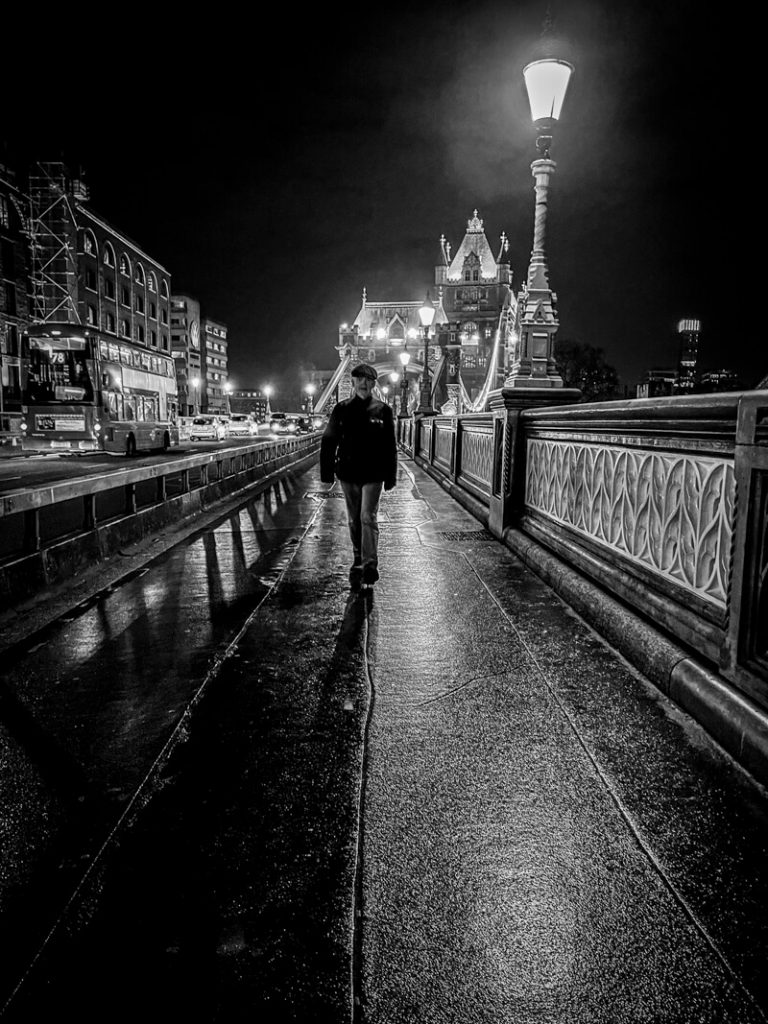
USING THE LCD BACK OF THE CAMERA OR PHONE TO COMPOSE HELPS BEING COVERT.
Keep your non-shooting eye open. It would be best to look at possible subjects even with the camera in your eye. Most DSLR cameras have an LCD screen for viewing images on the back, and for me, this was best as it allowed you to track, compose, and shoot a subject without them being suspicious of your motive. It simply looks as though you may be photographing the whole scene.
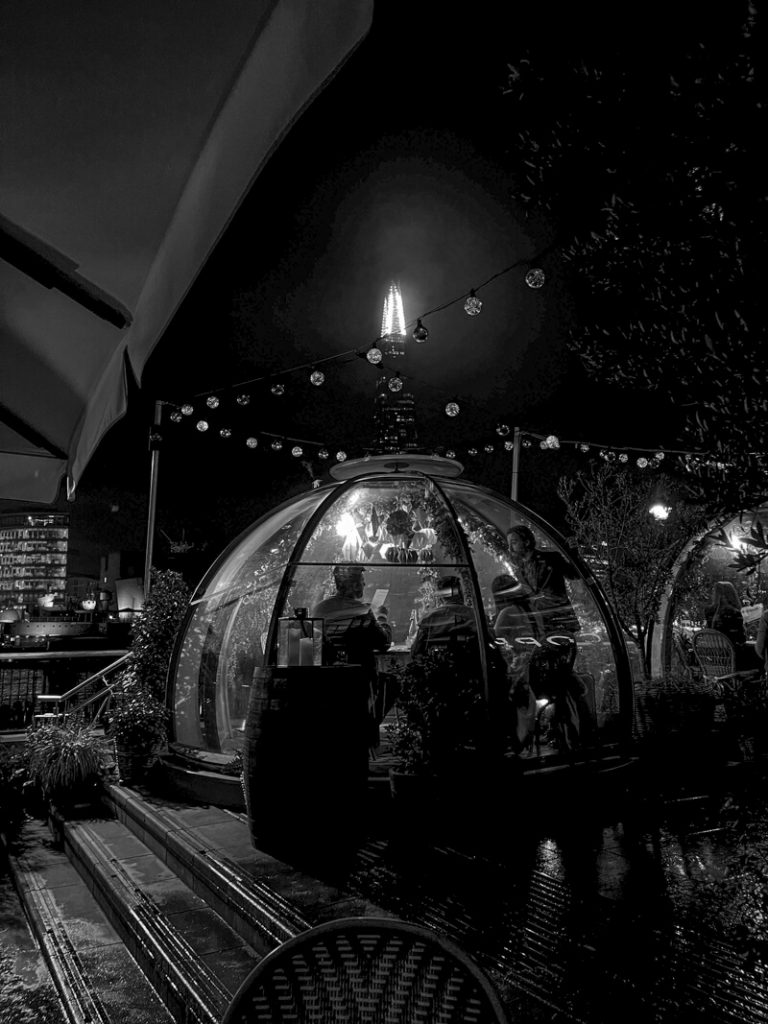
SHOOTING FROM THE HIP VS HAVING THE CAMERA IN YOUR EYE
If you can get the shot with the camera to your eye, you will get a better shot. I know that this is my technique, shooting-from-the-hip photography. There will be times when it is simply impossible to shoot with the camera to your eye, so shooting from the hip is worth learning. You can make decisions about depth-of-field, exposure, and ISO. This helps set up your shot in advance. I spot the scene that may appear before me and make sure my settings are all correct in advance. This allows me to concentrate purely on angles and composition.
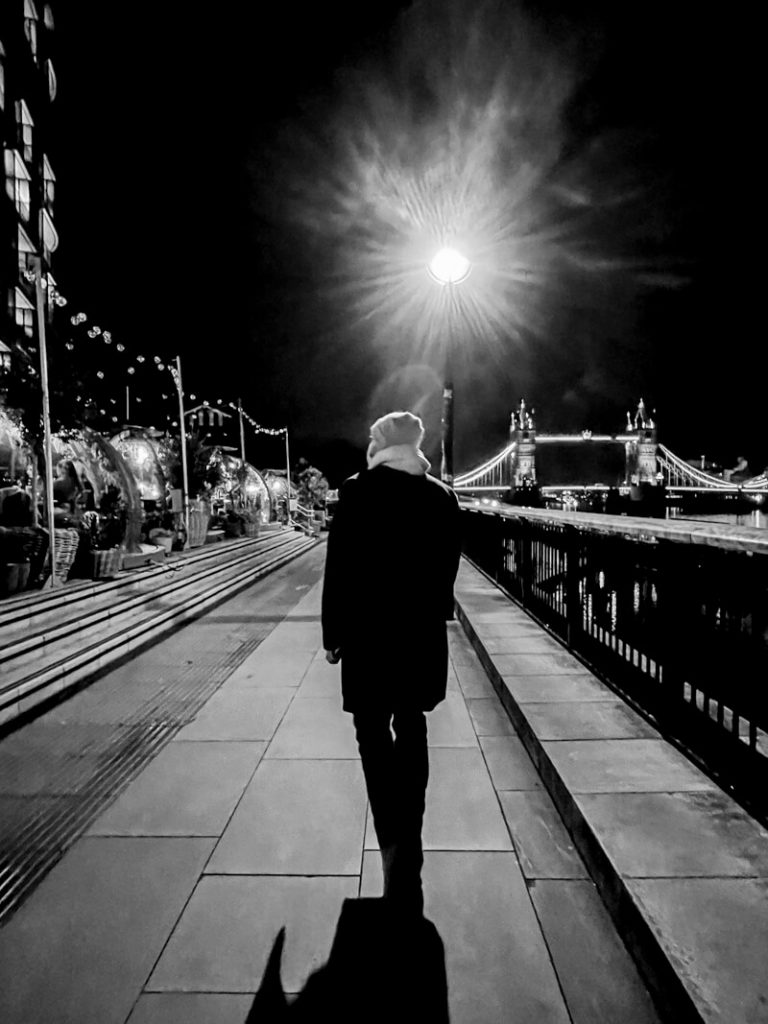
PRE-FOCUS
You anticipate that you will shoot a specific subject and hold the shutter button down to focus on them, but maybe you aren’t ready to take their picture yet, and they aren’t moving much. You can continue to hold that back button down until you are prepared to take the shot, or you can turn the lens to manual focus while holding the button down. Then, you can release the button and know that the principle remains the same. Don’t forget to turn the lens back on when you’re finished, or all your subsequent shots will be out of focus.
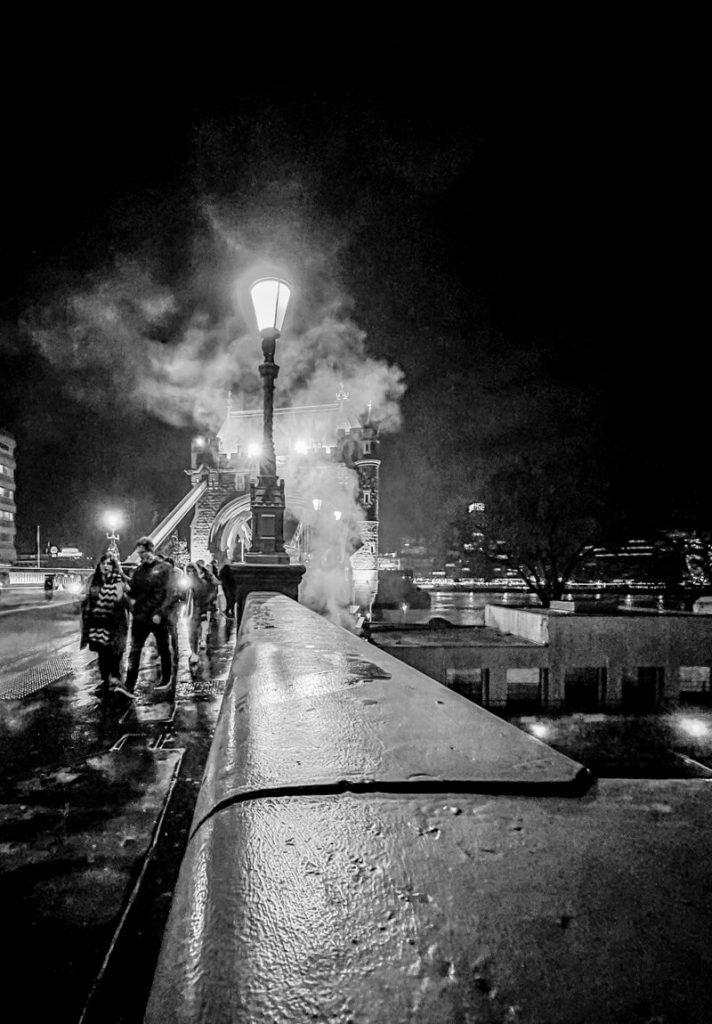
Modern cameras have a matrix of focal points; they are not very useful for street photography, and I would recommend turning them all off except for the centre focal point, which you’ll use to pre-focus. I wouldn’t say I like having the camera decide what to focus on, and I use the centre point focus on my Nikon or Fuji. Still, on my iPhone, on which this picture sequence was created, I tend to shoot more comprehensively out for more impact to the shot, allowing more of the location to fill the frame. Still, I set my focus by tapping before the subject, approaching the shot prepared, or tracking them and tapping focus repeatedly to make sure they reach my intended endpoint. They will be at the perfect location and focus.
