5 TIPS FOR GREAT BLACK AND WHITE IMAGES—MONOCHROME PORTRAIT TECHNIQUES
Black-and-white photography and beginning to shoot in black and white take me back to where it all began. For me, this is where I started in photography. I was a student shooting monochrome films, processing and printing all of my work, and so I have grown up with the shill to produce compelling stories in black and white photography.
Over the years of shooting and processing, I learned how to process analogue films and prints and how to process all of my black-and-white photography in the digital darkroom utilising Photoshop black-and-white and lightroom techniques, which closely resemble the original processes. Although in this post I won’t be going in-depth about my exact processing of images, I will tell you how to think in black and white photography and give you 11 tips on how to shoot black and white photography and illustrations.
I would say that while it is essential to understand the process, people get a little bogged down in the processing metrics and how to shoot it. I am a practical photographer and don’t pay too much attention to how it works out in advance, but getting on with it counts the most! Online, I see so many photographers producing blogs and videos about the top tips, and to be honest, photography is not always about how it’s done; it’s about just doing it and finding out for yourself. You have to make mistakes to learn the correct process that suits you and your style of workflow and production. Get stuck in is the mantra.
Black and white photography is a joy for me, and I will be doing more, setting up film shoots and sharing my processing styles in darkroom scenarios and Photoshop renderings of black and white. With that in mind, please find below my thoughts on top tips for black-and-white photography for photography and fashion photographers.
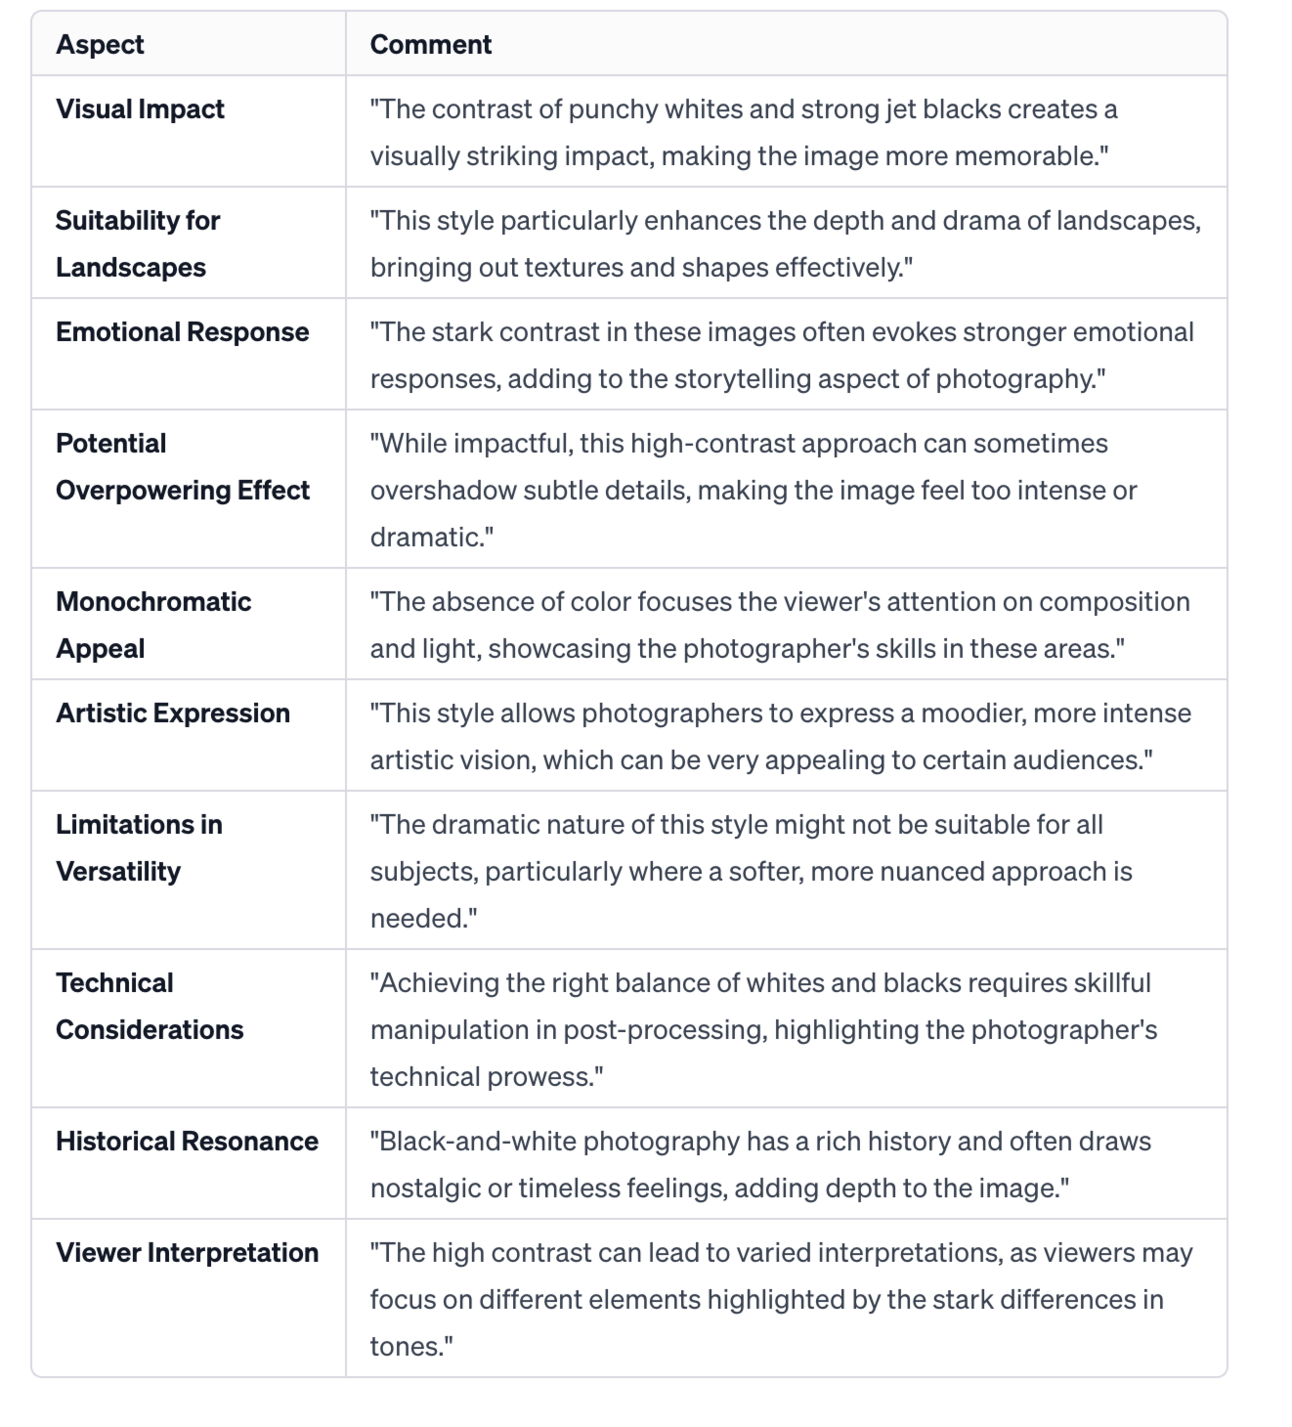
Table
WATCH BLACK AND WHITE MOVIES – FILM
The early black-and-white movies were filmed in monochrome. There is no luxury in using colour films or technicolour to capture the viewer’s attention. Instead, they relied on their understanding of light and shade and, of course, the composition of varying lighting and shades to convey their message. It is a great way to understand how black and white can be used to create drama and stories. Look at black-and-white photographers like Vincent Peters, who has super black-and-white images, or follow the film world and their classic black-and-white photography. My go-to book from my studies until now and a super reference better than most is Masters of Starlight.
Reference as many black and white professionals as possible to see how they work; Ansel Adams in Landscapes was the true master and used the Zone System ( I will discuss another in another post ). Fashion photographers, directors, and fine art prints will all give you an idea of what to capture, but reference is vital to getting your eye on black-and-white photography.
TRY EXPERIMENTING WITH FLAT LIGHT FIRST
Setting up shots in a studio or location with flat light would be the best way to understand the tones you can see. It can be quite an excellent technique to shoot raw, but view your images by setting your in-camera settings to monochrome to help your eyes adjust. Once you understand how to see in black and white, you can scale up your lighting to more contrasty black and white lighting. For me, single light and reflection are good, but also the traditional 3 points that many films use even today.
Flat light doesn’t have an extensive range of exposure, so you are forced to examine the scene’s elements and focus on one or more deep tones that will grab viewers’ attention. Low-contrast lighting helps mask detail and skin imperfections, which is an excellent help for your editing—mostly, it’s how you want to see the result and how you will set your lights. My own fashion photography technique is sometimes to use flat light to create a perfect image, adding contrast at the post-processing stage where I can get more control over the final look of the picture.
SETTING THE RIGHT LIGHT IN YOUR SHOT FOR BLACK-AND-WHITE SHOOTING
Lighting, for me and my style of photography, is critical to a successful shot. Understanding how the light is falling already, for example, on location inside a house or outside, will help you decide what light to set to complement the overall mood and story of the shot. This is even more complicated if you shoot your images for a final monochrome look. The last intended look and feel guided by your story will help you decide.
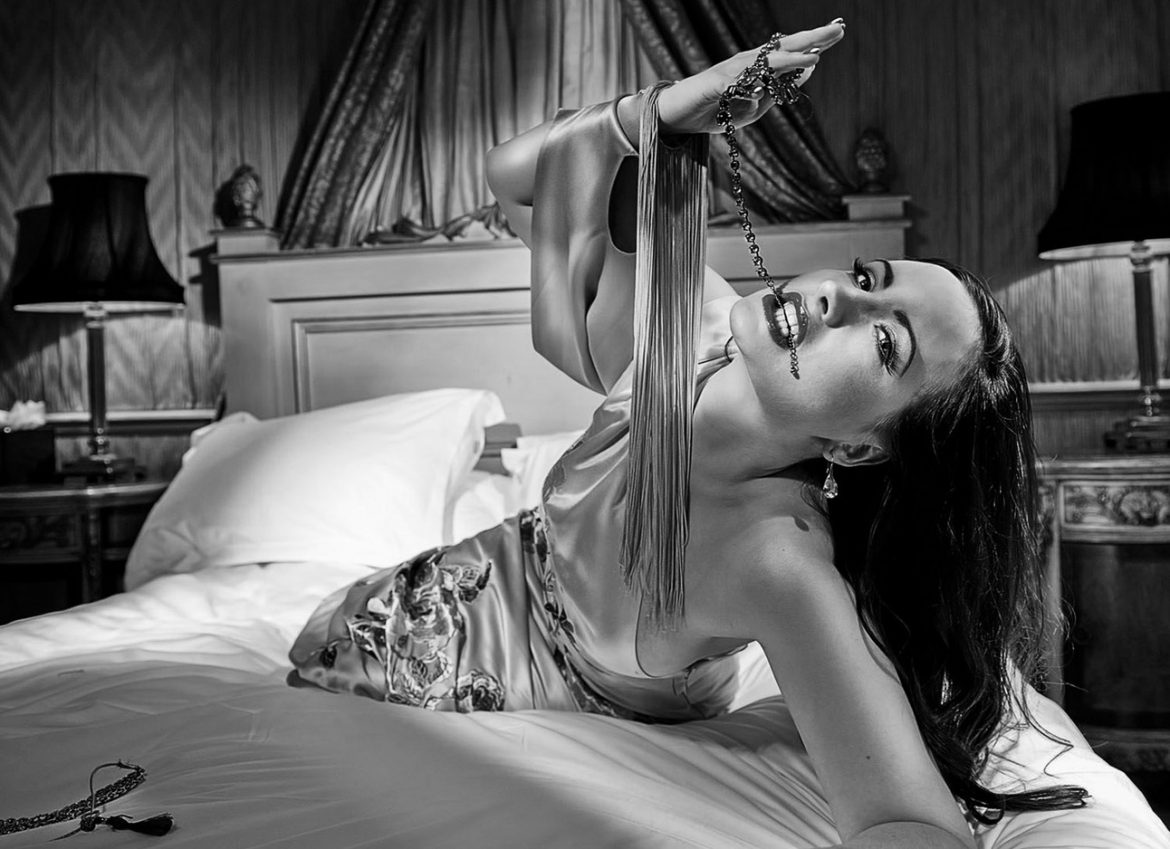
High-contrast fashion looks created with single lights are super stoppers. They get attention and already feel more like fine art images; however, if it is for an editorial feature, a robust single light could be too much for the story, and even in black and white, it needs a little less and softer light, resulting in a smoother, more dynamic range of prominent, flatter print.
CREATING CONTRAST
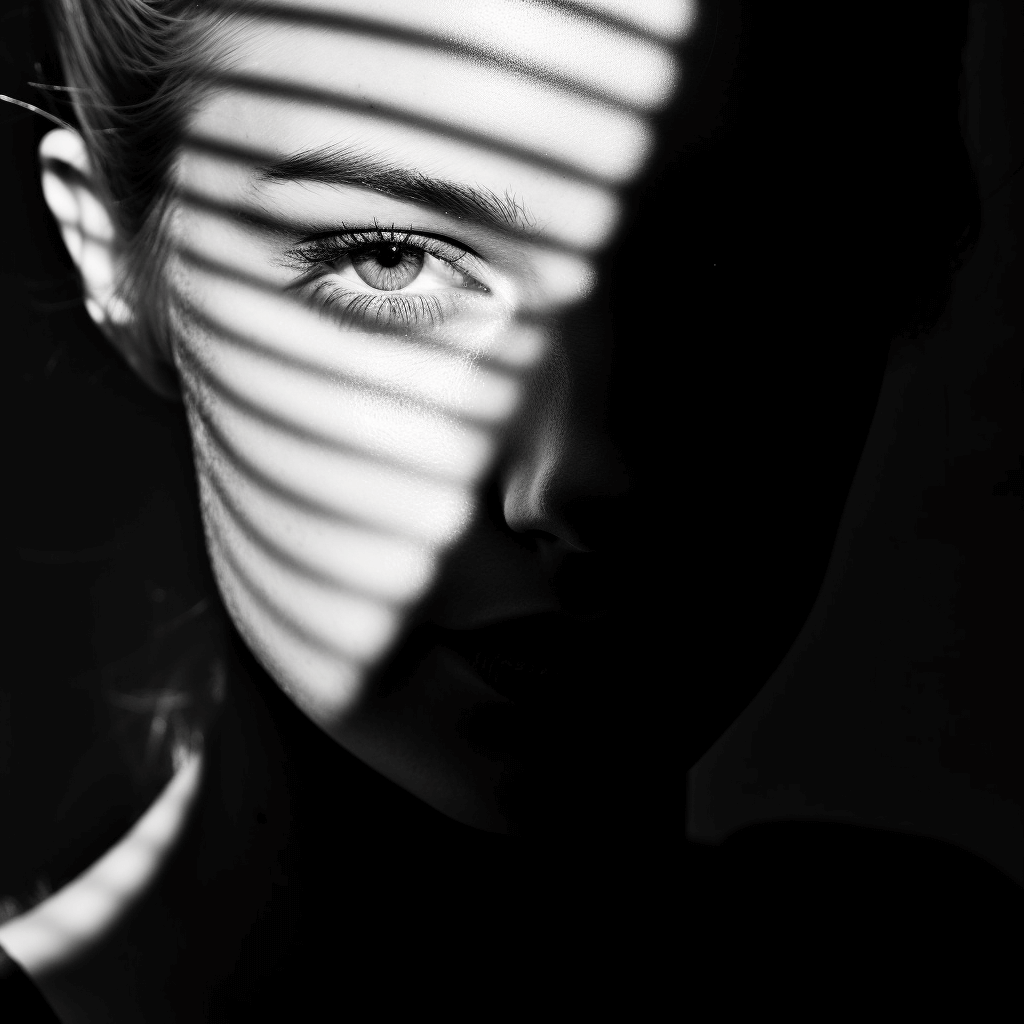
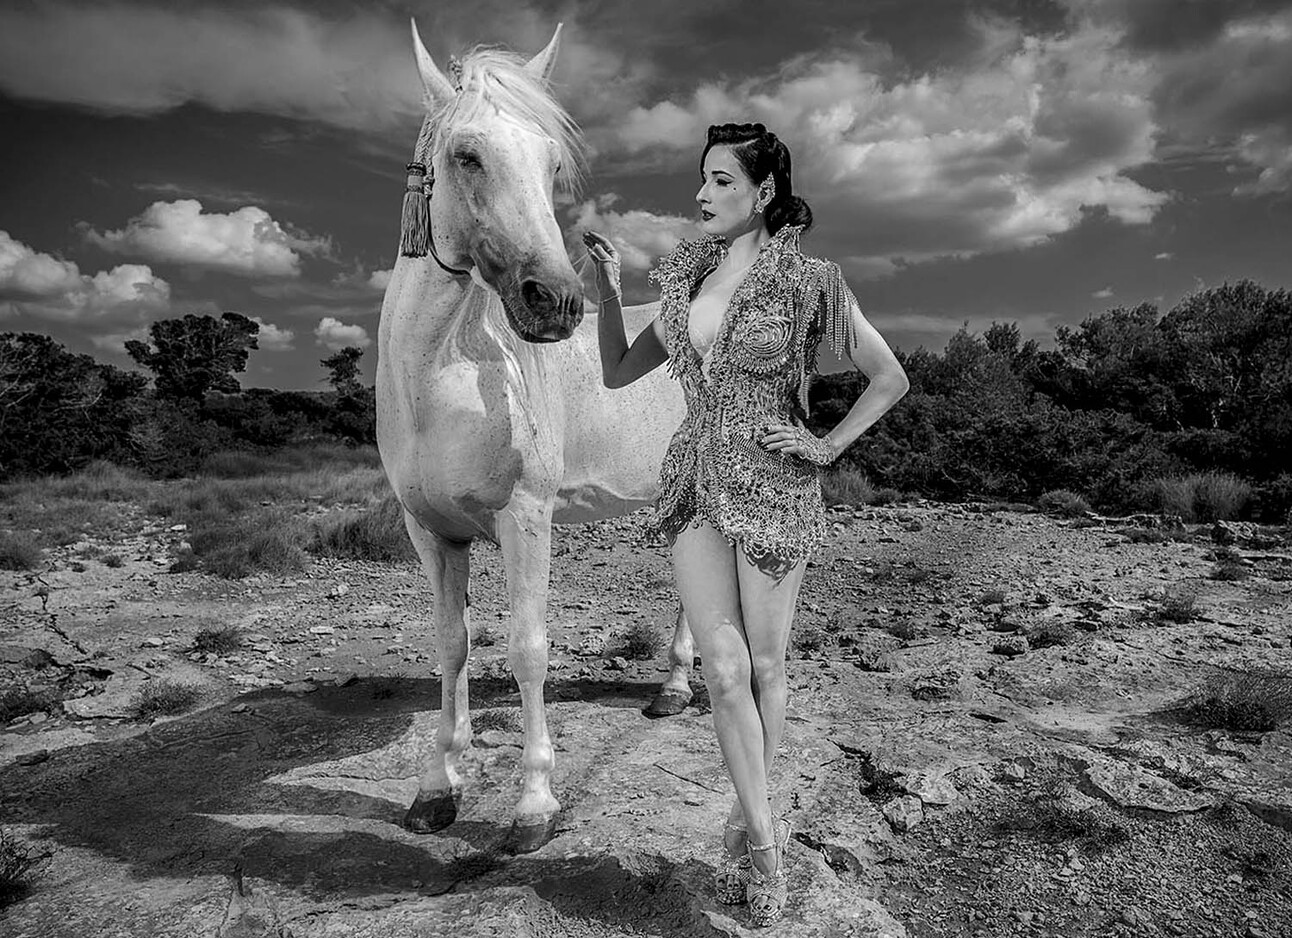
Dramatic black-and-white images often have punchy whites and strong jet blacks. This style or look benefits most landscapes but can sometimes be too overpowering. Only you will know this from your editing in post-production. It’s about creating the black and white that suits the scene and then playing around with the tones. For fashion work, keeping some mid-tone dynamic range is essential even then, though you may increase your contrasts to up the drama.
Tonal contrast is the difference in brightness between the different areas of the photo: low lights, mid-tones, and high contrasts. Ignore colours and see the scene in terms of highlights, shadows, and mid-tones. Working in tonal ranges, you need to think about the following:.
Shadows
Highlights
Shapes
Lines
Textures
 BLACK AND WHITE PHOTOGRAPHY—SHOOT IN RAW
If you shoot RAW but have your camera settings set to monochrome in the camera menu, this will help you visualise; however, always make sure you hit raw, which will retain your full dynamic range and information. If not, when processing and converting, you will find that your high and low lights will be gone and not recoverable.
Under Exposure or Over Exposure?
A correctly exposed image is always preferred, but it’s essential to know that you may have to compensate or adjust how the camera captures the scene.
When I shoot outside in good or bad weather with added lighting, I always try to underexpose the shot but up to 1 stop! This is just my technique from film shooting days. If you missed the mark with film, there was no dynamic range to pull back, and only a limited pull process may have helped; however, removing the exposure helps saturate the dynamic range with more information and tones. When the processing happens, you have the dynamic range to play around with and create a more mono-saturated image.
Going over the top is too much of a problem, so be careful and experiment. You have the luxury to play around and delete any evil work. In the days of film, you had to get it right on the spot. Enjoy this luxury!!
 CONTRASTS BETWEEN TONES IN YOUR BLACK-AND-WHITE IMAGE
Using Photoshop allows for creating a standout image, especially by utilising sharpening, high-pass, or HDR filters to add contrast between your tones for added drama. These are greater for landscapes and not always suitable for portraits or fashion work.
You can use sharpening, high-pass, or HDR filters to add contrast between your tones for added drama. These digital filters make the areas where light and dark tones meet even more contrasty—but without adjusting the contrast of the entire image. This contrast can make your pictures pop without losing the detail in your mid-tones.
BLACK AND WHITE PLUGIN—STAND-ALONE SILVER EFEX PRO
All my images are edited and graded in Lightroom and then processed individually, never batch-processed in Photoshop. Yes, this can be daunting, but you have complete control over your workflow and style.
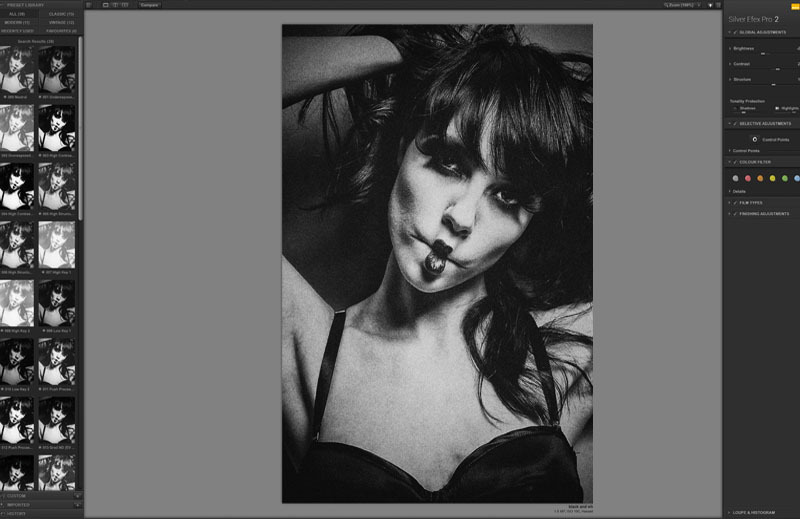
If you are not great at post-production or the digital darkroom, then you can use various monochrome plugins for Photoshop or standalone software, and my favourite is Silver Efex Pro.
Silver Efex Pro is a free plugin available from the Google Nik Collection. This easy-to-use programme offers photographers the opportunity to mimic dark room treatments digitally. It’s another great plugin you can use with Corel PaintShop Pro.
Silver Efex Pro allows the user to make adjustments to a wide variety of factors. The control panels are arranged similarly to Colour Efex Pro but with some slight differences. Silver Efex focuses solely on creating monochromatic and black-and-white images. On the left-hand side, users will find a variety of presets that include pinhole camera effects and simple modern black-and-white treatments.

Black-and-white pictures are on my newly updated portfolio at www.jamesnader.com
CHOOSING A SUITABLE SUBJECT
Black and white images more than likely suit most subjects, but it’s always better to think about whether the shoot you are planning is all black and white or if you can select one or two images to convert to black and white. If you specialise in black and white, this will not be a problem; however, if you don’t, be selective, as too much of one thing can be monotonous, and use the sprinkle to enhance your book. Fashion photography is a great use of monochrome images, and the better the styling, the more robust the look. Great portraits are often used in black and white, and many great portrait photographers use monochrome to separate their subjects from the background and strip away the interference of colour. This
MONOCHROME: SHAPE & FORM
When you remove colour from an image, you can no longer use it to provide emphasis or make a particular scene the centre of attention. Removing stains is one of the more distracting aspects of a photograph. When looking for a tremendous black-and-white shot, ignore the colours and set your sights on the shapes.
Where appropriate, arrange the objects to bring out the most outstanding attributes of the different subjects. Patterns are exciting because of their orderly repetition. You can see patterns in everyday scenes, including parking lots and rows of bushes.
PRACTISE, PRACTISE AND THEN PRACTISE
As a black-and-white photographer in fashion and portraiture, it’s always good to have your own style of photography and how you represent and present it to everyone. Learn to think in monochrome; although this sounds difficult, it isn’t. I will be talking and showing online videos of how to do this, so pop over to YOUTUBE to keep updated by subscribing to my channel or registering on this blog with your email, and we will keep you posted.
BOOKS FOR FURTHER REFERENCE
HERB RITTS
HELMUT NEWTON
The post link TOP TIPS FOR DRAMATIC BLACK AND WHITE IMAGES first appeared on Top Photographers Blog, the best photography blog, Silvergumtype, a Hub for creativity for photographers, and is written by Team Nader and James Nader
#blackandwhite
#bnw
#blackandwhitephotography
#bnwphotography
#portrait
#monochrome
#bnw_captures
#bw
#bnw_mood
#instablackandwhite
#noiretblanc
#art
#photography
#photooftheday
#blacknwhite

 BLACK AND WHITE PHOTOGRAPHY—SHOOT IN RAW
 CONTRASTS BETWEEN TONES IN YOUR BLACK-AND-WHITE IMAGE